
The Ultimate Serial.println Arduino Quick Reference
When debugging microcontroller sketches, Serial.println() is the most frequently used function in the Arduino ecosystem. Whether you are routing data from an ATmega328P on an Arduino Uno R3 or streaming telemetry from an ESP32-WROOM-32, understanding the underlying mechanics of the serial transmit (TX) buffer, baud rate tolerances, and memory allocation is critical for stable firmware.
This FAQ and quick reference guide addresses the most common technical hurdles makers and embedded engineers face when using Serial.println in Arduino IDE 2.x and PlatformIO.
Quick Reference: Syntax and Formatting Modifiers
By default, Serial.println() outputs human-readable ASCII text followed by a carriage return and newline (\r\n). You can alter the output format of numerical data by passing a second parameter.
| Syntax | Example Input | Serial Monitor Output | Description |
|---|---|---|---|
Serial.println(val) | 73 | 73 | Default decimal (Base 10) ASCII |
Serial.println(val, DEC) | 73 | 73 | Explicit decimal formatting |
Serial.println(val, HEX) | 73 | 49 | Hexadecimal (Base 16) representation |
Serial.println(val, OCT) | 73 | 111 | Octal (Base 8) representation |
Serial.println(val, BIN) | 73 | 1001001 | Binary (Base 2) representation |
Serial.println(floatVal, 3) | 3.14159 | 3.142 | Float rounded to 3 decimal places |
FAQ: Baud Rates, Buffers, and Hardware Constraints
What is the maximum reliable baud rate for Serial.println?
While the Arduino Serial.begin() function accepts values up to 2,000,000 baud, the physical hardware limits reliable communication. For standard 16MHz AVR boards (like the Uno R3 utilizing the ATmega16U2 USB-to-Serial bridge), 115,200 baud is the practical maximum for error-free transmission. Pushing to 250,000 or 500,000 baud on AVR architecture introduces a bit-timing error of approximately 3.5% to 8.5% due to the 16MHz clock divisor limitations, resulting in corrupted characters on the receiving end.
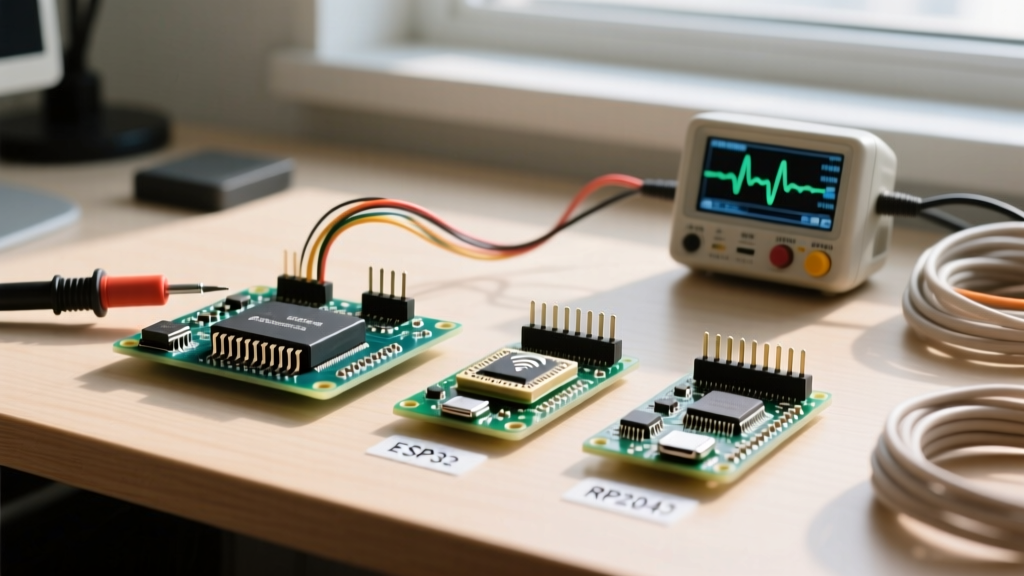
Conversely, modern 32-bit boards like the Arduino Nano 33 BLE (nRF52840) or ESP32 handle higher baud rates natively via USB CDC or hardware UARTs with fractional dividers, easily sustaining 921,600 baud without bit-slip errors.
Why does my sketch freeze when using Serial.println in a fast loop?
This is a classic TX buffer overflow issue. On 8-bit AVR microcontrollers (ATmega328P, ATmega2560), the hardware serial transmit buffer is strictly limited to 64 bytes by default in the Arduino core. When you call Serial.println(), the function copies data into this ring buffer. If the buffer is full because the hardware UART hasn't shifted the bits out fast enough, Serial.println() becomes a blocking function. It will halt your main loop() execution until space frees up in the buffer.
Pro-Tip: To prevent blocking in time-critical applications (like reading high-speed encoders or PID control loops), check the available buffer space before printing:
if (Serial.availableForWrite() > 20) {
  Serial.println(sensorData);
}
On 32-bit architectures like the ESP32, the Arduino core allocates a larger 256-byte ring buffer by default, and the RP2040 utilizes USB packet-based CDC, which behaves differently and rarely blocks in the same synchronous manner.
How do I prevent Serial.println from consuming all my SRAM?
Every time you pass a literal string to Serial.println("System Initialized");, the compiler stores that string in both Flash memory (PROGMEM) and SRAM. On an Arduino Uno with only 2,048 bytes of SRAM, heavy debugging statements will quickly trigger memory corruption or stack crashes.
Always wrap static string literals in the F() macro. This forces the compiler to leave the string in Flash and read it directly during execution, consuming zero SRAM.
// Bad: Consumes 22 bytes of SRAM
Serial.println("Calibrating sensors...");

// Good: Consumes 0 bytes of SRAM
Serial.println(F("Calibrating sensors..."));
For deeper insights into memory management, refer to the official Arduino Serial Reference and advanced memory optimization techniques documented by the community.
Line Endings: CRLF vs LF in Serial Monitors
A frequent source of confusion when parsing serial data in Python or Node-RED is the line ending character. Serial.println() automatically appends two invisible ASCII characters to the end of your payload:
- Carriage Return (CR): ASCII 13 (
\r) - Line Feed (LF): ASCII 10 (
\n)
If your external parsing script splits strings by \n (LF) only, you will be left with trailing \r characters that can break integer conversion functions like int() or atoi(). If you require strict LF-only termination to comply with Unix-style parsing, use Serial.print("\n"); instead of println().
Memory Fragmentation: String Objects vs. Char Arrays
When passing variables to Serial.println(), the data type you choose drastically impacts long-term firmware stability, particularly on 8-bit AVR microcontrollers with limited RAM.
Using the Arduino String class (capital 'S') relies on dynamic heap allocation. Every time you concatenate or modify a String before printing it, the microcontroller requests a new block of SRAM. Over hours or days of continuous operation, this leads to heap fragmentation. Eventually, the MCU will fail to find a contiguous block of memory, resulting in silent reboots or erratic peripheral behavior.
// High risk of heap fragmentation
String telemetry = "Temp: " + String(dht.readTemperature()) + " C";
Serial.println(telemetry);

// Stable, zero-allocation approach using char arrays
char buffer[50];
snprintf(buffer, sizeof(buffer), "Temp: %.2f C", dht.readTemperature());
Serial.println(buffer);
By utilizing C-style character arrays and snprintf(), you pre-allocate a fixed memory footprint at compile time. The Serial.println() function simply iterates through the null-terminated char array without triggering any background memory management routines. For 32-bit boards like the ESP32 or Arduino Nano RP2040 Connect, the String class is less dangerous due to larger RAM capacities (520KB and 264KB respectively), but the char array approach remains the industry standard for deterministic, real-time embedded systems.
Troubleshooting Matrix: Garbage Characters & Silent Failures
| Symptom | Root Cause | Technical Solution |
|---|---|---|
| Question marks or Wingdings in Serial Monitor | Baud rate mismatch between Serial.begin() and the monitor UI. | Verify both are set to 9600 or 115200. Check for CH340G driver clock drift on clone boards. |
| Output cuts off mid-sentence | TX Buffer overflow causing silent drops, or MCU resetting due to brownout. | Implement Serial.availableForWrite() checks. Add a 100µF decoupling capacitor across 5V and GND. |
| First character is missing or corrupted | USB CDC enumeration delay (common on Leonardo/Micro ATmega32U4 boards). | Add while (!Serial) { delay(10); } after Serial.begin() to wait for host handshake. |
| Intermittent gibberish or missing packets | Logic level mismatch or ground loop noise on hardware UART pins (RX/TX). | Ensure common ground between MCU and USB adapter. Use a bidirectional logic level shifter (e.g., BSS138) when connecting 5V AVR TX to 3.3V ESP32 RX. |
| Serial Monitor completely blank after upload | Native USB boards (Leonardo, Micro, Zero) require host handshake to initialize CDC. | Add while (!Serial) { delay(10); } immediately after Serial.begin(9600); to pause execution until the PC opens the COM port. |
Expert Best Practices for Firmware Development
As embedded development evolves, relying solely on blocking serial prints is considered an anti-pattern in professional firmware design. For complex debugging on modern boards like the Arduino Portenta H7 or Opta, consider these advanced alternatives:
- Use Hardware Serial Ports: Reserve
Serial(USB) for host communication and useSerial1,Serial2, etc., routed through TTL-to-USB adapters (like the FT232RL) for dedicated, non-blocking debug logging. - Implement Ring Buffers: Write debug logs to a background ring buffer and use a low-priority FreeRTOS task to stream them via
Serial.println(), ensuring your main control loops never experience microsecond-level jitter. - Structured Logging: Instead of raw text, output JSON or CSV formatted strings via
Serial.println()so external tools like SerialPlot or Python Pandas can ingest the data natively.
For comprehensive guidelines on serial protocols and hardware UART configurations, consult the SparkFun Serial Communication Tutorial and the Arduino Serial.println() Documentation.