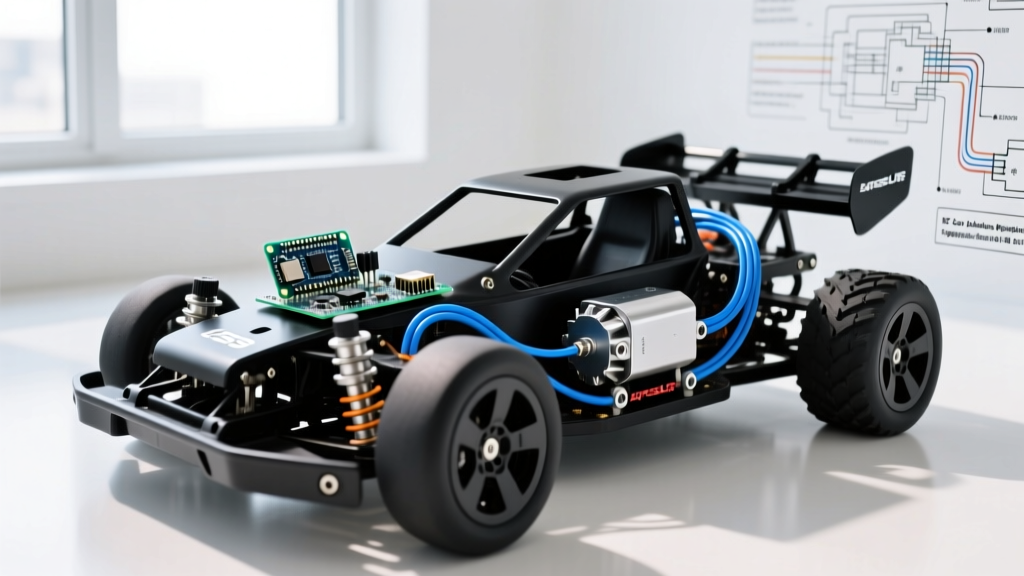

The Limits of the Classic RC Car Arduino Build
Every maker's journey into robotics usually begins with the same rite of passage: building a basic RC car Arduino platform using an ATmega328P-based Uno, an L298N motor driver, and a pair of nRF24L01+ transceivers. While this setup is phenomenal for learning basic GPIO manipulation and PWM generation, it rapidly becomes a bottleneck when you demand higher speeds, tighter PID control loops, and sub-millisecond latency. As we navigate the 2026 maker landscape, component availability and open-source firmware ecosystems have evolved dramatically. This migration guide will walk you through upgrading your RC car Arduino project from a beginner toy to a high-performance, brushless, telemetry-enabled machine.
Phase 1: Microcontroller Migration (The Brain Transplant)
The standard Arduino Uno R3 operates at 16 MHz. When you attempt to run a high-frequency PID loop for traction control or read multiple I2C sensors (like an MPU6050 IMU) while simultaneously parsing incoming radio packets, the 16 MHz clock quickly saturates. You will experience loop delays exceeding 5ms, resulting in sluggish steering correction and oscillation at high speeds.
Choosing Your 2026 Upgrade Path
| Microcontroller | Clock Speed | ADC Resolution | Best Use Case | Approx. Cost |
|---|---|---|---|---|
| Arduino Uno R4 Minima | 48 MHz (Cortex-M4) | 14-bit | Drop-in legacy replacement | $28 |
| Teensy 4.1 | 600 MHz (Cortex-M7) | 12-bit (High Speed) | Complex PID & sensor fusion | $39 |
| ESP32-S3 DevKit | 240 MHz (Dual-Core) | 12-bit | Wireless telemetry & ELRS | $12 |
For a pure, high-performance RC car Arduino migration where raw computational power for kinematic calculations is required, the Teensy 4.1 remains the undisputed champion. Its 600 MHz Cortex-M7 processor allows you to run 10kHz PID loops with floating-point math without breaking a sweat. However, if your goal is to integrate modern RC protocols directly without external receivers, the dual-core ESP32-S3 is the superior choice for handling Wi-Fi telemetry and UART-based radio protocols simultaneously.
Phase 2: Drivetrain & Motor Driver Upgrades
The L298N motor driver is notorious for its inefficiency. Because it relies on older Bipolar Junction Transistor (BJT) technology, it suffers from a voltage drop of roughly 2V to 3V across its H-bridge. If you supply 7.4V from a 2S LiPo, your motors only see ~5V. Furthermore, the L298N lacks fast decay modes, making dynamic braking practically non-existent, and it will trigger thermal shutdown at just 2A of continuous current.
Brushed Migration: TB6612FNG
If you are keeping your brushed motors, migrate immediately to the TB6612FNG. Utilizing MOSFET technology, the voltage drop is reduced to a mere 0.5V. It supports PWM frequencies up to 100kHz (compared to the L298N's audible 15kHz whine) and handles 1.2A continuous (3.2A peak) per channel. Expect to pay around $15 for a genuine Pololu carrier board.
Brushless Migration: VESC 6 MkVI
To truly unlock the potential of an RC car Arduino build, you must transition to brushless outrunner or inrunner motors. Standard hobby ESCs rely on PPM or PWM signals, which lack the bidirectional telemetry required for advanced traction control. The VESC Project ecosystem solves this. By using a VESC 6 MkVI (approximately $120), you communicate via UART or CAN bus. This allows your microcontroller to read real-time RPM, motor temperature, and exact current draw, enabling you to write custom slip-control algorithms.
Critical Edge Case: When migrating to brushless, do not attempt to generate your own 3-phase PWM signals directly from the Arduino's GPIO pins. Brushless motors require precise 'dead-time' insertion (usually 200ns to 500ns) between high-side and low-side MOSFET switching to prevent shoot-through short circuits. Always use a dedicated gate driver or a VESC.
Phase 3: Control Protocol (nRF24L01 to ExpressLRS)
The nRF24L01+ module is a staple of beginner RC car Arduino projects, but it lacks forward error correction, robust failsafes, and telemetry. In 2026, the gold standard for open-source RC control is ExpressLRS (ELRS). ELRS utilizes LoRa modulation for unprecedented range and packet rates up to 1000Hz.
Integration Steps for CRSF Protocol:
- Hardware: Mount an ESP8285-based ELRS receiver (e.g., BetaFPV Nano RX, ~$35) to your chassis.
- Wiring: Connect the receiver's TX/RX pins to a hardware UART port on your microcontroller. Do not use SoftwareSerial; the baud rate is too high.
- Protocol: ELRS outputs the Crossfire (CRSF) protocol. This is an 115200 or 420000 baud serial stream containing 16-channel data packed into efficient frames.
- Library: Use the
crsf-parserC++ library to decode the UART stream directly into your main control loop, yielding latency under 2ms from stick movement to motor response.
For comprehensive setup instructions and binding phrases, refer to the official ExpressLRS open-source project documentation.
Power Delivery & Wiring Failure Modes
Upgrading your motors and MCU inevitably exposes power delivery flaws. The most common failure mode during an RC car Arduino migration is the brownout reset. High-torque servos and brushless motor acceleration spikes can pull 10A+瞬间 from the battery, causing voltage sag.
- The BEC Trap: Many beginners rely on the 5V output from their motor driver or a cheap linear regulator to power the Arduino. When the main battery sags to 6.5V under load, the linear regulator drops out, resetting the MCU mid-drive.
- The Solution: Implement a dedicated, high-current switching buck converter. The Pololu D36V50F5 (priced around $18) steps down voltages up to 50V and provides a rock-solid 5V at 5A, completely isolating your logic circuits from motor noise.
- Star Grounding: Never daisy-chain your grounds. High-current motor return paths will induce millivolt-level noise into your analog sensor grounds, corrupting IMU and current-sense ADC readings. Route all high-power and logic grounds to a single, central copper bus bar or thick solder pad.
2026 Upgrade Cost Matrix
Below is a realistic breakdown of what a comprehensive migration entails. Prices reflect early 2026 market averages for genuine components.
| Component Category | Beginner Setup (Legacy) | Pro Migration Setup | Performance Gain |
|---|---|---|---|
| Microcontroller | Arduino Uno R3 ($27) | Teensy 4.1 ($39) | 37x Clock Speed, Hardware FPU |
| Motor Driver | L298N Module ($8) | VESC 6 MkVI ($120) | FOC Control, Active Braking, Telemetry |
| Radio Receiver | nRF24L01+ ($4) | ELRS Nano RX ($35) | 1000Hz Packet Rate, Failsafes, 5km+ Range |
| Power Regulation | LM2596 Clone ($3) | Pololu D36V50F5 ($18) | 5A Continuous, Low Ripple, No Brownouts |
| Total Estimated Cost | $42 | $212 | Massive Leap in Reliability & Speed |
Final Thoughts on the Migration
Migrating your RC car Arduino project is not just about making it faster; it is about shifting from open-loop guesswork to closed-loop, data-driven control. By upgrading to a high-clock-speed MCU, adopting MOSFET or FOC-based motor drivers, and integrating modern CRSF telemetry, you transform a weekend toy into a legitimate robotics platform capable of autonomous waypoint navigation and high-speed stability control. Plan your wiring carefully, respect your power delivery limits, and let the telemetry data guide your PID tuning.