
Redefining the Question: What Can I Do With Arduino?
When makers and engineers first ask, "what can i do with arduino," they are usually thinking about the base microcontroller board sitting on their desk. However, the true answer lies not in the silicon of the microcontroller itself, but in the vast, interconnected ecosystem of compatible hardware, shields, communication protocols, and third-party sensors. An Arduino board is essentially a blank canvas; its capabilities are strictly defined by what you can successfully interface with it without frying the logic gates or bottlenecking the processor.
In this compatibility guide, we move past basic blink sketches and dive deep into the hardware boundaries, logic-level translations, and power constraints that dictate what you can actually build in 2026.
Core Microcontroller Compatibility: The Brains of the Operation
The term "Arduino" officially refers to the hardware architecture and the IDE, but the ecosystem has fractured into multiple distinct silicon families. Understanding the architectural differences is the first step in determining what your board can handle.
| Board Model | Core MCU | Logic Level | Flash / SRAM | Best Compatibility Use Case | Est. Price (2026) |
|---|---|---|---|---|---|
| Arduino Uno R3 | ATmega328P (AVR) | 5V | 32KB / 2KB | Legacy R3 shields, 5V relays, basic analog sensors | $27.00 |
| Arduino Uno R4 Minima | Renesas RA4M1 (Cortex-M4) | 5V | 256KB / 32KB | DSP audio processing, 12-bit DAC output, high-speed math | $20.00 |
| Arduino Uno R4 WiFi | RA4M1 + ESP32-S3 | 5V | 256KB / 32KB | IoT dashboards, MQTT telemetry, wireless sensor nodes | $27.50 |
| Arduino Mega 2560 | ATmega2560 (AVR) | 5V | 256KB / 8KB | 3D printers (RAMPS), massive I/O expansion, CNC routers | $45.00 |
| Arduino Nano 33 IoT | SAMD21 (Cortex-M0+) | 3.3V | 256KB / 32KB | Low-power wearables, battery-operated BLE devices | $22.00 |
If you are working with the newer Arduino Uno R4 series, you gain a 48MHz Arm Cortex-M4F processor and a native 12-bit DAC, allowing you to generate true analog waveforms for audio synthesis—something impossible on the legacy R3 without external PWM filtering. However, you must ensure your legacy libraries support the Renesas architecture, as direct AVR register manipulation (e.g., PORTB |= (1 << 5);) will fail to compile on the R4.
Shield and Form-Factor Compatibility: The IOREF Standard
The physical footprint of the Arduino Uno, known as the "R3 standard," features a specific 1.1-inch spacing between the digital and analog headers. While hundreds of third-party shields fit this mechanical footprint, electrical compatibility is a different story.
The 5V vs. 3.3V Logic Trap
Modern microcontrollers (like the SAMD21 on the Nano 33 IoT or the RP2040 on the Raspberry Pi Pico) operate at 3.3V logic. If you plug a legacy 5V shield—such as the classic Adafruit Motor Shield V1 or older Ethernet shields—into a 3.3V board, you risk catastrophic failure. The shield may feed 5V back into the microcontroller's GPIO pins, instantly destroying the silicon.
Expert Warning: Always check the shield's schematic for the
IOREFpin implementation. Modern, compliant shields read theIOREFvoltage to dynamically switch their logic buffers (using ICs like the TXB0106). If a shield hardwires its logic to the 5V pin, it is strictly incompatible with 3.3V Arduino boards unless you manually intercept the data lines with a bidirectional logic level shifter.
For a comprehensive breakdown of pinout variations and legacy hardware warnings, the Adafruit Arduino Tips and Tricks guide remains an essential reference for navigating non-standard shield behaviors.
Sensor Ecosystem: I2C, SPI, and Address Collisions
When deciding what sensors you can integrate, the communication protocol dictates your limitations. I2C is the most popular for environmental sensors due to its two-wire simplicity, but it introduces a major compatibility hurdle: address collisions.
Solving I2C Address Conflicts
Suppose you want to build a multi-zone greenhouse monitor using three Bosch BME280 sensors (measuring temperature, humidity, and pressure). The BME280 only has two selectable I2C addresses: 0x76 and 0x77. You cannot simply wire three of them to the same SDA/SCL bus.
The Solution: You must introduce an I2C multiplexer, such as the TCA9548A (typically $3 to $5 on breakout boards). This chip allows your Arduino to switch between up to 8 separate I2C buses, completely bypassing address limitations.
Pull-Up Resistor Overloading
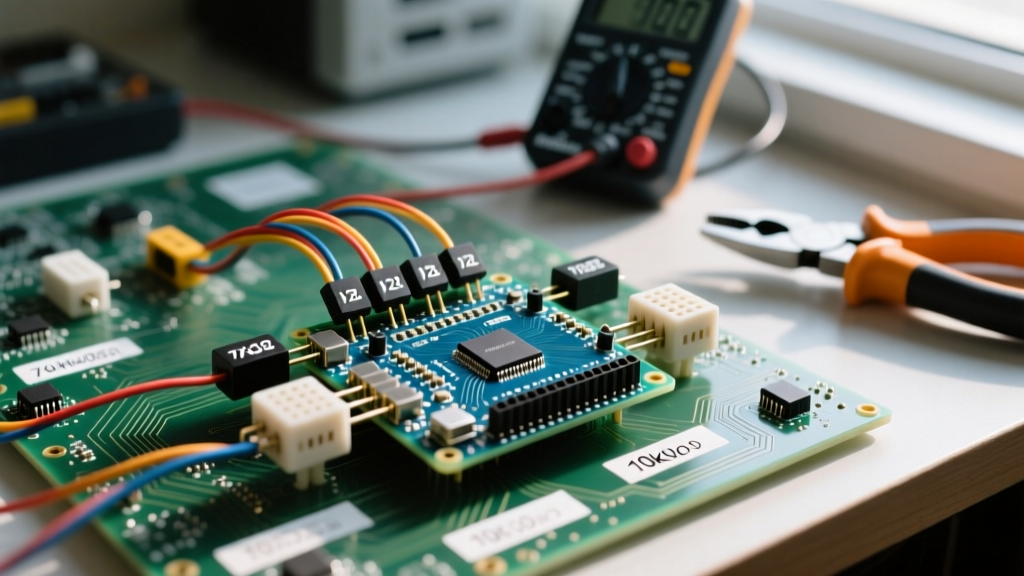
Another hidden compatibility issue arises when chaining multiple Adafruit or SparkFun breakout boards. Each board typically includes 4.7kΩ or 10kΩ pull-up resistors on the SDA and SCL lines. When you connect four sensors in parallel, those resistors combine in parallel, dropping the total resistance to roughly 1.1kΩ. This creates excessive current draw on the Arduino's I2C pins, leading to corrupted data and bus lockups. To fix this, you must physically scratch the copper trace or desolder the pull-up resistors on all but one of the breakout boards.
Power Supply Compatibility and Thermal Constraints
You can wire up the most advanced sensors in the world, but if you violate the Arduino's power envelope, the board will brownout or thermally throttle. Understanding the onboard voltage regulator is critical for project viability.
The NCP1117 Thermal Bottleneck
The classic Arduino Uno R3 uses an NCP1117 5V linear voltage regulator. If you power the board via the barrel jack with a 12V power supply and attempt to draw 300mA from the 5V pin to power a string of WS2812B NeoPixels or a servo, the math dictates failure:
- Voltage Drop: 12V (Input) - 5V (Output) = 7V
- Power Dissipated as Heat: 7V × 0.3A = 2.1 Watts
The NCP1117 package on the Uno cannot dissipate 2.1W without a heatsink. It will hit its thermal shutdown threshold (around 150°C junction temperature) within seconds, resetting your Arduino continuously. According to the Arduino Uno R3 Documentation, the recommended operating voltage is 7-12V, but for high-current 5V applications, you must bypass the onboard regulator entirely.
The High-Current Workaround
For projects requiring more than 200mA at 5V (like LED matrices, GSM modules, or multiple servos), use an external switching buck converter like the LM2596 or MP1584EN ($2 to $4). Wire your main power supply (e.g., 12V) into the buck converter, step it down to exactly 5V, and feed it directly into the Arduino's 5V pin (bypassing the USB and barrel jack entirely). This safely delivers up to 3A without thermal throttling.
Software and IDE Compatibility in 2026
Hardware compatibility is only half the battle; your board must be supported by the software toolchain. The Arduino IDE 2.x series has vastly improved board manager integration, but complex projects often outgrow it.
When to Migrate to PlatformIO
If your project involves multiple custom libraries, specific compiler flags, or RTOS (Real-Time Operating System) implementations like FreeRTOS, the Arduino IDE's flat library structure will cause dependency conflicts. PlatformIO (via VS Code) utilizes a platformio.ini file to lock specific library versions and manage distinct build environments for different boards. For example, compiling the exact same sensor code for an ESP32 and an ATmega328P requires different memory allocation strategies; PlatformIO handles this seamlessly via environment tags.
Summary: Matching the Board to the Build
So, what can you do with Arduino? You can build anything from low-power agricultural telemetry nodes to high-speed audio synthesizers, provided you respect the hardware boundaries. Always verify the logic voltage of your shields, manage I2C pull-up currents when scaling sensor arrays, and calculate the thermal dissipation of your power supply before soldering a single header pin. By mastering these compatibility constraints, the Arduino ecosystem transforms from a simple prototyping toy into a robust platform for professional-grade embedded engineering.