
The Mobile Maker Shift: Coding Arduino on iPad in 2026
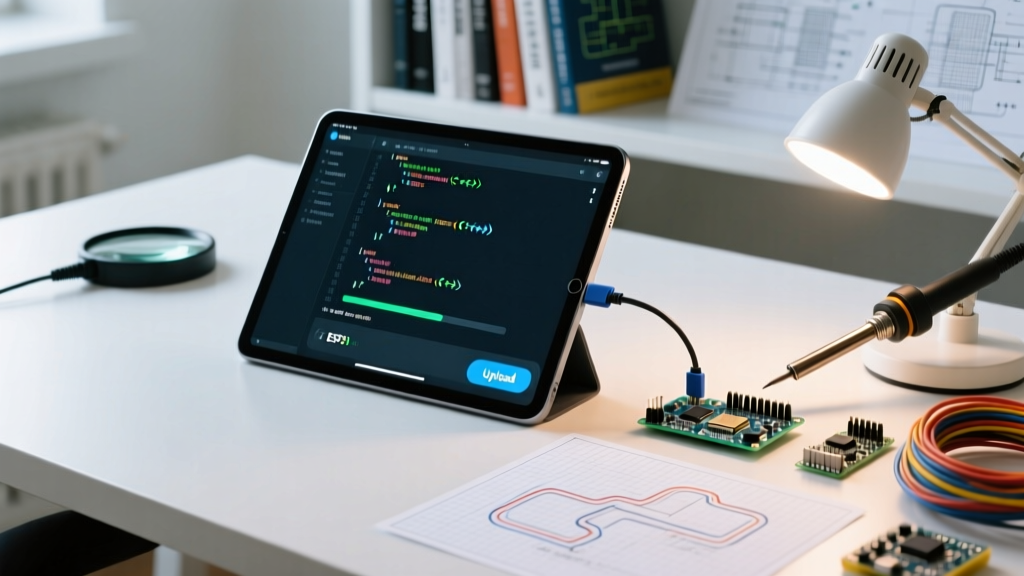
For years, the idea of using an iPad for serious microcontroller development was dismissed by the maker community. The lack of native desktop IDE support, strict iPadOS sandboxing, and serial port restrictions made compiling and uploading sketches a frustrating endeavor. However, with the maturation of iPadOS 18, the universal adoption of USB-C across the iPad lineup (from the base 10th Gen to the M4 iPad Pro), and the rise of headless compilation tools, developing an Arduino on iPad workflow is not just possible—it is highly efficient for field engineers, students, and traveling hobbyists.
This guide bypasses generic advice and dives deep into the exact hardware, software stacks, and edge-case troubleshooting required to build a frictionless mobile coding environment. Whether you are flashing an ATmega328P in a remote cabin or tweaking ESP32 IoT parameters on a commute, optimizing your mobile workflow requires understanding the intersection of Apple's hardware limits and AVR/ARM toolchains.
Comparing the Three Viable iPad Workflows
There is no single 'correct' way to code on an iPad. Your optimal setup depends on your internet dependency, target board architecture, and willingness to carry dongles. Below is a decision matrix to help you choose the right path.
| Workflow Type | Offline Capable? | Board Support | Hardware Required | Estimated Cost |
|---|---|---|---|---|
| 1. Arduino Cloud (OTA) | No (Requires Wi-Fi) | IoT boards (Nano RP2040, ESP32, Nano 33 IoT) | iPad, Wi-Fi | Free / $6/mo (Maker Plan) |
| 2. Local App Compilation | Yes (100% Offline) | AVR, ESP8266, ESP32, SAMD | iPad, USB-C Hub, FTDI Adapter | ~$45 (Apps + Hardware) |
| 3. SSH Headless Server | Depends on Server | Universal (Any board supported by arduino-cli) | iPad, Raspberry Pi Zero 2 W | ~$25 (Pi Zero setup) |
Workflow 1: The Arduino Cloud OTA Route
If your projects are primarily IoT-focused, the Arduino Cloud ecosystem remains the most frictionless method for iPad users. Because Apple does not allow the Arduino Create Agent to run background daemon processes on iPadOS, traditional web-based serial flashing is blocked. Arduino bypasses this via Over-The-Air (OTA) updates.
Optimizing the Cloud Stack
- Editor: Use the Safari web app (Add to Home Screen) to launch the Arduino Cloud Editor in a standalone, full-screen window, mimicking a native app experience.
- Version Control: The Cloud Editor lacks robust Git integration. To optimize your workflow, link your Arduino Cloud 'Things' to external GitHub repositories, allowing you to use the Working Copy app on iPad for local commits before pushing to the cloud for OTA flashing.
- Limitation: You cannot flash a barebones ATmega328P chip or a standard Uno R3 via OTA. This workflow is strictly for network-capable microcontrollers.
Workflow 2: Local Compilation via CodeToGo & Textastic
For purists who need to flash standard AVR boards (like the Uno R3, Nano, or Pro Mini) offline, local compilation is mandatory. The iPadOS App Store hosts a powerful, albeit niche, application called CodeToGo. Unlike standard text editors, CodeToGo packages a localized version of the avr-gcc toolchain and avrdude directly onto your iPad's silicon.
The Local App Stack
- Code Editor: Textastic ($9.99). It offers superior syntax highlighting for C++ and Arduino-specific libraries compared to native CodeToGo editor.
- Compiler & Flasher: CodeToGo (Free base, ~$4.99 IAP for full compiler access). You use iOS 'Share Sheet' extensions to send your
.inofiles from Textastic directly into CodeToGo for compilation. - Serial Bridge: CodeToGo handles the
avrdudehandshake via the iPad's USB-C port, pushing the compiled hex file to the board.
Pro Tip: To manage external libraries (like FastLED or Adafruit_Sensor), download the library ZIPs via Safari, extract them in the native iPad 'Files' app, and move them into the CodeToGo designated 'Libraries' folder. The app will automatically parse the src directories during the local build phase.
Workflow 3: The SSH Headless Setup (For Power Users)
If you require complex build environments, custom Makefiles, or PlatformIO integration, local iPad apps will fall short. The ultimate workflow optimization involves using the iPad purely as a thin client. By pairing your iPad with a Raspberry Pi Zero 2 W acting as a headless compile server, you unlock desktop-class development.
Configuring the Headless Server
Install the arduino-cli on your Raspberry Pi. This command-line tool strips away the Java-based GUI overhead of the desktop IDE, making it incredibly lightweight for ARM-based Linux environments.
curl -fsSL https://raw.githubusercontent.com/arduino/arduino-cli/master/install.sh | sh
arduino-cli core update-index
arduino-cli core install arduino:avr
Using an iPad SSH client like Termius or Blink Shell, you connect to the Pi over a local Wi-Fi hotspot or USB-C tethering. You write code in Textastic, sync via Git to the Pi, and execute compile/upload commands via the terminal. This completely bypasses iPadOS serial restrictions, as the Pi handles the physical USB connection to the Arduino.
Hardware Bottlenecks: Power Draw and USB-C Limits
The most common point of failure when connecting an Arduino on iPad setup is power negotiation. According to Apple's official USB-C accessory guidelines, the iPad's USB-C port is designed to output approximately 4.5W (5V at 900mA) to external accessories.
The 'Accessory Uses Too Much Power' Error
An Arduino Uno R3 draws roughly 45-50mA at idle. However, if you are powering a string of WS2812B NeoPixels, a relay module, or an SD card shield directly from the Arduino's 5V pin, the total current draw can easily spike past 500mA. When the iPad's power management IC (PMIC) detects a draw exceeding its safe threshold, it abruptly cuts power and throws the dreaded 'Accessory uses too much power' iOS notification.
The Hardware Solution
Never rely on the iPad to power external sensors. You must introduce a powered USB-C hub into your mobile kit.
- Recommended Hub: Anker 341 USB-C Hub (approx. $25). It features passthrough charging (PD) and dedicated downstream ports.
- Setup: Plug your iPad charger into the Hub's PD input. Plug the Arduino into the Hub's USB-A data port. The Hub handles the power delivery to the Arduino while maintaining the data handshake with the iPad.
Edge Case Troubleshooting: The DTR Auto-Reset Failure
When uploading a sketch to an ATmega328P-based board, the Arduino IDE relies on a clever hardware trick to reset the microcontroller into its bootloader. The USB-to-Serial chip (ATmega16U2 or CH340) asserts the DTR (Data Terminal Ready) pin. This pin is connected to the Arduino's RESET pin via a 0.1µF capacitor, creating a momentary low pulse that triggers the bootloader.
iPadOS Serial Driver Quirks
Third-party iPadOS serial apps sometimes fail to assert the DTR line correctly due to how Apple's IOKit framework handles virtual serial ports over USB-C. If your compilation succeeds but the upload hangs at 0% and eventually times out with a avrdude: stk500_recv(): programmer is not responding error, the DTR toggle has likely failed.
The Manual Reset Workaround
If you encounter this edge case in the field without a desktop PC, use the manual timing method:
- Initiate the upload sequence in your iPad app.
- Watch the console output. Wait for the exact moment the status changes from 'Compiling...' to 'Uploading...'.
- Instantly press and release the physical RESET button on your Arduino board.
- This manually forces the bootloader to open its serial window just as
avrdudebegins sending the hex payload.
Note: Boards with native USB (like the Leonardo, Micro, or RP2040-based Nano) do not rely on the DTR capacitor trick and are generally immune to this specific iPadOS upload bug.
Summary: Building Your Mobile Kit
Transitioning to an iPad-centric maker workflow requires a shift in how you manage files, power, and serial handshakes. By leveraging local compilers like CodeToGo, utilizing Git for cross-device synchronization, and carrying a powered USB-C hub to bypass Apple's strict power limits, you can maintain a highly productive, portable electronics lab. Whether you are debugging a sensor array in the field or teaching a robotics workshop, the modern iPad is more than capable of driving your microcontroller development.