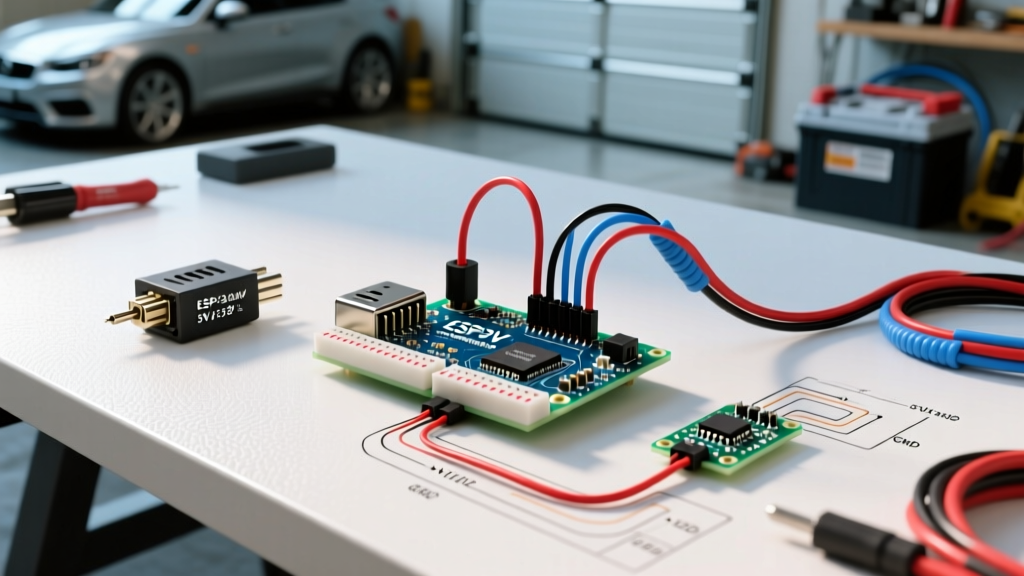

The 12V Arduino Dilemma: Why the Barrel Jack is a Thermal Trap
Integrating microcontrollers into 12V environments—such as automotive CAN bus networks, RV solar charge controllers, and industrial 12VDC control panels—is a staple of advanced maker projects. However, the most common point of failure in these builds is power regulation. The community has long documented the pitfalls of feeding 12V directly into the standard Arduino Uno or Nano barrel jack (or VIN pin).
Standard AVR-based boards rely on linear regulators (like the NCP1117-50) to step down input voltage to a stable 5V. Linear regulators dissipate excess voltage as heat. The mathematical reality of this thermal drop is unforgiving:
Power Dissipated (P) = (Vin - Vout) × Iload
If your 12V system powers an Arduino and a sensor shield drawing just 150mA:
P = (12V - 5V) × 0.15A = 1.05 Watts of heat.
The SOT-223 package on a standard Uno R3 has a thermal resistance of roughly 50°C/W. Dissipating 1.05W causes a 52.5°C temperature rise above ambient. In a warm engine bay or an enclosed industrial DIN rail box, the regulator will quickly exceed its 125°C thermal shutdown threshold, causing the microcontroller to brown out and reset continuously. To build a reliable 12 volt Arduino system, the community has moved away from linear regulation entirely, favoring switching topologies and specialized industrial boards.
Community-Approved 12V Boards & Buck Converters (2026 Roundup)
Based on forum consensus, GitHub repository schematics, and field-tested maker deployments, here are the most reliable hardware solutions for 12V integration this year.
| Hardware Solution | Type | Input Voltage Range | Est. Cost (2026) | Best Use Case |
|---|---|---|---|---|
| Pololu A-Star 32U4 Mini LV | Native Board | 2.5V to 12V (Switching) | $14.95 | Compact robotics, space-constrained 12V enclosures |
| Controllino MINI | Industrial PLC | 12V / 24V DC (Native) | $115.00 | Factory automation, DIN-rail mounting, high EMI areas |
| RECOM R-78E5.0-0.3 | Drop-in Buck IC | 7V to 28V | $6.50 | Custom PCBs, breadboard prototyping replacing LM7805 |
| MP1584EN (Fixed 5V) | Buck Module | 4.5V to 28V | $1.50 - $2.50 | Budget automotive builds, high-current 5V rail needs |
Deep Dive: The Pololu A-Star 32U4 Mini LV
For makers who want the Arduino IDE experience without the bulk of external buck converters, the Pololu A-Star 32U4 Mini LV remains a community darling. Unlike the standard 5V Pro Micro, the "LV" (Low Voltage) variant features an onboard TPS63020 switching regulator. This allows it to accept input voltages from 2.5V up to 12V natively while maintaining a highly efficient 5V logic level. It eliminates the need for external step-down modules, saving crucial PCB real estate in custom 12V sensor nodes.
The MP1584EN Module: A Warning on Adjustability
The ubiquitous MP1584EN buck converter modules found on Amazon and AliExpress are incredibly popular due to their low cost and 3A output capability. However, the community strongly advises against the adjustable version for mobile or vibrating 12V environments (like cars or tractors). The tiny 10kΩ trim potentiometer is prone to vibrating out of calibration, causing the output voltage to drift and potentially fry your 5V logic. Actionable Advice: Always purchase the fixed 5V or 3.3V output variants of the MP1584EN for 12V automotive projects. If you must use the adjustable version, secure the potentiometer screw with a drop of Loctite 438 cyanoacrylate after setting the voltage.
Automotive & RV 12V Systems: Surviving Load Dumps
Plugging an Arduino into a car's 12V accessory port or an RV's house battery bank introduces severe transient threats. A standard 12V lead-acid automotive system is rarely a clean 12.0V. It sits at ~12.6V at rest, spikes to ~14.4V when the alternator is charging, and is subject to massive voltage transients.
The most destructive of these is the Load Dump (defined by ISO 7637-2 Pulse 5). When a vehicle's alternator is generating high current and the battery connection is suddenly severed, the alternator's field coil collapses, sending a voltage spike that can exceed 40V for up to 400 milliseconds. This will instantly vaporize the input capacitors on a standard buck converter and destroy the microcontroller.
The Community TVS Protection Circuit
To protect your 12 volt Arduino setup in a vehicle, experts recommend a two-stage transient suppression network placed inline before your buck converter:
- TVS Diode (Transient Voltage Suppression): Use a bidirectional TVS diode like the Littelfuse SMAJ15CA (approx. $0.25). This component clamps any voltage spike above 15V safely to ground, absorbing up to 400W of peak pulse power.
- LC Low-Pass Filter: Follow the TVS diode with a 10µH power inductor and a 100µF low-ESR ceramic capacitor. This filters out high-frequency alternator whine and ignition coil EMI that can corrupt ADC readings on analog sensors.
For a comprehensive breakdown of automotive transient standards and protection topologies, the DigiKey technical library on automotive transients provides excellent schematic references for ISO 7637 compliance.
Isolation Strategies for 12V Industrial Loads
When your Arduino needs to control 12V loads (like solenoid valves, linear actuators, or high-power LED arrays) rather than just being powered by them, ground loops and flyback voltages become critical failure modes.
The Flyback Diode Mandate
Never switch a 12V inductive load (relay coil, solenoid, DC motor) using a MOSFET without a flyback diode. When the magnetic field in the coil collapses, it generates a reverse voltage spike calculated by V = L(di/dt). This spike can easily exceed 100V, punching through the drain-source junction of your switching MOSFET and traveling back into the Arduino's ground plane, permanently bricking the ATmega or SAMD chip.
- Solution: Place a 1N4007 rectifier diode in reverse bias across the 12V load's terminals. The cathode (striped end) must point toward the 12V positive supply.
- Advanced Alternative: For high-frequency PWM control of 12V motors, standard 1N4007 diodes are too slow (reverse recovery time is ~30µs). Use a Schottky diode like the 1N5819 or a fast-recovery UF4007 to prevent diode overheating and EMI generation.
Optocouplers vs. Digital Isolators
If you are reading 12V digital signals (like a vehicle's brake light circuit or an industrial proximity sensor) into a 5V or 3.3V Arduino pin, never use a simple resistor voltage divider. A fault in the 12V wiring will route 12V directly into your GPIO pin, destroying the port register.
- Optocouplers (e.g., PC817): Cost roughly $0.10 each. They provide galvanic isolation, meaning the 12V ground and the Arduino ground are completely separate. However, they suffer from slow switching speeds and current transfer ratio (CTR) degradation over time.
- Digital Isolators (e.g., Silicon Labs Si8641): Cost around $2.50. They use capacitive coupling across a silicon dioxide barrier, offering data rates up to 150 Mbps. This is the mandatory choice if you are isolating a 12V CAN bus transceiver or high-speed SPI sensors.
Community Wiring & Deployment Checklist
Before sealing your 12 volt Arduino project in an enclosure, run through this field-tested checklist utilized by off-grid solar and automotive makers:
- Wire Gauge: Use a minimum of 20 AWG for 12V power feeds up to 2A. Voltage drop over long runs in RVs can cause brownouts.
- Fusing: Place an automotive blade fuse (ATO/ATC) or a resettable PTC polyfuse on the 12V positive line immediately after the battery/source connection. Size it 25% above your maximum expected draw.
- Conformal Coating: In automotive or marine 12V environments, humidity and sulfur will corrode exposed copper traces. Apply an acrylic conformal coating (like MG Chemicals 419D) to the PCB, masking off connectors and USB ports.
- Watchdog Timer: Implement the hardware watchdog timer (WDT) in your Arduino sketch. If a 12V EMI spike causes a soft-lock or infinite loop in your code, the WDT will force a hardware reset within 8 seconds.
For further reading on safe power delivery and pin limitations, always consult the official Arduino power supply documentation to ensure your external 12V step-down topology aligns with the board's reverse-polarity protection capabilities.