
The Short Answer: Python on Arduino Hardware
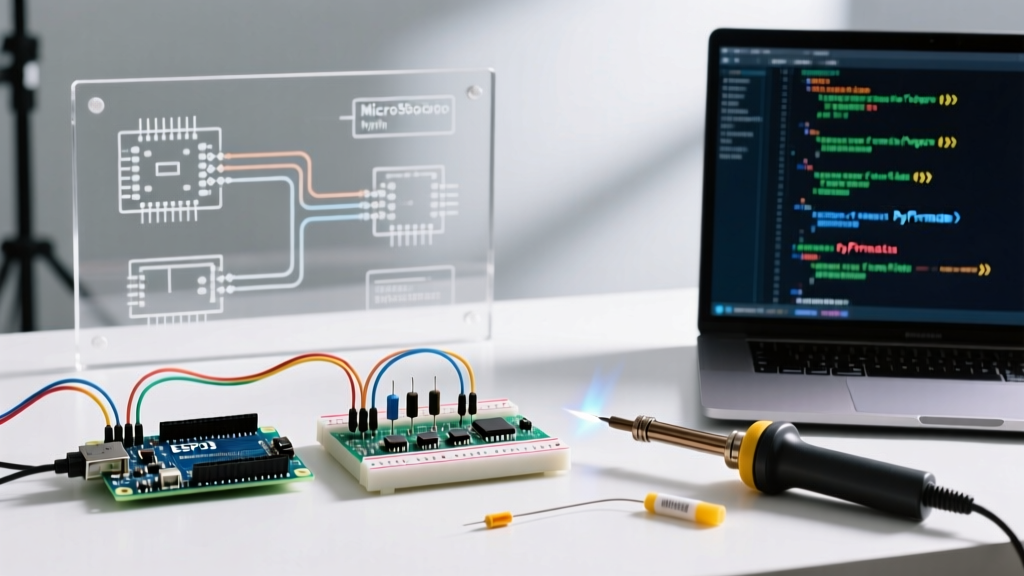
If you are asking, can the Arduino be programmed in Python, the answer is a definitive yes—but the methodology depends entirely on the silicon on your board. Classic AVR-based boards (like the Uno R3) lack the memory to run a Python interpreter natively. However, modern 32-bit Arduino boards (like the Nano ESP32 or Nano RP2040 Connect) support native MicroPython. Alternatively, you can use Python as a host language to control any Arduino via serial communication using PyFirmata.
In this 2026 guide, we will walk through the two most robust methods for integrating Python into your Arduino workflow, complete with exact firmware commands, wiring caveats, and latency benchmarks.
Method 1: Native MicroPython on the Arduino Nano ESP32
Native execution means the Python interpreter lives directly on the microcontroller. The Arduino Nano ESP32 (retailing around $21.00) is currently the best gateway for this, featuring an ESP32-S3 with 8MB Flash and 512KB SRAM—more than enough to run MicroPython smoothly.
Step 1: Flashing the MicroPython Firmware
Unlike the Arduino IDE, native Python requires flashing a specific .bin firmware file. We recommend using the Thonny IDE or the command-line esptool.
- Install esptool via your system terminal:
pip install esptool - Put the Nano ESP32 into ROM bootloader mode by holding the B0 button while pressing RESET, then releasing RESET.
- Erase the flash memory (replace
COM3with your actual port):esptool.py --chip esp32s3 --port COM3 erase_flash - Flash the official MicroPython binary:
esptool.py --chip esp32s3 --port COM3 write_flash -z 0 ARDUINO_NANO_ESP32-20240105-v1.22.1.bin
Step 2: Writing Your First Python Script
Once flashed, the board mounts as a serial REPL. Open Thonny, set the interpreter to MicroPython (ESP32), and select your COM port.
import machine
import time

# Note: Nano ESP32 silkscreen 'D2' maps to GPIO4 in MicroPython
led = machine.Pin(4, machine.Pin.OUT)

while True:
    led.value(1)
    time.sleep(0.5)
    led.value(0)
    time.sleep(0.5)
Expert Warning: The GPIO Mapping Trap
A common failure mode for beginners is trusting the silkscreen on the Nano ESP32 when writing MicroPython. The Arduino core abstracts pins as D0-D13, but MicroPython accesses the raw ESP32-S3 GPIO numbers. For example, the silkscreen D2 is actually GPIO4, and D3 is GPIO5. Always reference the official Arduino Nano ESP32 GPIO pinout chart before initializingmachine.Pin().
Method 2: Host-Client Control via PyFirmata (Classic AVR)
If you are using a classic Arduino Uno R3 ($27.00) or Uno R4 Minima ($27.50), you cannot run Python natively. The ATmega328P chip has only 32KB of Flash and 2KB of SRAM; MicroPython requires a minimum of 256KB Flash and 32KB SRAM to function. Instead, we use the Firmata protocol. Python runs on your PC (the host) and sends serial byte commands to the Arduino (the client).
Step 1: Uploading StandardFirmata
- Open the Arduino IDE (v2.3+).
- Navigate to File > Examples > Firmata > StandardFirmata.
- Upload the sketch to your Uno. The board is now a dumb I/O slave waiting for serial instructions.
Step 2: Python Host Scripting
Install the pyFirmata library on your host machine:
pip install pyFirmata pyserialNow, write a Python script to read an analog sensor (e.g., an LDR on A0) and trigger a digital relay on D8:
import pyfirmata
import time

# Establish serial connection (Adjust port as needed)
board = pyfirmata.Arduino('/dev/ttyACM0')

# Start an iterator thread to prevent serial buffer overflow
it = pyfirmata.util.Iterator(board)
it.start()

# Configure pins
ldr_sensor = board.get_pin('a:0:i') # Analog, Pin 0, Input
relay = board.get_pin('d:8:o')      # Digital, Pin 8, Output

time.sleep(1) # Allow serial handshake

try:
    while True:
        light_level = ldr_sensor.read()
        if light_level is not None:
            print(f'Light Level: {light_level:.2f}')
            if light_level < 0.3: # Dark environment
                relay.write(1)    # Trigger relay
            else:
                relay.write(0)
        time.sleep(0.2)
except KeyboardInterrupt:
    board.exit()
    print('Connection closed safely.')
Comparison Matrix: Which Python Method Should You Choose?
| Feature | Native MicroPython (ESP32/RP2040) | PyFirmata (Host-Client) | Native C++ (Arduino IDE) |
|---|---|---|---|
| Execution Location | On the microcontroller | On the host PC | On the microcontroller |
| Hardware Required | Nano ESP32, Nano RP2040 Connect | Any Arduino + PC/Raspberry Pi | Any Arduino |
| Latency | Microseconds (Real-time capable) | 1-5ms (Bound by USB Serial baud rate) | Microseconds (Fastest) |
| Offline Operation | Yes (Runs independently) | No (Requires host PC connection) | Yes (Runs independently) |
| Best Use Case | IoT, Wi-Fi/Bluetooth projects, standalone sensors | Data logging to PC, GUI control panels, machine vision integration | High-speed motor control, strict timing interrupts |
Edge Cases and Troubleshooting
When merging Python with Arduino hardware, you will inevitably hit serial and memory bottlenecks. Here is how to resolve the most common 2026 edge cases:
1. Serial Port Locking (Linux/macOS)
If you receive a Permission denied: '/dev/ttyACM0' error when running your PyFirmata script, the OS has locked the port. Fix this by adding your user to the dialout group:
sudo usermod -a -G dialout $USERNote: You must reboot your machine for group permissions to take effect.
2. PyFirmata Buffer Overflows
When reading analog sensors at high frequencies via PyFirmata, the serial buffer fills up faster than Python can read it, resulting in stale data or script crashes. The Fix: Always initialize the pyfirmata.util.Iterator(board) thread (as shown in the Method 2 code block). This delegates serial reading to a background thread, keeping your main loop clean.
3. MemoryError on RP2040 Boards
If you are using the Arduino Nano RP2040 Connect and attempt to import heavy libraries (like urequests for HTTP calls alongside neopixel), you may hit a MemoryError. The RP2040 has 264KB of SRAM, but MicroPython's garbage collector fragments it. The Fix: Run import gc; gc.collect() before initializing large arrays or making network requests to defragment the heap.
Final Verdict
So, can the Arduino be programmed in Python? Absolutely. If your project requires standalone IoT capabilities, Wi-Fi connectivity, or offline edge-computing, invest the $21 in an Arduino Nano ESP32 and use native MicroPython. If you are building a desktop-controlled robotic arm, a PC-based data logger, or integrating with OpenCV, stick to your classic Uno R3 and leverage the PyFirmata host-client architecture. Both methods are fully supported, heavily documented, and production-ready for modern maker workflows.