
The Case for Upgrading Your Arduino Human Interface Device
For over a decade, the ATmega32U4 microcontroller—found on the Arduino Leonardo, SparkFun Pro Micro, and Teensy 2.0—has been the undisputed king of the maker space for building custom keyboards, macro pads, and game controllers. Its native USB peripheral made it the default choice for any Arduino human interface device (HID) project. However, as we navigate the hardware landscape in 2026, the limitations of 8-bit AVR architecture are becoming impossible to ignore. With only 32KB of flash memory, 2.5KB of SRAM, and a strict 5V logic threshold, legacy boards struggle to support modern HID features like NKRO (N-Key Rollover), composite MIDI+Keyboard devices, and high-refresh-rate polling.
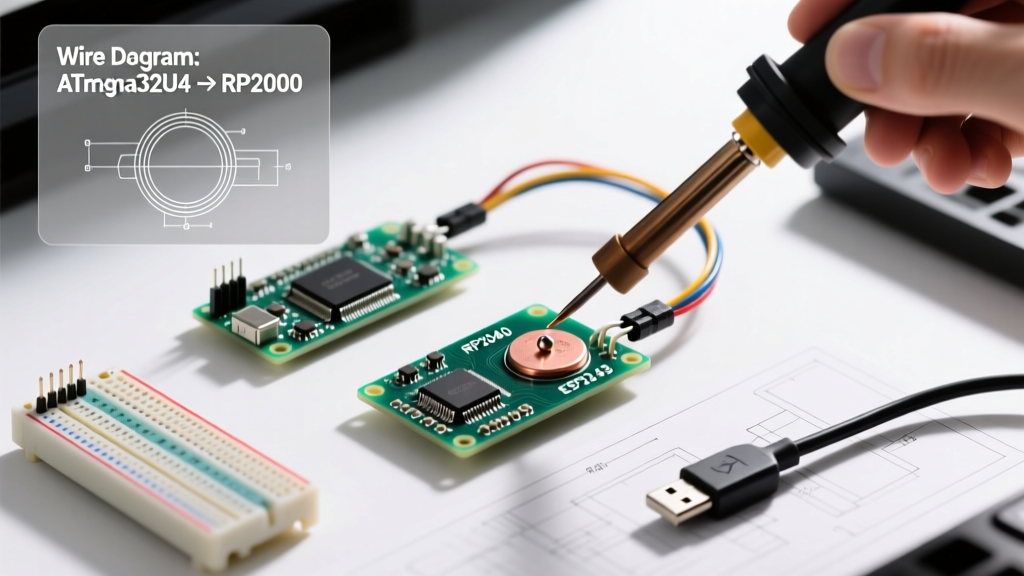
Migrating your Arduino human interface device to modern 32-bit silicon like the Raspberry Pi RP2040 or the Espressif ESP32-S3 is no longer just an option for power users; it is a necessity for commercial-grade reliability and advanced feature sets. This guide provides a comprehensive, step-by-step migration pathway, addressing the hardware pitfalls, logic-level shifts, and software stack overhauls required to successfully upgrade your HID projects.
Legacy vs. Modern HID Silicon: A Hardware Comparison
Before ripping apart your existing macro pad or flight simulator yoke, it is crucial to understand how modern ARM and RISC-V chips compare to the legacy AVR chips. Below is a technical matrix comparing the most popular microcontrollers for HID applications in 2026.
| Feature | ATmega32U4 (Pro Micro/Leonardo) | RP2040 (Raspberry Pi Pico) | ESP32-S3 (Adafruit QT Py) |
|---|---|---|---|
| Architecture | 8-bit AVR | 32-bit Dual-Core ARM Cortex-M0+ | 32-bit Dual-Core RISC-V (Xtensa LX7) |
| Clock Speed | 16 MHz | 133 MHz (Overclockable to 250+ MHz) | 240 MHz |
| Flash / SRAM | 32KB / 2.5KB | 2MB+ / 264KB | 8MB+ / 512KB + PSRAM |
| Native USB | Yes (Full Speed) | Yes (USB 1.1 Host/Device) | Yes (USB OTG) |
| Logic Level | 5V (Tolerant to 3.3V inputs) | 3.3V (5V tolerant on select pins) | 3.3V (Strict) |
| Avg. Price (2026) | $18 - $25 (Genuine) | $4 - $6 | $8 - $12 |
As highlighted in the Raspberry Pi RP2040 Datasheet, the dual-core architecture allows you to dedicate one core entirely to USB polling and HID report generation, while the second core handles matrix scanning and RGB LED calculations. This eliminates the USB stuttering commonly experienced on heavily loaded ATmega32U4 boards.
Hardware Migration: Rewiring for 3.3V Logic and Native USB
The most common point of failure when migrating an Arduino human interface device is ignoring the voltage domain shift. The ATmega32U4 operates at 5V, meaning keyboard switch matrices and rotary encoders were typically pulled up to 5V. The RP2040 and ESP32-S3 operate strictly at 3.3V.
1. Matrix Pull-Up Resistor Recalculation
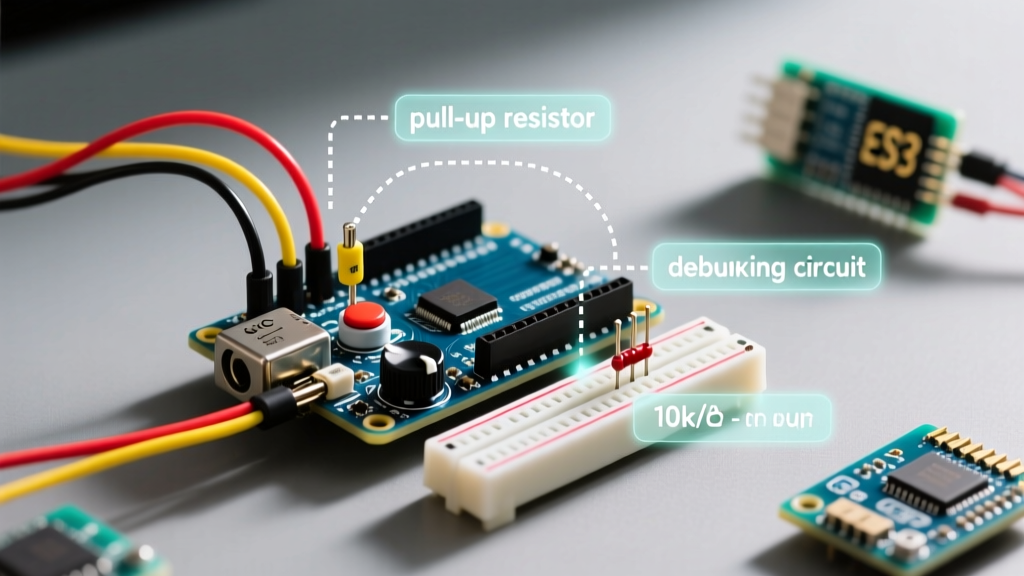
If your legacy design uses 10kΩ pull-up resistors tied to a 5V rail for a diode-switch matrix, you must rewire these to the 3.3V rail. Furthermore, because 3.3V logic has a lower noise margin, it is highly recommended to drop the pull-up resistance to 4.7kΩ to ensure faster RC rise times and cleaner signal edges when scanning at high frequencies (e.g., 1000Hz polling rates).
2. USB D+ and D- Routing
Unlike the ATmega32U4, which requires an external 1.5kΩ pull-up resistor on the D+ line for Full-Speed USB enumeration on many clone boards, modern chips handle this internally via programmable GPIO states. When wiring a custom PCB for an RP2040 HID device, route the USB D+ and D- lines as a 90-ohm differential pair. Keep the trace length under 50mm and avoid placing vias on the USB traces to prevent signal reflection and enumeration timeouts.
3. Level Shifting for 5V Peripherals
If your HID project includes 5V WS2812B addressable LEDs or legacy 5V I2C OLED displays, you cannot wire them directly to 3.3V GPIO pins. Use a bidirectional logic level shifter like the TXS0102 or a dedicated MOSFET-based shifter (BSS138) to protect your RP2040 or ESP32-S3 from overvoltage damage.
Software Migration: Transitioning to TinyUSB
The legacy Arduino Keyboard.h and Mouse.h libraries are hard-coded for the AVR USB stack. When migrating to RP2040 or ESP32-S3, you must transition to a modern USB stack. The industry standard in 2026 is TinyUSB, an open-source, cross-platform USB stack that supports complex composite devices.
According to the Adafruit TinyUSB Documentation, configuring a composite HID device (e.g., a macro pad that acts as both a Keyboard and a Consumer Control device for media keys) requires defining custom HID report descriptors.
Implementing Custom HID Descriptors
Instead of relying on generic Arduino functions, you define your HID capabilities using byte arrays. Below is a conceptual overview of how you initialize a TinyUSB HID device on the RP2040 using the arduino-pico core by Earle Philhower (which is highly recommended over the official Arduino Mbed core for superior TinyUSB integration):
- Step 1: Include the Adafruit TinyUSB library and define your report map (e.g., standard 6KRO keyboard or advanced NKRO bitmap).
- Step 2: Initialize the
Adafruit_USBD_HIDobject, passing your report map, report length, and polling interval (set to 1ms for 1000Hz polling). - Step 3: Use
usb_hid.sendReport()to push raw byte arrays to the host OS, bypassing the overhead of legacy wrapper functions.
Expert Tip: When migrating NKRO (N-Key Rollover) code, remember that standard NKRO HID descriptors use a 1-bit-per-key bitmap rather than the standard 6-byte array used by basic boot-protocol keyboards. Failing to update the host OS driver expectations can result in 'ghosting' or dropped keystrokes on Linux and macOS systems.
Common Failure Modes and Troubleshooting Edge Cases
Migrating an Arduino human interface device is rarely plug-and-play. Below are the most frequent edge cases encountered during the upgrade process and their precise solutions.
The 'Ghost Enumeration' and Bootloader Bricking
The Problem: On the ATmega32U4, uploading a sketch with a malformed USB stack or an infinite loop blocking the USB interrupt could 'brick' the board, making it invisible to the IDE. The fix required the infamous '1200 baud touch' to force the bootloader into programming mode.
The Modern Solution: The RP2040 eliminates this entirely via its hardware BOOTSEL button. If your TinyUSB HID descriptor crashes the USB stack, simply hold BOOTSEL while plugging in the USB cable. The Pico will mount as a mass storage device (UF2 drive), allowing you to drag and drop a new compiled binary. For ESP32-S3 boards, holding the BOOT button during reset achieves the same DFU (Device Firmware Update) mode.
macOS vs. Windows HID Descriptor Quirks
The Problem: Windows is notoriously forgiving of slightly malformed HID report descriptors, often auto-correcting missing padding bits. macOS, however, strictly adheres to the USB HID specification. If your descriptor lacks proper logical minimum/maximum bounds or padding, macOS will silently ignore the device.
The Modern Solution: Always validate your TinyUSB HID descriptors using the official USB HID Descriptor Tool before flashing. Ensure that every input report is padded to a byte boundary (8 bits). If your report is 13 bits, you must explicitly add a 3-bit padding field to the descriptor map.
USB Suspend and Wake-Up Failures
The Problem: Modern operating systems aggressively suspend USB ports to save power. A legacy Pro Micro might fail to wake the PC from sleep because it lacks the hardware wiring to assert the USB resume signal.
The Modern Solution: Both the RP2040 and ESP32-S3 support USB remote wake-up natively. In your TinyUSB configuration, ensure the TUSB_DESC_CONFIG_ATT_REMOTE_WAKEUP attribute is set in your configuration descriptor. In your matrix scanning loop, call tud_remote_wakeup() when a key press is detected while the device is in the suspended state.
Expert Verdict: Which Path Should You Choose?
If your Arduino human interface device requires wireless connectivity, Bluetooth Low Energy (BLE) HID, or Wi-Fi integration for cloud-connected macro triggers, the ESP32-S3 is the undisputed choice. As detailed in the Espressif ESP32-S3 Hardware Guidelines, its native USB OTG combined with BLE 5.0 allows for seamless switching between wired and wireless HID modes without external multiplexers.
However, if you are building a wired, ultra-low-latency competitive gaming keypad, a complex MIDI controller, or a multi-layered macro pad requiring massive lookup tables, the RP2040 remains the superior workhorse. Its deterministic PIO (Programmable I/O) state machines allow you to offload WS2812B LED timing and matrix debouncing to dedicated hardware blocks, freeing both ARM cores to handle complex HID logic and USB polling with microsecond precision.
Upgrading from the ATmega32U4 requires a paradigm shift in how you approach voltage domains and USB stacks, but the resulting stability, memory headroom, and polling performance make the migration an essential step for any serious maker in 2026.