
The Core Architectural Divide: Microcontroller vs. Microprocessor
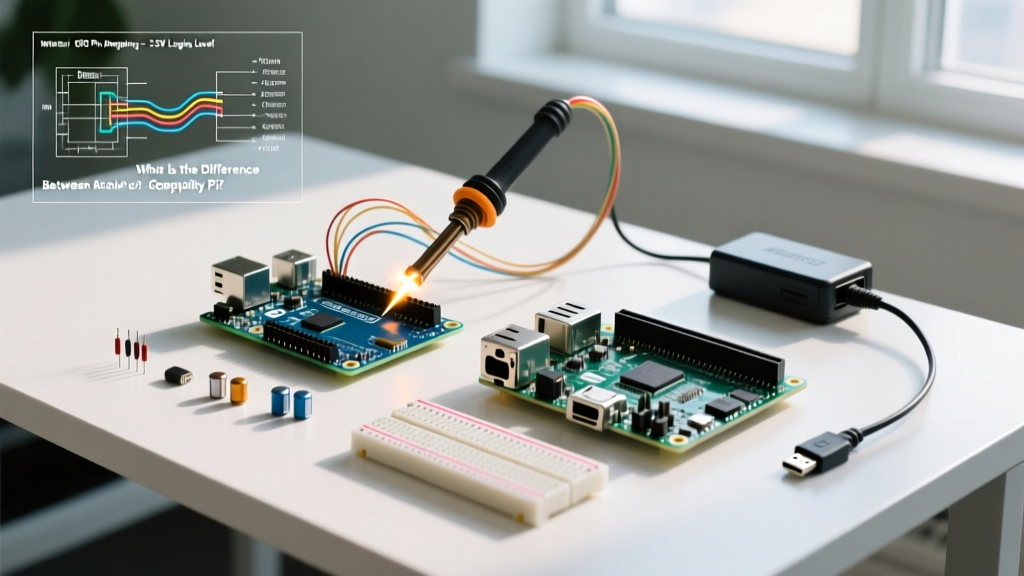
When makers and engineers ask, what is difference between Arduino and Raspberry Pi, the answer goes far beyond software. It is a fundamental divergence in hardware architecture, real-time processing capabilities, and electrical compatibility. As of 2026, the ecosystem has matured significantly, with boards like the Arduino Uno R4 Minima and the Raspberry Pi 5 dominating their respective spaces. However, mixing the two requires a deep understanding of their electrical and logical boundaries.
At its core, an Arduino is a microcontroller unit (MCU) development board. It runs bare-metal C/C++ code directly on the silicon without an intervening operating system. This allows for deterministic, hard real-time execution where a pin can be toggled in exact nanosecond intervals. Conversely, a Raspberry Pi is a Single Board Computer (SBC) powered by a microprocessor. It runs a full Linux kernel (Raspberry Pi OS), which introduces non-deterministic context switching, making it unsuitable for strict real-time hardware control but unparalleled for high-level computing, computer vision, and network routing.
Hardware Specification & Compatibility Matrix
To understand hardware compatibility, we must compare the electrical characteristics of current-generation boards. The table below highlights the critical differences that dictate how these boards interface with sensors, actuators, and each other.
| Feature | Arduino Uno R4 Minima | Raspberry Pi 5 (4GB) |
|---|---|---|
| Core Processor | Renesas RA4M1 (Arm Cortex-M4) | Broadcom BCM2712 (Quad Cortex-A76) |
| Clock Speed | 48 MHz | 2.4 GHz |
| RAM | 32 KB SRAM | 4 GB LPDDR4X |
| Native GPIO Logic Level | 5V Tolerant (Native 3.3V silicon) | Strictly 3.3V (5V causes fatal damage) |
| Boot Time | ~2 milliseconds | ~15 to 30 seconds (Linux boot) |
| Typical 2026 Pricing | ~$20.00 USD | ~$60.00 USD |
| Hardware PWM Channels | Multiple dedicated hardware timers | Software-based (via kernel) or specific PCM/PWM pins |
The Critical Compatibility Trap: Logic Level Voltages
The most common point of failure when integrating Arduino ecosystems with Raspberry Pi hardware is voltage logic mismatching. Understanding this is the crux of any compatibility guide.
⚠️ CRITICAL WARNING: The Raspberry Pi 5 and Pi Zero 2 W utilize strictly 3.3V logic on their GPIO pins. Feeding a 5V signal from a classic Arduino Uno R3 or a 5V sensor directly into a Raspberry Pi GPIO pin will permanently destroy the Broadcom SoC's silicon. Always use level shifters when bridging 5V and 3.3V domains.
Safely Bridging 5V and 3.3V Signals
If your project requires an Arduino to read a sensor that is also being polled by a Raspberry Pi, or if you are connecting the two boards via UART serial, you must step down the 5V TX/RX lines. There are two primary methods:
- BSS138 Bidirectional Logic Level Converter: Priced around $2 to $4, these breakout boards use N-channel MOSFETs to safely translate I2C, SPI, and UART signals between a high-voltage (HV) and low-voltage (LV) side. Connect the HV side to the Arduino's 5V rail and the LV side to the Pi's 3.3V rail.
- Resistive Voltage Divider: For unidirectional signals (like Arduino TX to Pi RX), a simple voltage divider using a 2kΩ and 3.3kΩ resistor network will drop 5V down to a safe ~3.1V. This is a reliable, low-cost edge-case fix when a dedicated level shifter is unavailable.
Ecosystem Compatibility: Shields vs. HATs
Mechanical and electrical expansion ecosystems are entirely incompatible out of the box. Arduino relies on Shields, while Raspberry Pi utilizes HATs (Hardware Attached on Top).
- Arduino Shields: These stack onto the standard 0.1-inch spaced female headers. They rely on hardcoded pin mappings (e.g., SPI on pins 10-13, I2C on A4/A5). Shields do not have auto-configuration capabilities; the microcontroller must be explicitly programmed to know what is attached.
- Raspberry Pi HATs: These connect to the 40-pin GPIO header. Crucially, HATs feature an EEPROM chip connected to the Pi's dedicated I2C ID pins (GPIO 0 and 1). Upon boot, the Linux kernel reads this EEPROM to automatically configure GPIO pin states, load specific device tree overlays, and initialize drivers without user intervention.
Compatibility Workaround: You cannot physically plug an Arduino motor shield into a Raspberry Pi. However, adapter boards like the Arduino-to-Raspberry Pi GPIO bridge adapters exist to remap the physical pins, though you will still need to write custom Python or C++ scripts to replicate the Arduino library functions manually.
Software Interfacing: Making Them Talk
Because of their architectural differences, the most powerful projects in 2026 use both boards in tandem. The Raspberry Pi handles heavy computational lifting (like running a local LLM or OpenCV machine vision), while the Arduino handles low-level, real-time actuator control.
Recommended Communication Protocols
When designing a hybrid system, choose your communication bus carefully based on latency and distance requirements:
- UART Serial (Best for Point-to-Point): Connect the Pi's TX to the Arduino's RX (via level shifter) and vice versa. The Arduino
Serial.read()and Python'spyseriallibrary make this trivial. Baud rates of 115200 are standard and highly reliable. - I2C (Best for Short-Distance Sensor Sharing): The Pi acts as the I2C Master, and the Arduino is programmed as an I2C Slave using the
Wire.hlibrary. Note: You must disable the Pi's I2C hardware pull-up resistors via software or physically cut the traces on the Pi, as the Pi's internal pull-ups are too weak for long bus lines, and external 5V pull-ups will fry the Pi. - USB Serial (Safest & Easiest): Simply connect the Arduino to the Pi via a standard USB-A to USB-C cable. The Pi recognizes the Arduino as a
/dev/ttyACM0serial device. This completely bypasses the 5V/3.3V logic level danger, as the USB controllers handle the isolation.
Decision Framework: Which Board Should You Choose?
Use this practical framework to select the right tool for your 2026 project requirements:
Choose Arduino When:
- Your project requires hard real-time responses (e.g., reading a 10,000 RPM optical encoder or generating precise PWM signals for a BLDC motor).
- The device will be deployed in a remote location on battery or solar power. An Arduino Nano 33 BLE Sense draws microamps in sleep mode, whereas a Pi requires watts of continuous power.
- You need instant-on functionality (booting in milliseconds to catch a transient physical event).
Choose Raspberry Pi When:
- Your project involves multimedia processing, HDMI output, or USB webcams.
- You need to run high-level networking stacks, host a local web server, or interface with cloud APIs via complex TLS encryption.
- You require gigabytes of RAM to load machine learning models or large datasets.
Frequently Asked Questions
Can I run Arduino code on a Raspberry Pi?
Not natively on the hardware pins. However, you can use the Arduino IDE on the Raspberry Pi OS to write code, and then use libraries like WiringPi or gpiozero in Python to replicate Arduino-style functions. Alternatively, the Raspberry Pi Pico (which is an MCU, not an SBC) fully supports the Arduino IDE and core natively.
What is difference between Arduino and Raspberry Pi regarding power consumption?
A standard Arduino Uno R4 idles at roughly 25mA to 45mA (approx. 0.12W at 5V). A Raspberry Pi 5 idles at around 2W to 3W and can spike to 12W+ under heavy multi-core load. For off-grid IoT nodes, the Arduino (or ESP32 alternatives) is the only viable choice.
Authoritative Resources for Further Reading
To deepen your understanding of hardware integration and pinout safety, consult the official documentation:
- Arduino Official Getting Started & Hardware Documentation - Essential for understanding MCU memory constraints and bare-metal execution.
- Raspberry Pi Hardware & Compute Module Documentation - Critical reading for GPIO pinout limits, EEPROM HAT specifications, and power delivery requirements.
- SparkFun Tutorial: Logic Levels and Level Shifting - An industry-standard guide to safely translating 5V and 3.3V signals without damaging sensitive silicon.