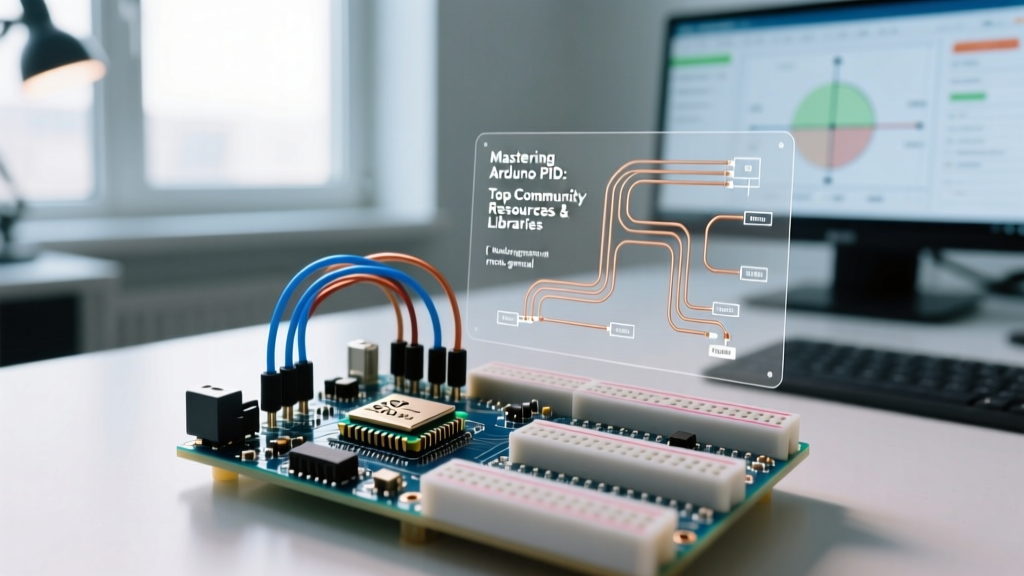

The State of Arduino PID Control in 2026
Proportional-Integral-Derivative (PID) control remains the undisputed backbone of closed-loop feedback systems in the maker community. Whether you are stabilizing a 3D printer hotend, managing a sous-vide water bath, or controlling the speed of a DC motor via a BTS7960 driver (typically $8 to $12 in 2026), getting your Arduino PID implementation right is the difference between a system that oscillates wildly and one that holds a setpoint with surgical precision.
However, the landscape of microcontrollers has shifted. While the classic ATmega328P (Arduino Uno) is still prevalent, the community has heavily migrated toward the ESP32-S3 and Raspberry Pi RP2040 for computationally intensive control loops. This shift has exposed the limitations of legacy code and birthed a new generation of community-driven libraries and tuning tools. Below is our definitive roundup of the most authoritative Arduino PID resources, libraries, and hardware frameworks available today.
Community Library Comparison Matrix
Choosing the right library is critical. The wrong choice can lead to integral windup, derivative kick, or timing jitter that ruins your tuning parameters. Here is how the top three community libraries stack up in 2026.
| Library | Maintainer / Origin | Execution Speed | Anti-Windup Features | Best Use Case |
|---|---|---|---|---|
| PID_v1 | Brett Beauregard | Moderate (millis) | Basic Output Limits | Legacy AVR boards, simple thermal loops |
| QuickPID | David Lloyd (Dlloydev) | High (micros/millis) | Advanced (pOnError, iOnError) | ESP32, RP2040, high-speed motor control |
| PID_AutoTune | Brett Beauregard / Community | N/A (Relay Method) | N/A | Initial Kp, Ki, Kd parameter discovery |
Deep Dive: The Gold Standard Resources
1. Brett Beauregard's PID_v1 & The 'Improving the Beginner's PID' Series
No Arduino PID roundup is complete without referencing Brett Beauregard. His original Improving the Beginner's PID blog series remains the most cited educational resource on the internet for understanding why PID code is written the way it is. Beauregard systematically breaks down common pitfalls like 'Derivative Kick' (a massive spike in output when the setpoint changes suddenly) and 'Integral Windup' (where the integral term accumulates error while the actuator is saturated).
Actionable Insight: If you are using the standard PID_v1 library, always ensure you call myPID.SetOutputLimits(0, 255); to match your PWM resolution. Failing to do this is the number one cause of integral windup in community forums, as the internal math will continue integrating error even after your physical actuator has maxed out.
2. QuickPID: The Modern ESP32 & AVR Challenger
As makers adopt dual-core ESP32 boards for complex robotics, the QuickPID library has emerged as the community favorite for high-performance loops. Unlike PID_v1, which relies heavily on millis(), QuickPID allows for microsecond-level sampling using micros(), which is vital for stabilizing fast-acting systems like drone gimbals or active magnetic bearings.
QuickPID introduces proportional-on-measurement (pOnError) and integral-on-error (iOnError) modes. By calculating the proportional term based on the measurement rather than the error, QuickPID entirely eliminates derivative and proportional kick when you change your setpoint on the fly—a massive advantage for CNC and 3D printing applications where setpoints shift dynamically.
Hardware Edge Cases: PWM & Isolation
Software is only half the battle. The community consistently reports that poor hardware integration ruins perfect PID math. Here are the specific edge cases you must address in your physical build.
ATmega328P vs. ESP32 PWM Output
The standard analogWrite() function on an Arduino Uno outputs a PWM signal at roughly 490 Hz on most pins (and 980 Hz on pins 5 and 6). For thermal systems (like a SSR controlling a heating element), this is fine. However, for DC motor control, 490 Hz will cause audible whining and inefficient switching in MOSFETs.
- AVR Fix: You must manipulate the hardware timer registers (e.g.,
TCCR1B = TCCR1B & B11111000 | B00000001;) to push the PWM frequency on pins 9 and 10 to 31,250 Hz. - ESP32 Advantage: The ESP32 utilizes the LEDC peripheral. In 2026, standard practice is to configure
ledcSetup(channel, 20000, 12)for a 20 kHz frequency at 12-bit resolution (0-4095). Remember to scale your PID output limits to 4095, not 255, or your actuator will only ever reach 6% of its maximum power!
Community Tuning Framework: Ziegler-Nichols
Guessing Kp, Ki, and Kd values is a waste of time. The community standard for initial tuning is the Ziegler-Nichols closed-loop method. For a comprehensive mathematical breakdown, refer to the Ziegler-Nichols method documentation. Here is the practical, step-by-step maker implementation:
- Zero out Ki and Kd: Set your integral and derivative gains to 0. You are now running a pure P-controller.
- Increase Kp: Slowly increase the Proportional gain until your system begins to oscillate at a constant amplitude. This specific Kp value is your Ultimate Gain (Ku).
- Measure the Period: Use an oscilloscope or a serial plotter to measure the time between oscillation peaks. This is your Ultimate Period (Tu), usually measured in seconds.
- Calculate Base Parameters: Apply the classic PID formulas:
Kp = 0.6 * Ku,Ki = 2 * Kp / Tu, andKd = Kp * Tu / 8. - Refine: These calculated values will get you to 85% stability. From here, manually reduce Ki if you see low-frequency wandering, and reduce Kd if sensor noise is causing erratic actuator jitter.
Troubleshooting Common PID Failure Modes
Even with the best libraries, real-world physics interferes. Use this diagnostic checklist when your system misbehaves:
- Symptom: System reaches setpoint but overshoots massively and rings before settling.
Diagnosis: Kp is too high, or Kd is too low to dampen the momentum. Reduce Kp by 20% and slightly increase Kd. - Symptom: System approaches setpoint but stops just short and never reaches it (Steady-State Error).
Diagnosis: Friction or static load in the physical system is overpowering the P-term. You need a higher Ki to accumulate the force required to push through the static friction. - Symptom: Actuator twitches erratically and the serial plotter shows high-frequency noise on the output.
Diagnosis: Your sensor is noisy, and the Derivative term is amplifying that noise (since derivative is the rate of change, a single noisy spike registers as infinite acceleration). Implement a software low-pass filter (e.g., an exponential moving average) on your sensor input before passing it to the PIDCompute()function.
Final Thoughts on Simulators
Before wiring up expensive actuators or high-wattage heating elements, leverage community-built simulators. The Processing-based PID Simulator (often bundled with QuickPID examples) allows you to model thermal mass and system lag virtually. By visualizing the internal P, I, and D terms stacking together in real-time on your PC, you will develop an intuitive understanding of how tuning parameters interact, saving you hours of physical hardware debugging.