
The Physics of Floating Pins and the Pull-Up Solution
When configuring digital inputs on a microcontroller, leaving a pin unconnected (floating) is a cardinal sin of embedded design. A floating pin acts as a high-impedance antenna, picking up electromagnetic interference (EMI) from nearby AC mains, switching power supplies, and even your own body. This results in erratic, unpredictable state changes. To stabilize the pin, we use a pull-up resistor to tie it to the logic HIGH voltage (VCC). While traditional schematics require an external 10kΩ resistor, modern microcontrollers feature built-in internal pull-up resistors, streamlining your bill of materials (BOM) and PCB layout.
In this configuration guide, we will thoroughly explore how to wire and program an input pullup LED with button Arduino setup. We will cover the hardware topology, the critical concept of active-low logic, production-ready debouncing code, and advanced edge cases involving parasitic capacitance that most beginner tutorials ignore.
Hardware Configuration: Wiring the Circuit
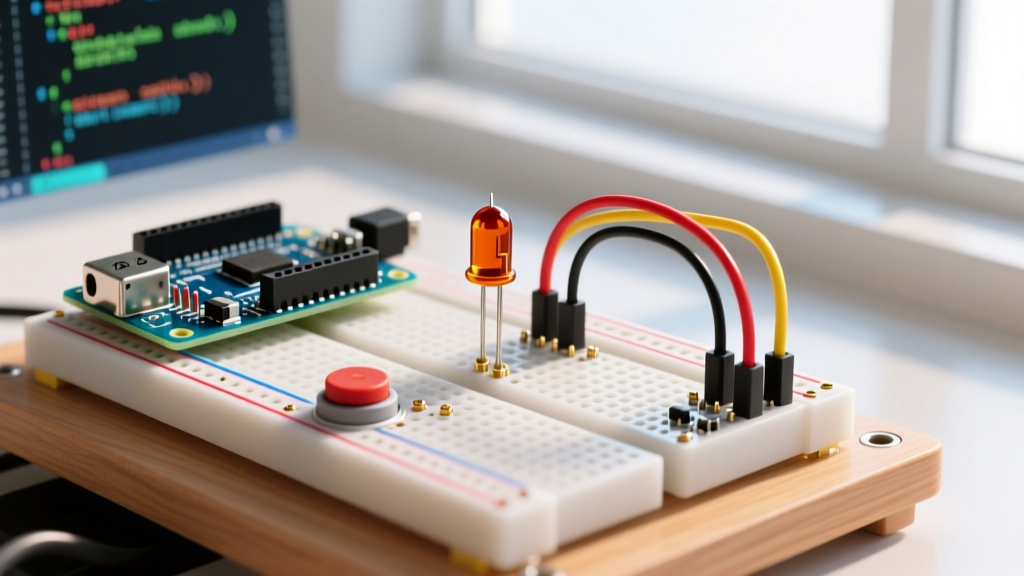
The beauty of utilizing the internal pull-up resistor is the drastic reduction in external components. For a standard input pullup LED with button Arduino circuit, you only need a few basic parts:
- Microcontroller: Arduino Uno R4 Minima, Uno R3 (ATmega328P), or Nano.
- Switch: Standard 6x6mm tactile pushbutton (e.g., C&K PTS645 series, approx. $0.05 in bulk).
- LED: Standard 5mm through-hole LED (forward voltage ~2.0V).
- Current Limiting Resistor: 220Ω or 330Ω for the LED (approx. $0.02).
Step-by-Step Wiring Topology
- The Button: Connect one terminal of the tactile switch to Digital Pin 2. Connect the opposite terminal directly to GND. Notice that there is no resistor between the pin and VCC; the microcontroller handles this internally.
- The LED: Connect the anode (long leg) of the LED to Digital Pin 8 through the 220Ω current-limiting resistor. Connect the cathode (short leg) directly to GND.
Engineering Warning: Never wire a pushbutton directly between a digital pin and VCC if you intend to use an internal pull-up. If the software accidentally configures the pin as an
OUTPUTand drives it LOW, pressing the button will create a dead short from VCC to GND through the microcontroller's internal MOSFETs, instantly destroying the silicon.
Software Configuration: Mastering Active-Low Logic
The most common stumbling block for makers configuring an input pullup LED with button Arduino circuit is the inverted logic state. Because the internal resistor pulls the pin HIGH (5V or 3.3V) when the switch is open, the default resting state reads as HIGH. When you press the button, you physically bridge the pin to GND, pulling the voltage to 0V, which reads as LOW.
This is known as active-low logic. In your firmware, a LOW reading means the button is actuated, and a HIGH reading means it is released. According to the official Arduino pinMode() reference, you enable this feature by passing the INPUT_PULLUP constant. On legacy AVR boards, this was historically achieved by setting the pin to INPUT and then calling digitalWrite(pin, HIGH), but INPUT_PULLUP is the modern, explicit standard.
Comparison Matrix: Internal vs. External Resistor Networks
While internal pull-ups are convenient, they are not a universal panacea. Below is a technical comparison to help you decide which configuration your specific 2026 project demands.
| Configuration | Resistance Range | Wiring Complexity | EMI Susceptibility | Best Use Case |
|---|---|---|---|---|
| Internal Pull-Up | 20kΩ - 50kΩ (MCU dependent) | Minimal (Switch to GND) | Moderate to High | Prototyping, short wire runs, enclosed consumer gadgets |
| External Pull-Up | 4.7kΩ - 10kΩ (User selected) | Moderate (Requires VCC tie) | Low | Industrial environments, long wire runs (>30cm) |
| External Pull-Down | 10kΩ (User selected) | Moderate (Requires GND tie) | Low | Active-high logic requirements, specific PLC interfaces |
For a deeper dive into the physics of why these resistors prevent floating nodes, All About Circuits provides an excellent breakdown of pull-up resistor theory and impedance matching.
Production-Ready Sketch with Millis() Debouncing
Mechanical tactile switches suffer from contact bounce. When the metal contacts close, they physically bounce against each other for 1 to 5 milliseconds, generating a rapid flurry of HIGH/LOW transitions. If your code simply reads the pin state, a single button press might register as five separate presses. While delay(50) is a common beginner fix, it halts the microcontroller's main loop, ruining real-time performance. Instead, we use a non-blocking millis() timestamp approach.
// Input Pullup LED with Button Arduino - Non-Blocking Debounce
const int BUTTON_PIN = 2;
const int LED_PIN = 8;

bool ledState = false;
bool lastButtonState = HIGH; // Resting state is HIGH due to pull-up
unsigned long lastDebounceTime = 0;
const unsigned long debounceDelay = 50; // 50ms debounce window

void setup() {
  // Configure internal pull-up and LED output
  pinMode(BUTTON_PIN, INPUT_PULLUP);
  pinMode(LED_PIN, OUTPUT);
  digitalWrite(LED_PIN, LOW);
}

void loop() {
  // Read the active-low switch state
  bool currentButtonState = digitalRead(BUTTON_PIN);

  // Check for state change and apply debounce filter
  if (currentButtonState != lastButtonState) {
    lastDebounceTime = millis();
  }

  // If the state has been stable longer than the debounce delay
  if ((millis() - lastDebounceTime) > debounceDelay) {
    // If the button is currently pressed (LOW) and wasn't previously
    if (currentButtonState == LOW && lastButtonState == HIGH) {
      ledState = !ledState; // Toggle LED state
      digitalWrite(LED_PIN, ledState);
    }
  }

  // Save the current state for the next loop iteration
  lastButtonState = currentButtonState;
}
Advanced Edge Cases: Long Wires and Parasitic Capacitance
In desktop prototyping, an input pullup LED with button Arduino setup works flawlessly. However, when you move to enclosures or industrial panels where the button is mounted 50cm away from the MCU, you will encounter a hidden failure mode: parasitic capacitance.
A standard 22 AWG wire has a capacitance of roughly 50pF per meter. When paired with the relatively weak 50kΩ internal pull-up resistor of the ATmega328P or Renesas RA4M1 (found in the Uno R4), it creates an RC low-pass filter. The time constant (τ = R × C) dictates how fast the pin can rise back to a logic HIGH when the button is released. With long, unshielded wires, the voltage rise time becomes so slow that it lingers in the microcontroller's undefined logic threshold zone (between 1.5V and 3.0V for a 5V system), causing phantom triggers and erratic LED toggling.
The Hardware Fix for Remote Switches
If your button is located more than 30cm from the microcontroller, you must bypass the internal pull-up and install a discrete 4.7kΩ external pull-up resistor at the switch location. This lowers the RC time constant by a factor of 10, ensuring sharp, clean voltage edges that the digital input buffer can read reliably, even in the presence of heavy 60Hz AC mains noise.
Power Consumption Considerations for Battery IoT
If your Arduino project is battery-powered, you must account for the current draw of the internal pull-up. When the button is pressed, current flows from VCC, through the internal 50kΩ resistor, through the switch, to GND. Using Ohm's Law (I = V / R), a 5V system draws roughly 0.1mA (100µA) per pressed button. While negligible for a wall-powered LED lamp, if you are designing a low-power sleep-mode sensor node, holding the button down will continuously drain 100µA, potentially killing a CR2032 coin cell prematurely. In ultra-low-power designs, it is often better to power the pull-up resistor from a switched GPIO pin, allowing the MCU to cut power to the resistor network entirely before entering deep sleep.
Summary
Configuring an input pullup LED with button Arduino circuit is a foundational skill that bridges basic digital logic and real-world hardware constraints. By leveraging INPUT_PULLUP, you eliminate external components, but you must respect the active-low logic paradigm and implement proper software debouncing. Always evaluate your physical wire lengths and environmental noise before finalizing your BOM, upgrading to external 4.7kΩ resistors when parasitic capacitance threatens signal integrity.