
The Block Coding Ceiling: When to Migrate
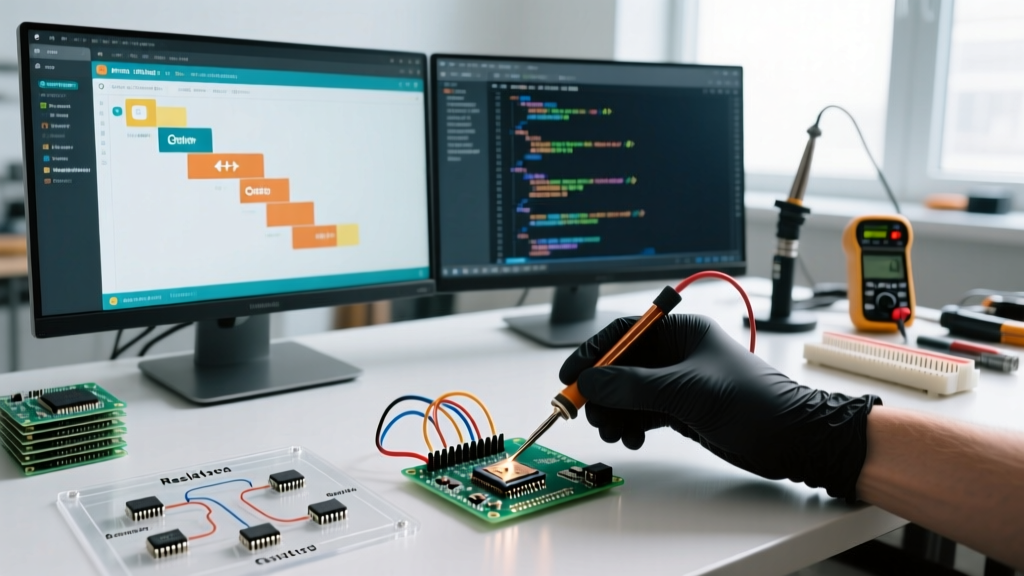
Visual programming platforms like Tinkercad Circuits, mBlock, and Scratch-based Arduino block coding environments are exceptional for STEM onboarding. They abstract away syntax errors, allowing beginners to focus on logic, sensor integration, and basic actuator control. However, as makers progress toward complex IoT deployments, robotics, or high-speed data acquisition, they inevitably hit the 'block coding ceiling.'
Block environments inherently restrict access to low-level hardware registers, advanced memory management, and Real-Time Operating Systems (RTOS). Furthermore, modern microcontrollers like the ESP32-S3 or Raspberry Pi RP2040 lack robust support in visual IDEs. Migrating from Arduino block coding to text-based C++ (via Arduino IDE 2.x or PlatformIO) is not just a syntax change; it is a fundamental shift in how you architect embedded systems. This guide provides a structured, step-by-step migration roadmap for makers ready to upgrade their toolchain in 2026.
Platform Comparison: Block vs. Text Environments
Before writing your first line of C++, it is crucial to understand the capabilities of your target environment. Below is a comparison of the standard block platforms versus modern text-based IDEs.
| Feature | Block IDEs (Tinkercad / mBlock) | Arduino IDE 2.3.x | PlatformIO (VS Code) |
|---|---|---|---|
| Hardware Support | Limited (Mostly AVR, basic ESP8266) | Broad (AVR, SAMD, ESP32, RP2040) | Exhaustive (Thousands of boards via custom manifests) |
| Debugging | Visual simulation only | Basic Serial Monitor & Plotter | Hardware JTAG/SWD debugging, breakpoints, variable inspection |
| RTOS & Multithreading | Not supported | Supported via libraries (FreeRTOS) | Native integration, SMP configuration for dual-core MCUs |
| Code Portability | Proprietary JSON/XML formats | Standard .ino / .cpp files | Standard C/C++ with CMake/INI build systems |
| Compile Speed | Cloud-dependent (Tinkercad) | Moderate (Local caching) | Fast (Incremental builds, Ninja build system) |
The 3-Phase Migration Roadmap
Jumping straight into raw C++ can be overwhelming. Use this phased approach to bridge the gap between visual logic and text-based syntax.
Phase 1: The 'Show Code' Bridge
Most advanced block platforms include a translation feature. In Tinkercad Circuits, you can switch the code view from 'Blocks' to 'Blocks + Text' or 'Text'. In mBlock 5, the 'Device' tab allows you to view the generated C++ code. Action step: Build a familiar project (e.g., a temperature-triggered servo motor) using blocks, then study the generated C++ code. Pay close attention to how visual loops translate to void loop() and how conditional blocks map to if/else statements.
Phase 2: Transitioning to Arduino IDE 2.x
As of 2026, the Arduino IDE 2.3.x branch is the standard for text-based beginners. It introduces autocomplete, real-time error linting, and an improved board manager. Action step: Recreate your Phase 1 project manually in the Arduino IDE. Rely on the official Arduino sketch structure documentation to understand the mandatory setup() and loop() functions. Focus on mastering basic syntax: semicolons at the end of statements, curly braces for code blocks, and case sensitivity.
Phase 3: Upgrading to PlatformIO (VS Code)
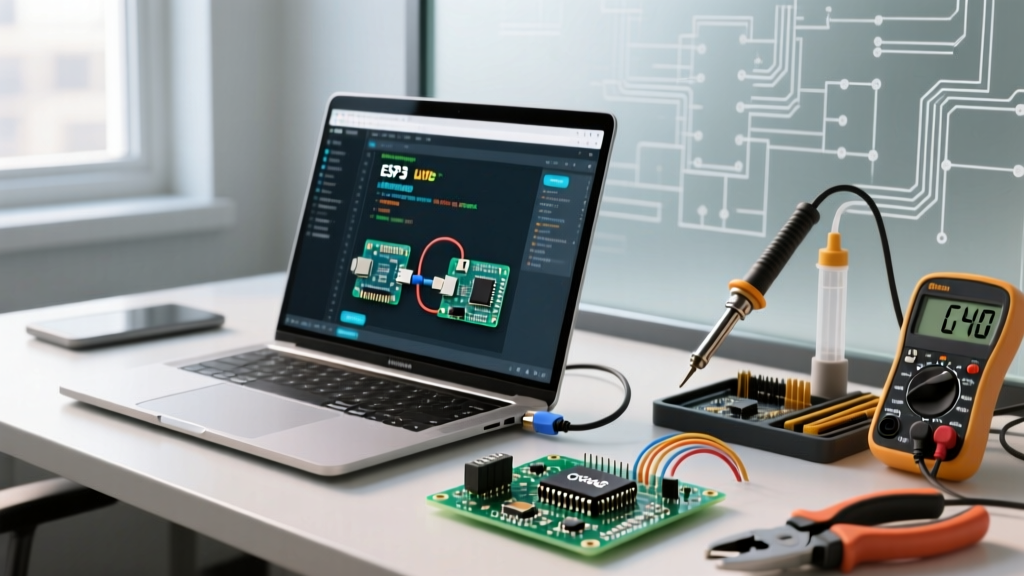
Once you are comfortable with C++ syntax, migrate to PlatformIO within Visual Studio Code. PlatformIO is the industry standard for professional embedded development. It allows you to manage library dependencies via a simple platformio.ini file, eliminating the 'library version conflict' errors that plague the standard Arduino IDE. It also unlocks hardware-level debugging via JTAG/SWD probes, which is impossible in block IDEs.
The Paradigm Shift: Blocking vs. Non-Blocking Execution
The most critical conceptual hurdle when migrating from Arduino block coding to C++ is understanding execution flow. Block coding heavily relies on 'Wait' blocks (e.g., wait 1 second), which translate to the delay() function in C++.
Using delay() halts the microcontroller's CPU. During a delay, the MCU cannot read sensors, update displays, or listen for serial commands. In professional C++ firmware, we use non-blocking state machines powered by the millis() function.
Code Example: Migrating from Delay to Millis
// THE BLOCK CODING WAY (Bad for complex projects)
void loop() {
  digitalWrite(LED_BUILTIN, HIGH);
  delay(1000); // CPU is frozen here
  digitalWrite(LED_BUILTIN, LOW);
  delay(1000); // CPU is frozen here
}

// THE C++ TEXT CODING WAY (Non-blocking)
unsigned long previousMillis = 0;
const long interval = 1000;
int ledState = LOW;

void loop() {
  unsigned long currentMillis = millis();

  // Check if the interval has passed
  if (currentMillis - previousMillis >= interval) {
    previousMillis = currentMillis; // Save the last time you blinked

    // Toggle the LED state
    ledState = (ledState == LOW) ? HIGH : LOW;
    digitalWrite(LED_BUILTIN, ledState);
  }

  // The CPU is free to run other code here!
  readSensors();
  checkWiFiConnection();
}
Mastering millis() is the definitive rite of passage for makers leaving block environments. It enables multitasking on single-core microcontrollers like the Arduino Uno R4 Minima.
Hardware Upgrades: Outgrowing the Uno R3
Block coding environments are heavily optimized for the classic 8-bit AVR architecture (ATmega328P). As you migrate to C++, you should simultaneously upgrade your hardware to leverage modern 32-bit architectures.
- ESP32-S3: Featuring a dual-core 240MHz Xtensa LX7 CPU, native USB, and AI vector instructions. It is virtually unsupported in block IDEs but thrives in PlatformIO using the ESP-IDF framework.
- Raspberry Pi Pico (RP2040): Offers dual-core ARM Cortex-M0+ processors and the unique Programmable I/O (PIO) state machines. PIO allows you to create custom hardware interfaces (like WS2812 LED protocols) without blocking the main CPU cores.
- Arduino Uno R4 WiFi: A great bridge board. It maintains the classic Uno form factor and 5V logic but upgrades the brain to a 32-bit ARM Cortex-M4, complete with a hardware floating-point unit (FPU) for complex math calculations.
Common Migration Failure Modes & Fixes
When transitioning from visual blocks to typed code, makers encounter specific, predictable errors. Here is how to troubleshoot them:
- 'Expected unqualified-id' or 'Missing Semicolon': Block IDEs auto-format and close statements. In C++, every functional statement must end with a
;. Use the IDE's auto-format tool (Ctrl+Shift+I) to visually align your code and spot missing syntax. - Variable Scope Errors ('Not declared in this scope'): Block coding often defaults to global variables. In C++, variables declared inside
setup()are destroyed whensetup()finishes. Learn to declare state variables globally (at the top of the sketch) or usestaticvariables inside functions to retain their value between loop iterations. - Memory Fragmentation: Block environments hide memory allocation. In C++, using the
Stringobject (capital 'S') in loops causes heap fragmentation, leading to random reboots on ESP8266/ESP32 boards. Migrate to standard C-style character arrays (char[]) or theString.reserve()method to allocate memory safely.
Conclusion
Migrating from Arduino block coding to text-based C++ is a challenging but deeply rewarding upgrade. By systematically moving through visual-to-text translation, mastering non-blocking execution, and adopting professional toolchains like PlatformIO, you unlock the true potential of modern microcontrollers. The transition requires patience, but the ability to deploy robust, multi-threaded, and memory-efficient firmware is the hallmark of an advanced embedded systems maker.