
The Anatomy of the Arduino If Statement
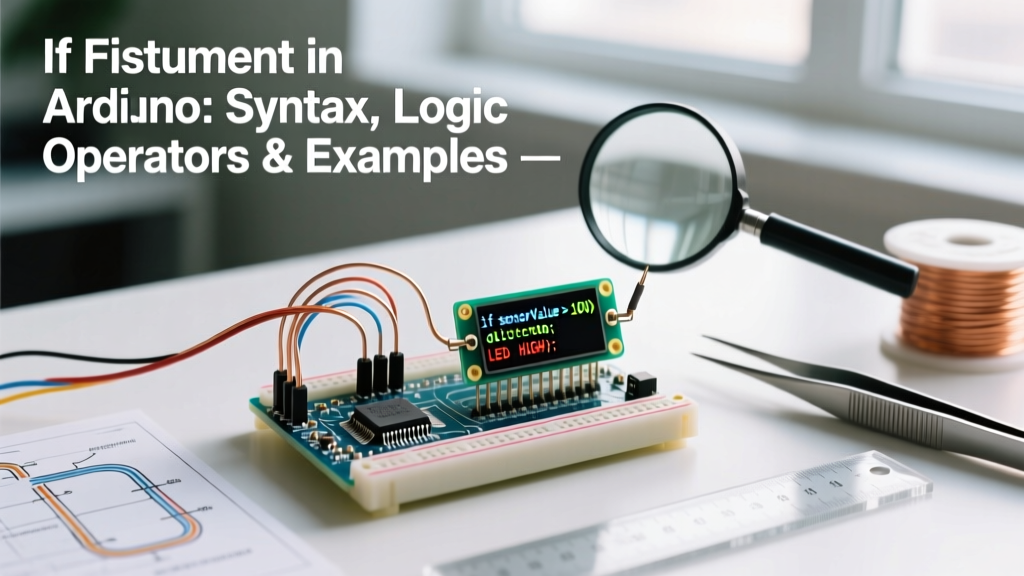
At the core of every microcontroller decision is conditional logic. The if statement in Arduino C++ allows your sketch to evaluate a specific condition and execute a block of code only when that condition evaluates to true. Whether you are building a simple line-following robot or a complex IoT environmental monitor on an ESP32, mastering this control structure is non-negotiable.
According to the Arduino Official Reference, the syntax relies on standard C++ paradigms. However, applying it to hardware requires an understanding of electrical noise, memory constraints, and data types that pure software developers often overlook.
Basic Syntax and Execution Flow
The standard structure requires a boolean expression enclosed in parentheses, followed by a code block enclosed in curly braces:
if (condition) {
  // Code executed only if condition is true
}
When the avr-gcc compiler processes this for an 8-bit ATmega328P (found in the Arduino Uno R3), it translates the condition into assembly-level compare (CP) and conditional branch (BRNE, BREQ) instructions. This means a simple if statement is incredibly fast, typically executing in just a few clock cycles (microseconds on a 16 MHz board).
Comparison and Logical Operators
To build effective conditions, you must utilize comparison and logical operators. Misunderstanding operator precedence is a leading cause of silent bugs in maker projects. The C++ Operator Precedence Guide dictates that logical AND (&&) binds tighter than logical OR (||), but using explicit parentheses is always recommended for readability and safety.
| Operator | Description | Example Usage | Evaluates True When |
|---|---|---|---|
== |
Equal to | if (temp == 25) |
temp is exactly 25 |
!= |
Not equal to | if (state != 0) |
state is anything but 0 |
< / > |
Less / Greater than | if (voltage < 3.3) |
voltage is below 3.3 |
<= / >= |
Less/Greater or equal | if (distance >= 10) |
distance is 10 or more |
&& |
Logical AND | if (a > 0 && b > 0) |
Both a and b are positive |
|| |
Logical OR | if (btn1 || btn2) |
Either button is pressed |
! |
Logical NOT | if (!isReady) |
isReady is false |
Real-World Implementation: LDR Threshold with Hysteresis
A common beginner mistake is using a single threshold for analog sensors. For example, turning on a relay when a Light Dependent Resistor (LDR) drops below 500. If the ambient light hovers right at the 500 mark, electrical noise and ADC (Analog-to-Digital Converter) fluctuations will cause the relay to chatter rapidly, potentially destroying the relay coil or the driving transistor.
Implementing a Deadband
To solve this, we use hysteresis (a deadband) within our if...else logic. We define an upper and lower threshold.
const int LDR_PIN = A0;
const int RELAY_PIN = 8;
const int THRESHOLD_HIGH = 520;
const int THRESHOLD_LOW = 480;

bool isDark = false;

void setup() {
  pinMode(RELAY_PIN, OUTPUT);
  digitalWrite(RELAY_PIN, LOW); // Relay off
}

void loop() {
  int lightLevel = analogRead(LDR_PIN);

  // Hysteresis logic using if...else if
  if (lightLevel < THRESHOLD_LOW && !isDark) {
    isDark = true;
    digitalWrite(RELAY_PIN, HIGH); // Turn on light
  }
  else if (lightLevel > THRESHOLD_HIGH && isDark) {
    isDark = false;
    digitalWrite(RELAY_PIN, LOW); // Turn off light
  }

  delay(50); // Debounce and stabilize ADC
}
This structure guarantees that once the relay triggers, the light level must rise significantly (past 520) before it turns off again, completely eliminating chatter.
Critical Edge Cases and Silent Bugs
When working with the if statement in Arduino, hardware realities intersect with software logic. Here are the most common pitfalls that cause erratic MCU behavior.
1. The Floating-Point Trap
Never use the equality operator (==) with floating-point numbers (float). Due to how IEEE 754 single-precision floats are stored in the ATmega328P's memory, a calculation that should equal 5.0 might actually resolve to 5.000001 or 4.999999.
Bad:if (temperature == 25.5)
Good:if (abs(temperature - 25.5) < 0.01)
Always check if the absolute difference between your variable and the target is within an acceptable tolerance (epsilon).
2. Assignment vs. Equality
Typing a single equals sign (=) instead of a double equals sign (==) inside the condition will not throw a compilation error in standard Arduino C++. Instead, it assigns the value and evaluates the truthiness of the assigned value.
// DANGER: This assigns 5 to sensorState, and evaluates as TRUE
if (sensorState = 5) {
  // This block will ALWAYS run
}
Modern IDE 2.x environments will flag this with a warning, but older versions may compile it silently. Always enable 'All Warnings' in your IDE preferences.
3. Integer Overflow in Comparisons
If you are calculating a value inside the if condition, ensure your data types can handle the math. For example, multiplying two int variables that exceed 32,767 will overflow into negative numbers before the comparison occurs, resulting in a false negative.
Memory and Execution Overhead on 8-Bit MCUs
While the Arduino Uno R4 Minima (Renesas RA4M1) boasts 256KB of Flash and 32KB of SRAM, the classic Uno R3 (ATmega328P) is strictly limited to 32KB Flash and 2KB SRAM. How does the if statement impact this?
According to the Arduino Memory Guide, deeply nested if...else if chains consume Flash memory linearly. Each branch requires comparison and jump instructions. However, the real danger is stack memory. If your if blocks declare large local arrays or strings, they will consume SRAM dynamically during execution, potentially leading to a stack overflow and a hard reset.
- Flash Impact: ~4 to 12 bytes per simple condition.
- SRAM Impact: Zero, unless local variables are instantiated inside the block.
- Execution Time: ~0.25 to 1.5 microseconds per evaluation on a 16MHz AVR.
Summary Matrix: If vs. Switch vs. Ternary
While the if statement is the most versatile, it is not always the most efficient. Use this matrix to choose the right control structure for your Arduino sketch:
| Structure | Best Used For | Flash Efficiency | Readability |
|---|---|---|---|
| If / Else If | Ranges, complex logic, multiple variables | Moderate | High |
| Switch / Case | Single variable with discrete integer states | High (uses jump tables) | Very High |
Ternary (? :) |
Simple variable assignment based on one condition | High | Low (if nested) |
Final Takeaway
Mastering the if statement in Arduino goes far beyond memorizing syntax. It requires an understanding of ADC noise, floating-point limitations, and memory management. By implementing hysteresis for analog thresholds, avoiding direct float equality checks, and understanding how the avr-gcc compiler translates your logic into assembly, you will write sketches that are not only functional but robust enough for long-term deployment in the real world.