
Why Bypass the Arduino IDE Serial Monitor?
While the built-in Arduino IDE Serial Monitor is excellent for quick debugging during early prototyping, it quickly becomes a bottleneck for advanced makers, field engineers, and automated testing environments. The IDE locks the COM port, preventing other applications from reading sensor data simultaneously. Furthermore, headless environments like Raspberry Pi deployments, remote SSH servers, or continuous integration (CI) pipelines for firmware testing lack the graphical interface required to run the IDE.
Learning how to monitor Arduino serial output via Command Line Interfaces (CLI) and Python scripts unlocks powerful capabilities: automated data logging, real-time parsing of telemetry, and seamless integration with databases like InfluxDB. In this 2026 guide, we will cover native terminal tools, cross-platform Python scripting, and critical hardware edge cases involving USB-to-Serial chips.
Method 1: Native CLI & Terminal Emulators
Before writing custom code, you can use native OS tools to monitor serial streams. This is ideal for quick sanity checks on headless Linux servers or macOS terminals.
Linux & macOS (screen & minicom)
On Unix-based systems, the screen utility is pre-installed and highly effective. First, identify your Arduino's device path. On Linux, it typically appears as /dev/ttyUSB0 or /dev/ttyACM0. On macOS, it will look like /dev/cu.usbmodem14201.
To connect at the standard 115200 baud rate, run:
screen /dev/ttyACM0 115200To detach and leave the session running in the background, press Ctrl+A followed by Ctrl+D. If you need more advanced features like hardware flow control toggling or logging to a file, minicom is the industry standard. Install it via sudo apt install minicom and launch with minicom -D /dev/ttyACM0 -b 115200.
Windows (PuTTY & PowerShell)
Windows lacks a native, robust CLI serial monitor in the standard command prompt, but PowerShell can identify ports using Get-WMIObject Win32_SerialPort. For actual monitoring, PuTTY remains the gold standard. Select 'Serial' as the connection type, enter your COM port (e.g., COM3), set the speed to 115200, and click Open. For command-line automation on Windows, use PuTTY's companion tool, plink.exe:
plink.exe -serial COM3 -sercfg 115200,8,n,1,NMethod 2: Automated Logging with Python & PySerial
For structured data extraction, Python combined with the PySerial library is unmatched. This method allows you to parse CSV-formatted sensor data, filter noise, and push payloads to cloud APIs.
First, install the library in your virtual environment:
pip install pyserial pandasBasic Reading & Parsing Script
Below is a production-ready script designed to read comma-separated values (e.g., temperature, humidity) from an Arduino Nano ESP32 or Uno R4 Minima, handling encoding and timeout edge cases.
import serial
import time
import csv

# Initialize serial connection
# Note: rtscts=False prevents hardware flow control hangs on basic UART bridges
ser = serial.Serial(
    port='/dev/ttyACM0',
    baudrate=115200,
    timeout=1,
    rtscts=False,
    encoding='utf-8'
)

time.sleep(2)  # Wait for bootloader and initial serial buffer flush

try:
    with open('sensor_log.csv', 'a', newline='') as f:
        writer = csv.writer(f)
        writer.writerow(['Timestamp', 'Temp_C', 'Humidity_Pct'])

        while True:
            line = ser.readline().decode('utf-8', errors='ignore').strip()
            if line and ',' in line:
                parts = line.split(',')
                if len(parts) == 2:
                    timestamp = time.time()
                    writer.writerow([timestamp, parts[0], parts[1]])
                    f.flush()  # Force write to disk immediately
except KeyboardInterrupt:
    print('\nMonitoring stopped by user.')
finally:
    ser.close()
    print('Serial port released.')
The Auto-Reset Edge Case: DTR/RTS Line Toggling
A common failure mode when opening a serial port via Python is the Arduino unexpectedly rebooting, causing you to miss the first few seconds of boot logs. This happens because asserting the DTR (Data Terminal Ready) line triggers the auto-reset capacitor circuit on the PCB.
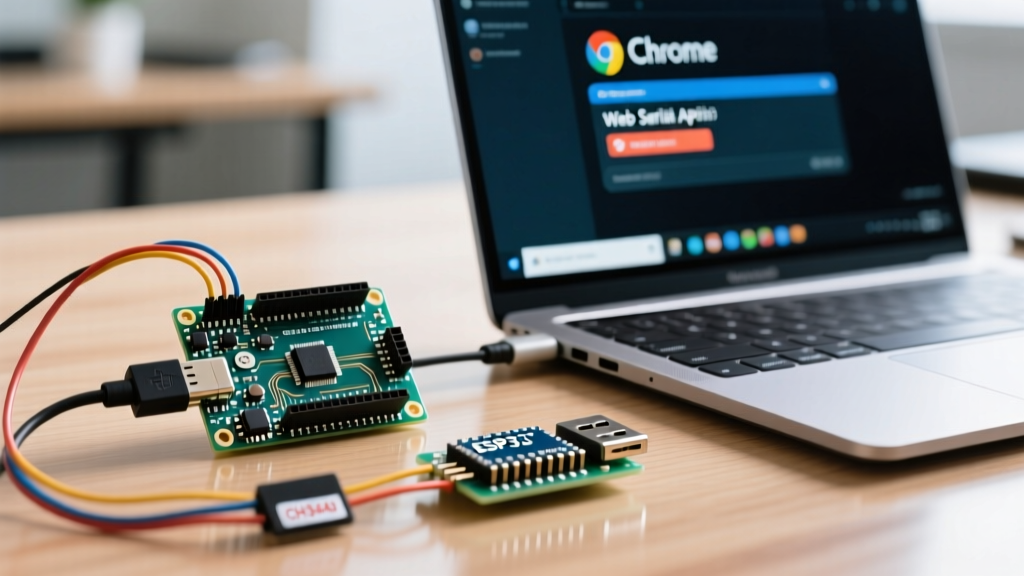
Genuine Arduino boards using the ATmega16U2 USB-to-Serial chip handle this predictably. However, budget clones utilizing the CH340G chip often exhibit erratic DTR toggling behavior depending on the OS driver version. To bypass the auto-reset in PySerial, disable DTR and RTS before opening the port:
ser = serial.Serial()
ser.port = '/dev/ttyUSB0'
ser.baudrate = 115200
ser.dtr = False
ser.rts = False
ser.open()
Expert Insight: If you are designing a custom PCB with an ATmega328P and a USB bridge, and you want to permanently disable auto-reset for headless deployments, simply omit the 0.1µF capacitor between the DTR line and the ATmega's RESET pin. You will need to manually press the physical reset button before uploading new sketches via the Arduino CLI, but your Python monitoring scripts will never interrupt the MCU's execution state.
Method 3: Persistent Port Mapping via Linux udev Rules
In Linux environments, USB port enumeration is volatile. If you unplug your Arduino and plug it back into a different USB hub port, the OS might assign it /dev/ttyUSB1 instead of /dev/ttyUSB0, breaking your hardcoded Python scripts.
Solve this by creating a persistent symlink using udev rules. First, find your Arduino's vendor and product IDs using lsusb (e.g., ID 2341:0043 for a genuine Uno R3). Then, create a new rule file:
sudo nano /etc/udev/rules.d/99-arduino.rulesAdd the following line, replacing the IDs with your specific hardware:
SUBSYSTEM=="tty", ATTRS{idVendor}=="2341", ATTRS{idProduct}=="0043", SYMLINK+="arduino_sensors", MODE="0666"Reload the rules with sudo udevadm control --reload-rules && sudo udevadm trigger. Now, you can safely point your Python scripts to /dev/arduino_sensors, guaranteeing a stable connection regardless of the physical USB port used.
Troubleshooting Matrix: Serial Connection Failures
When monitoring serial output, environmental and hardware variables frequently cause silent failures or garbled text. Use this matrix to diagnose issues rapidly.
| Symptom | Root Cause | Actionable Solution |
|---|---|---|
| Permission Denied (Linux) | User lacks access to the dialout group. | Run sudo usermod -a -G dialout $USER and reboot or re-login. |
| Garbage Characters (e.g., ) | Baud rate mismatch or clock drift. | Verify IDE and Python baud rates match. If using an 8MHz 3.3V Pro Mini, drop baud to 57600 to avoid UART framing errors. |
| Port Locked / Busy | Another process (like the IDE or a stale Python script) holds the file descriptor. | Use lsof | grep ttyUSB0 to find the PID, then kill -9 [PID]. |
| Missing Initial Boot Logs | Python script opens port too slowly; MCU serial buffer overflows. | Implement a hardware handshake (CTS/RTS) or add a while(!Serial) { delay(10); } loop in your Arduino setup(). |
Best Practices for Production Serial Monitoring
When transitioning from a workbench prototype to a deployed environmental monitor or industrial IoT node, serial communication must be treated as a critical data pipeline. Always implement checksums or CRC-8 validation in your Arduino firmware before transmitting payloads over UART. This ensures that electromagnetic interference (EMI) from nearby relays or motors hasn't corrupted the byte stream before your Python script parses it into a database. Furthermore, avoid using Serial.println() for high-frequency data (above 100Hz); instead, pack your data into binary structs and transmit raw bytes, decoding them in Python using the struct module to minimize UART overhead and prevent buffer overruns on the ATmega328P's limited 64-byte hardware serial buffer.