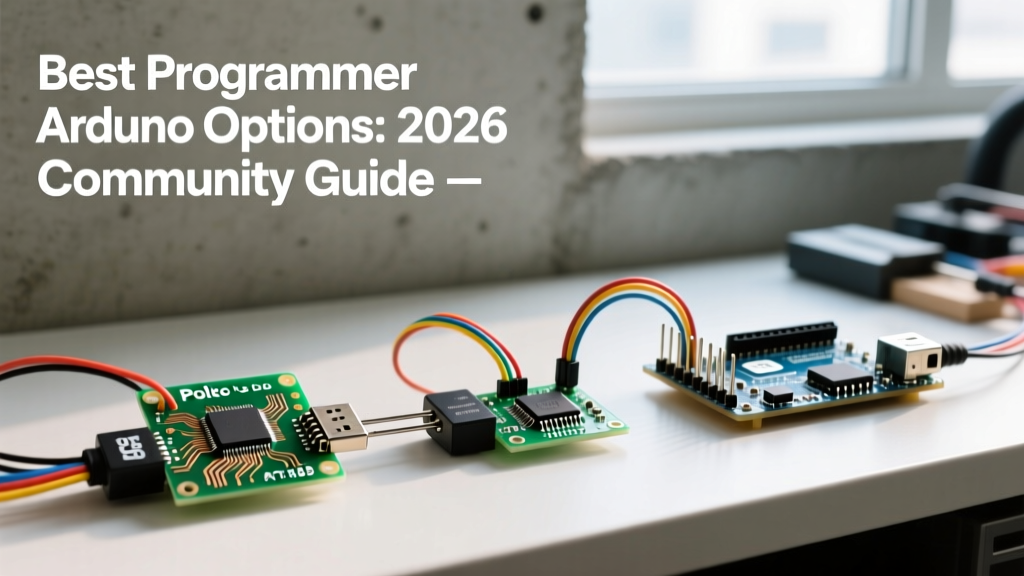

The Evolution of the Programmer Arduino Workflow
When you move beyond simply uploading sketches via the standard USB bootloader, you inevitably hit the wall of raw silicon manipulation. Whether you are recovering a bricked ATmega328P, burning a custom bootloader, or programming standalone ATtiny85 chips for low-power sensor nodes, you need a reliable In-System Programmer (ISP). In 2026, the maker community has refined the 'programmer Arduino' workflow into a highly optimized science, moving past the clunky trial-and-error of the early 2010s.
This community resource roundup synthesizes the most trusted hardware configurations, software cores, and troubleshooting frameworks discussed across EEVblog, the official Arduino forums, and advanced GitHub repositories. We will evaluate the classic Arduino-as-ISP hack against modern dedicated hardware to help you choose the exact right tool for your workbench.
Community Consensus (2026): While using an Arduino Uno as an ISP programmer remains a fantastic learning exercise and a viable emergency fallback, dedicated programmers like the Pololu USB AVR v2.1 have become the de-facto standard for reliable production and complex ATtiny flashing due to native TPI support and 3.3V/5V logic switching.
Hardware Matrix: Top Community-Recommended Programmers
Not all programmers handle the SPI (Serial Peripheral Interface) or TPI (Tiny Programming Interface) protocols equally. Below is a comparison of the most frequently recommended hardware in maker spaces today.
| Programmer Model | Approx. Cost | Target Compatibility | Logic Levels | Community Reliability Rating |
|---|---|---|---|---|
| Arduino Uno R3 (as ISP) | $25.00 | ATmega (SPI only) | 5V Fixed | Moderate (Requires Cap Mod) |
| Generic USBasp V2.0 Clone | $6.00 - $9.00 | ATmega / ATtiny (SPI) | 5V / 3.3V (Jumper) | Low (Driver & Firmware issues) |
| Pololu USB AVR Programmer v2.1 | $28.00 | AVR8 (SPI, TPI, PDI) | Switchable 3.3V/5V | Excellent (Industry Standard) |
| Microchip Atmel-ICE | $125.00+ | AVR8 & ARM Cortex | 1.6V to 5.5V Auto | Professional (Overkill for hobby) |
Deep Dive: The Arduino-as-ISP Method
The official ArduinoISP sketch transforms a standard Arduino board into a pass-through ISP programmer. This is the ultimate zero-cost entry point. However, the community has documented specific edge cases that cause 90% of beginner failures.
The Wiring Standard:
You must connect the 6-pin ICSP header of the target board to the SPI pins of the programmer Arduino. For an Uno R3, this means:
• MISO to Pin 12
• SCK to Pin 13
• MOSI to Pin 11
• RESET to Pin 10 (Crucial: Do NOT connect target RESET to the Uno's RESET pin).
The 10µF Capacitor Hack:
Modern Arduino boards feature an auto-reset circuit triggered by the DTR line over USB. When avrdude initiates the programming handshake, the serial connection briefly pulses the DTR line, resetting your programmer Uno before it can relay the ISP commands. The community-mandated fix is to place a 10µF electrolytic capacitor between the RESET and GND pins on the programmer Arduino. This absorbs the DTR pulse, keeping the programmer awake. Failure to include this capacitor is the leading cause of the infamous avrdude: stk500_recv(): programmer is not responding error when using Arduino-as-ISP.
The 2026 Standard: Pololu USB AVR Programmer v2.1
While clones of the USBasp flood online marketplaces for under $10, experienced makers strongly advise against them for critical work. Clone firmware is often outdated, lacking support for newer AVRs, and Windows Zadig driver mapping remains a persistent headache. Instead, the Pololu USB AVR Programmer v2.1 has emerged as the community darling.
Why the community prefers it:
• Native TPI Support: Essential for programming 6-pin ATtiny microcontrollers (like the ATtiny10 or ATtiny20) which do not support standard SPI.
• Safe Logic Level Translation: It features a built-in, switchable voltage regulator that safely powers and programs 3.3V targets without risking silicon damage from 5V logic spikes.
• Drag-and-Drop Emulation: It can emulate a USB mass storage device, allowing you to drag compiled HEX files directly to the chip without opening the IDE.
Essential Software: Community GitHub Cores
A hardware programmer is only half the battle. To program standalone chips effectively, you need custom board definitions. The community universally relies on the cores maintained by Spence Konde (DrAzzy). These repositories are absolute staples for any serious programmer Arduino workflow.
- ATTinyCore: The undisputed king of ATtiny development. It supports the ATtiny25/45/85, 24/44/84, and the newer 0/1/2-series chips. It includes highly optimized millis() implementations and direct pin manipulation macros that drastically reduce compiled sketch size.
- MiniCore & MegaCore: Also maintained by SpenceKonde, these cores unlock advanced features for the ATmega328P and ATmega2560, such as custom clock speeds (e.g., running an ATmega328P on an internal 8MHz oscillator without an external crystal) and custom bootloader sizes to reclaim flash memory for your application code.
Installation Tip: In the Arduino IDE 2.x (the standard in 2026), navigate to File > Preferences and add the raw GitHub JSON URLs for these cores to your 'Additional Boards Manager URLs' field. This ensures you receive automatic updates and bug fixes.
Troubleshooting: Edge Cases and Failure Modes
Even with premium hardware, raw ISP programming exposes you to the unforgiving realities of hardware-level debugging. Here are the most common community-documented failure modes and their precise solutions.
1. Target Clock Drift and Baud Rate Mismatches
If your target ATmega328P was previously configured to use an external 16MHz crystal, but you are trying to program it on a breadboard using its internal 8MHz oscillator, the chip's fuse settings will cause a clock mismatch. The programmer will attempt to communicate at a baud rate the target cannot physically process. Fix: Use the 'Burn Bootloader' command first. This resets the fuses to match the clock source defined in your IDE dropdown menu, realigning the communication speed.
2. Missing Decoupling Capacitors
A frequent mistake when programming standalone chips on a solderless breadboard is omitting decoupling capacitors. The high-frequency switching of the SPI clock can induce voltage sags on the breadboard's power rails, causing the target MCU to brown-out and reset mid-flash. Fix: Always place a 100nF (0.1µF) ceramic capacitor as physically close to the VCC and GND pins of the target microcontroller as possible. For larger chips like the ATmega2560, use multiple 100nF caps across the various VCC pins.
3. The 'Signature Mismatch' Error
If avrdude throws a Yikes! Invalid device signature error, do not immediately force the programming using the -F flag. Forcing a write to a chip with a corrupted signature or incorrect wiring can permanently brick the silicon by corrupting the high-voltage programming fuses. Fix: Verify your MISO/MOSI lines. A swapped MISO and MOSI connection is the culprit in 80% of signature mismatch cases. Use a multimeter in continuity mode to trace the exact paths from the ICSP header to the target pins.
Expert Verdict & Workbench Sourcing
If you are strictly flashing standard Arduino Uno clones or burning bootloaders on ATmega328P chips, the Arduino-as-ISP method with a 10µF capacitor is entirely sufficient and cost-effective. However, if your 2026 projects involve low-power ATtiny nodes, 3.3V logic environments, or high-volume production flashing, investing the $28 in the Pololu USB AVR Programmer v2.1 will save you hours of driver troubleshooting and bricked chips. Pair your chosen hardware with SpenceKonde's GitHub cores, respect the SPI pinouts, and never skip the decoupling capacitors.