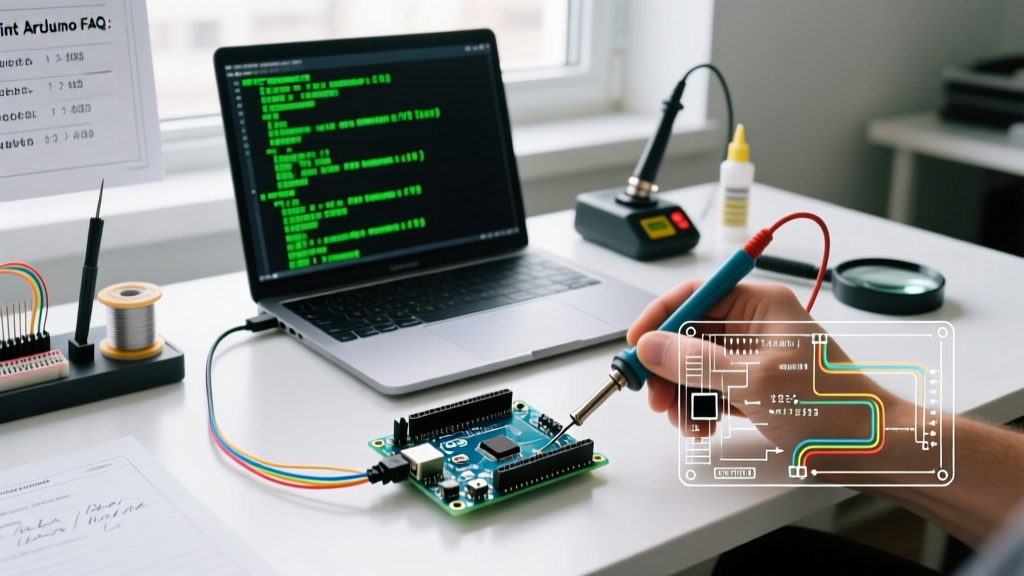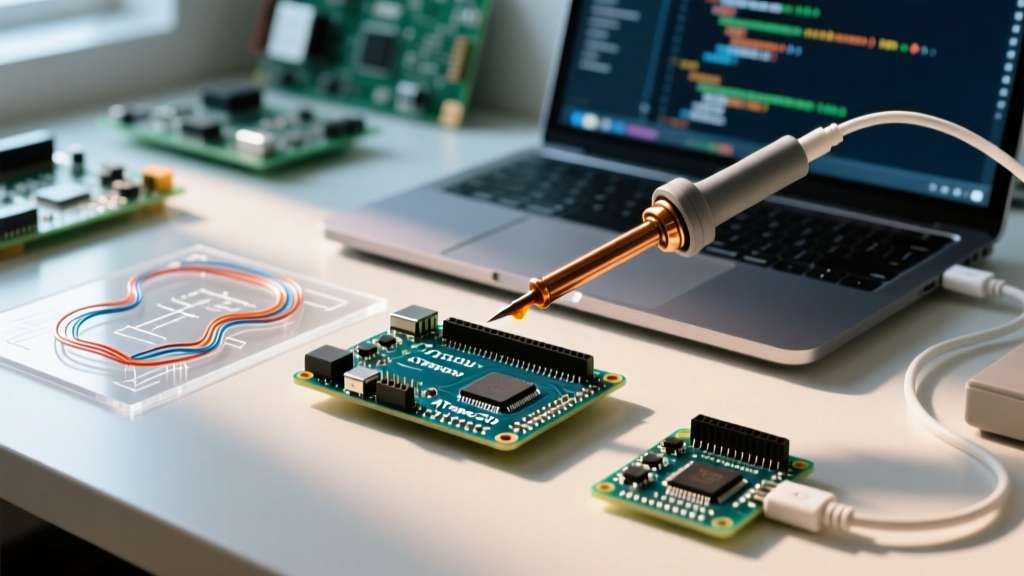

The Core Concept: What Defines a 'Micro Arduino'?
When makers and engineers refer to a micro Arduino, they are generally describing a specific paradigm in microcontroller design: ultra-compact, breadboard-friendly development boards that maintain full compatibility with the Arduino IDE while stripping away the bulky peripherals found on standard Uno R3 boards. Unlike the Nano, which relies on an ATmega328P and a secondary USB-to-Serial bridge chip, the true micro Arduino form factor is built around the ATmega32U4 microcontroller.
This distinction is not just about physical size; it is a fundamental architectural shift. The ATmega32U4 features a built-in USB controller, eliminating the need for external FTDI or CH340 serial converter chips. This results in a smaller physical footprint, lower power consumption, and native USB Human Interface Device (HID) capabilities. Whether you are looking at the official Arduino Micro or third-party variants like the SparkFun Pro Micro, understanding this concept is critical for designing embedded projects, custom macro pads, and space-constrained robotics.
The Brains: ATmega32U4 vs. ATmega328P
To truly understand the micro Arduino concept, you must compare it to the industry-standard Nano. The Nano uses the ATmega328P, which requires a dedicated hardware serial connection (UART) to communicate with a host PC. A separate chip on the Nano translates that UART signal into USB.
The ATmega32U4, however, speaks USB natively. This architectural difference unlocks several advanced capabilities:
- Native HID Emulation: The board can identify itself to a host computer as a standard keyboard or mouse without requiring custom drivers.
- Multiple Serial Ports: Because the USB connection is handled internally by the MCU, the hardware UART pins (D0 and D1) remain completely free for communicating with external sensors like GPS modules or Bluetooth radios.
- Reduced Component Count: Removing the USB bridge chip lowers the overall bill of materials (BOM) and reduces the board's physical dimensions.
Form Factor Comparison: Official vs. Third-Party Boards
The 'micro' ecosystem is populated by several highly capable boards. Below is a technical comparison of the most prominent ATmega32U4 micro boards available in 2026, highlighting their physical and electrical differences.
| Board Model | Dimensions | Logic Level | Voltage Regulator | Est. Price (2026) |
|---|---|---|---|---|
| Official Arduino Micro | 48mm x 17.8mm | 5V / 16MHz | 500mA LDO w/ Polyfuse | $24.50 |
| SparkFun Pro Micro (5V) | 34.8mm x 17.8mm | 5V / 16MHz | MIC5219 (500mA max) | $19.95 |
| SparkFun Pro Micro (3.3V) | 34.8mm x 17.8mm | 3.3V / 8MHz | MIC5219 (500mA max) | $19.95 |
| Adafruit ItsyBitsy 32u4 | 36mm x 18mm | 5V / 16MHz | 500mA LDO + 2A Peak | $14.50 |
Hardware Deep Dive: Power Delivery and Thermal Edge Cases
One of the most common failure modes when working with micro Arduino boards is misunderstanding their power delivery limitations. Because these boards are incredibly small, the surface area available for heat dissipation from the onboard Low Dropout (LDO) voltage regulator is minimal.
The 5V vs. 3.3V Trap
If you power a 5V SparkFun Pro Micro via the USB port (which provides 5V), the onboard regulator is bypassed for the main logic, and you can safely draw up to 400mA from the 5V pin. However, if you power the board via the RAW pin with a 9V battery pack, the LDO must drop the 9V down to 5V. The resulting voltage differential (4V) multiplied by your current draw generates significant heat. According to SparkFun's Pro Micro Hookup Guide, drawing more than 150mA from the RAW pin at 9V will cause the regulator to thermally throttle or shut down entirely to prevent silicon damage.
Expert Tip: When designing battery-powered micro Arduino projects, always use a dedicated switching buck converter (like the Pololu S7V7F5) to step down your battery voltage to 5V before feeding it into the board's 5V pin, completely bypassing the inefficient linear LDO.
Practical Use Case: Native USB HID Macro Pads
The defining feature of the micro Arduino concept is native HID support. By utilizing the built-in Keyboard.h and Mouse.h libraries, you can build custom input devices that require zero configuration on the host machine.
Consider building a 6-key macro pad for video editing or CAD software. Using a SparkFun Pro Micro and six Cherry MX mechanical switches, you can map complex keystroke combinations to single button presses. The official Arduino Micro documentation details how the 32U4 intercepts USB polling requests and injects HID reports directly into the host OS. Because the ATmega32U4 handles this at the hardware level, the latency is virtually indistinguishable from a premium commercial keyboard, making it a favorite among competitive gamers and productivity enthusiasts.
The 'Vanishing COM Port' Failure Mode and Troubleshooting
Every micro Arduino user eventually encounters the dreaded 'vanishing COM port' issue. Because the USB serial connection is handled by the same microcontroller running your sketch, a crash in your code means the USB connection dies with it.
Why It Happens
If your sketch enters an infinite while(1) loop, triggers a watchdog reset, or gets stuck waiting for a sensor that is physically disconnected before Serial.begin() is called, the USB stack fails to initialize. The Arduino IDE will report that the board is no longer connected, and the OS will drop the COM port.
The Double-Tap Reset Trick
To recover a micro Arduino with a crashed USB stack, you must manually force the Caterina bootloader into DFU (Device Firmware Update) mode. Follow this precise sequence:
- Plug the board into your PC via USB.
- Open the Arduino IDE and click the Upload button.
- The moment the IDE console displays 'Uploading...', quickly tap the physical RESET button on the board twice within a 750-millisecond window.
- The onboard RX LED will begin to pulse slowly (the 'breathing' effect), indicating the bootloader is active and listening for a new sketch for exactly 8 seconds.
- The IDE will catch the temporary bootloader COM port and successfully flash the corrected firmware.
To prevent this from happening in production code, always implement a hardware override switch in your custom PCB design that bypasses the HID initialization if held down during boot.
Pingroup and Shield Compatibility Realities
While the micro Arduino form factor is excellent for custom wiring, it introduces significant friction if you attempt to use standard Arduino R3 shields. The official Adafruit ItsyBitsy 32u4 and the SparkFun Pro Micro do not feature the standard 1.06-inch (27mm) shield spacing. Furthermore, the I2C pins (SDA and SCL) are not routed to the standard R3 header locations. On the Pro Micro, I2C is mapped to D2 (SDA) and D3 (SCL), but they are located on the raw interior header pins. If your project requires I2C sensors like the BME280 or OLED displays, you must wire them manually rather than relying on plug-and-play shield stacking.
Summary: Is the Micro Arduino Right for Your Project?
The micro Arduino concept represents the perfect middle ground between raw microcontroller chips (like the ATtiny85) and full-sized development boards. If your project demands native USB keyboard/mouse emulation, requires a minimal physical footprint for wearable or embedded applications, and operates within the 32KB flash memory limit of the ATmega32U4, these boards are unparalleled. However, if you require 5V shield compatibility, high current draw without external regulation, or more than 20 I/O pins, you should look toward the Nano 33 IoT or standard Uno R4 form factors instead.