
Core Architecture of an Arduino HID Device
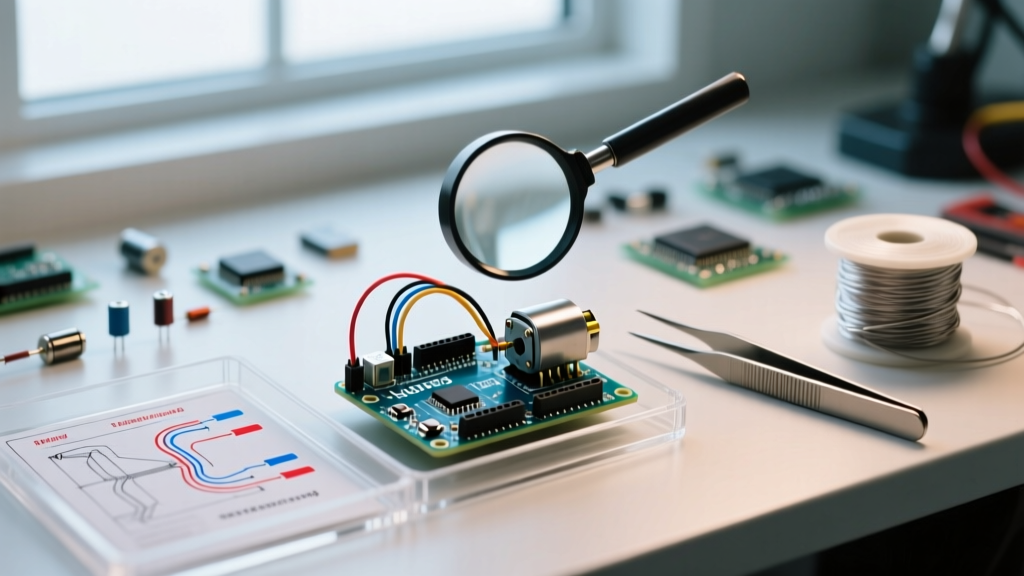
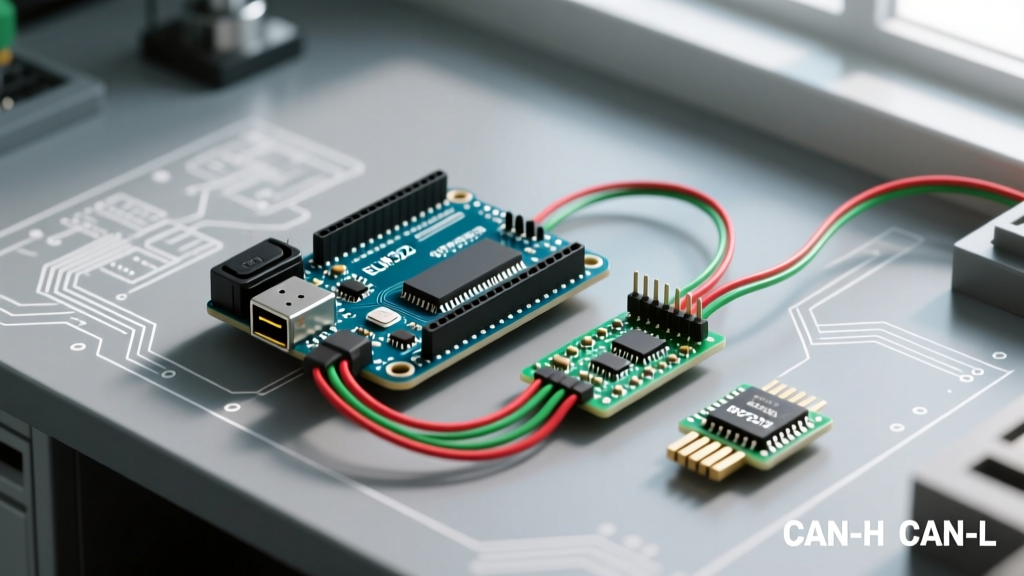
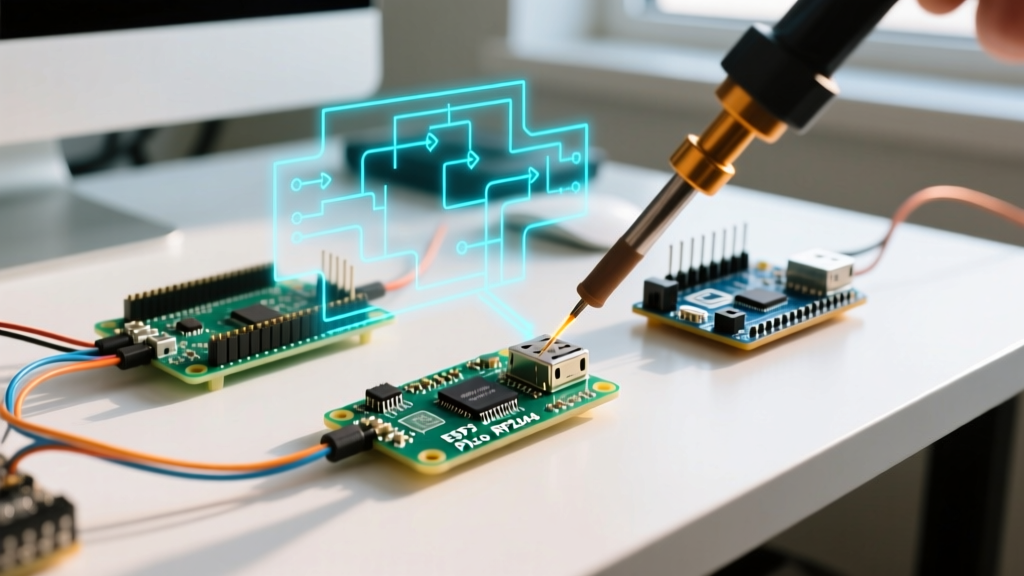
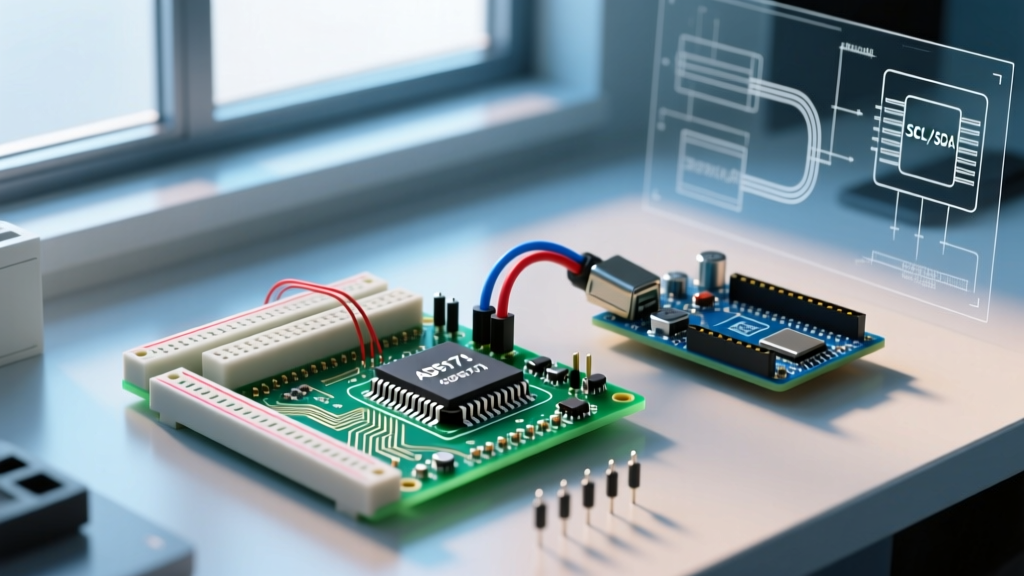
Configuring an Arduino HID device (Human Interface Device) transforms a standard microcontroller into a native USB keyboard, mouse, or gamepad. Unlike standard serial communication, HID requires the microcontroller to enumerate on the USB bus using specific descriptor tables. For 99% of maker projects in 2026, this means utilizing boards powered by the ATmega32U4 or SAMD21 chips, which feature native USB controllers. Attempting to force HID functionality on an ATmega328P (like the Arduino Uno) via V-USB bit-banging is highly discouraged due to timing jitter and 64-byte payload limitations.
When you compile a sketch using the native Keyboard.h or Mouse.h libraries, the Arduino IDE injects a custom USB descriptor into the firmware. The host operating system reads this descriptor upon connection and loads the generic HID class driver, requiring zero custom driver installation on modern Windows, macOS, and Linux systems.
Hardware Selection Matrix for HID Projects
Choosing the right board dictates your available I/O pins, flash memory for complex macro layers, and physical footprint. Below is a comparison of the top native-USB boards used for custom macro pads and split keyboards.
| Microcontroller Board | MCU Core | Flash / SRAM | Approx. Price (2026) | Best Use Case |
|---|---|---|---|---|
| Arduino Leonardo (ABX00057) | ATmega32U4 | 32KB / 2.5KB | $25.00 | Prototyping, full-size macro decks |
| SparkFun Pro Micro (DEV-12640) | ATmega32U4 | 32KB / 2.5KB | $20.50 | Compact macro pads, hand-wired builds |
| Elite-C (v4) | ATmega32U4 | 32KB / 2.5KB | $18.00 | PCB-mounted custom keyboards (USB-C) |
| Raspberry Pi Pico (RP2040) | Dual Cortex-M0+ | 2MB / 264KB | $4.00 | High-layer count boards, TinyUSB HID |
Boot Keyboard Protocol vs. Raw HID
Understanding the difference between standard Boot Protocol and Raw HID is critical for advanced configurations.
- Boot Keyboard Protocol: The standard implemented by
Keyboard.h. It is universally compatible with BIOS/UEFI environments but is strictly limited to 6-Key Rollover (6KRO) and standard HID usage page scancodes. It cannot send custom 64-byte data packets. - Raw HID (Custom Usage Page): Bypasses standard keyboard limitations, allowing 64-byte bidirectional payloads. This is the protocol used by advanced configurators like VIA and Vial. To implement Raw HID on an ATmega32U4, you must use the QMK Firmware or the TinyUSB library on an RP2040, rather than the stock Arduino IDE libraries.
The Anti-Brick Protocol: Preventing Upload Lockouts
CRITICAL WARNING: The most common failure mode when configuring an Arduino HID device is 'bricking' the upload port. If your sketch sends continuous keystrokes (e.g., a stuck button reading) immediately upon boot, the OS will intercept the USB interrupts, preventing the Arduino IDE from establishing the serial handshake required to flash new firmware.Implementing the 2500ms Boot Delay
Never write an HID sketch without a startup delay. This gives the host OS time to enumerate the device and gives the Arduino IDE time to assert the DTR (Data Terminal Ready) signal to trigger the bootloader.
#include <Keyboard.h>

void setup() {
  // Mandatory anti-brick delay
  delay(2500);
  pinMode(2, INPUT_PULLUP);
  Keyboard.begin();
}

void loop() {
  if (digitalRead(2) == LOW) {
    Keyboard.press(KEY_LEFT_CTRL);
    Keyboard.press('c');
    delay(100);
    Keyboard.releaseAll();
    // Debounce delay to prevent OS key-repeat flooding
    delay(500);
  }
}
The Double-Tap Reset Rescue
If you bypassed the delay and your Pro Micro is currently locked out, you must manually force the Caterina bootloader into its 8-second listening window. Using a jumper wire, briefly bridge the RST pin to GND twice in rapid succession (within 750ms). The onboard LED will pulse, indicating the bootloader is active. Immediately click 'Upload' in the Arduino IDE 2.x.
Operating System Level Configuration
While HID devices are 'plug-and-play', OS-level security and power management features introduced in recent years can disrupt Arduino HID functionality.
Windows 11 & 12: Fast Startup and Selective Suspend
Windows aggressively manages USB power states. If your Arduino HID device disconnects randomly or fails to wake the PC, you must disable USB Selective Suspend.
- Open Control Panel > Power Options > Change plan settings.
- Click Change advanced power settings.
- Expand USB settings > USB selective suspend setting and set it to Disabled.
- Additionally, open Device Manager, locate your device under 'Human Interface Devices', right-click > Properties > Power Management, and uncheck 'Allow the computer to turn off this device to save power'.
macOS Sequoia: Input Monitoring Permissions
Apple's TCC (Transparency, Consent, and Control) framework strictly monitors HID inputs. If your Arduino is sending macros that interact with third-party applications (like OBS Studio or Adobe Premiere), macOS will silently drop the keystrokes unless the target application has Input Monitoring permissions.
Navigate to System Settings > Privacy & Security > Input Monitoring and ensure the target application is toggled ON. Note that the Arduino itself does not appear here; the *receiving application* must be granted permission to read the injected HID reports.
Linux: udev Rules for Raw HID
Standard keyboard/mouse emulation works out-of-the-box on Linux via the hid-generic kernel module. However, if you are developing a Raw HID device (e.g., for a custom OLED macro pad that communicates with a Python script), non-root users will get a 'Permission Denied' error when accessing /dev/hidrawX.
Create a custom udev rule at /etc/udev/rules.d/99-arduino-hid.rules:
SUBSYSTEM=="hidraw", ATTRS{idVendor}=="2341", ATTRS{idProduct}=="8036", MODE="0666", GROUP="plugdev"Reload the rules with sudo udevadm control --reload-rules && sudo udevadm trigger. (Note: Vendor ID 2341 is standard for Arduino LLC; check your specific board's VID/PID using lsusb).
Advanced Matrix Scanning and Ghosting
When wiring physical buttons to your Arduino HID device, wiring them directly from VCC to an I/O pin is only viable for 1 or 2 buttons. For a 12-key macro pad, you must use a diode matrix to prevent 'ghosting' and 'masking'.
- Ghosting: Occurs when pressing three keys in a rectangular pattern on a matrix falsely registers a fourth key.
- The Hardware Fix: Place a 1N4148 signal diode in series with every switch. The cathode (black stripe) should point toward the row wire. This enforces one-way current flow, allowing the Arduino Keyboard library to accurately poll the matrix without cross-talk.
- Scan Rate: Poll the matrix every 2ms to 5ms. Polling faster than 1ms yields no perceptible latency improvement but consumes excessive CPU cycles, potentially delaying USB interrupt service routines (ISRs) and causing dropped HID reports to the host.
Frequently Asked Questions
Can I use an Arduino Uno as an HID keyboard?
Not natively. The ATmega328P on the Uno lacks a USB controller; it uses an ATmega16U2 as a serial-to-USB bridge. While you can flash custom firmware (like HoodLoader2) onto the 16U2 to pass HID reports, it is highly unstable for production. Always use an ATmega32U4 or RP2040 board for reliable Arduino HID device configurations.
Why does my macro type the wrong characters on a non-US keyboard layout?
The Keyboard.h library sends standard US ANSI scancodes, not localized characters. If your host OS is set to a UK or DE layout, sending a scancode for '#' might output '£'. To fix this, either use the KeyboardLayout library extensions available in the IDE library manager, or configure your OS to recognize the specific USB device as a US-International layout.
What is the maximum number of keys I can press simultaneously?
Using the standard Boot Keyboard protocol, the hardware limit is 6 simultaneous modifier keys and 6 standard alphanumeric keys (6KRO). If your macro requires pressing 8 standard keys at once (e.g., for complex gaming bindings), you must migrate to an RP2040 running TinyUSB to enable N-Key Rollover (NKRO) via a custom HID descriptor.