
The Anatomy of a Mega Arduino Upload Failure
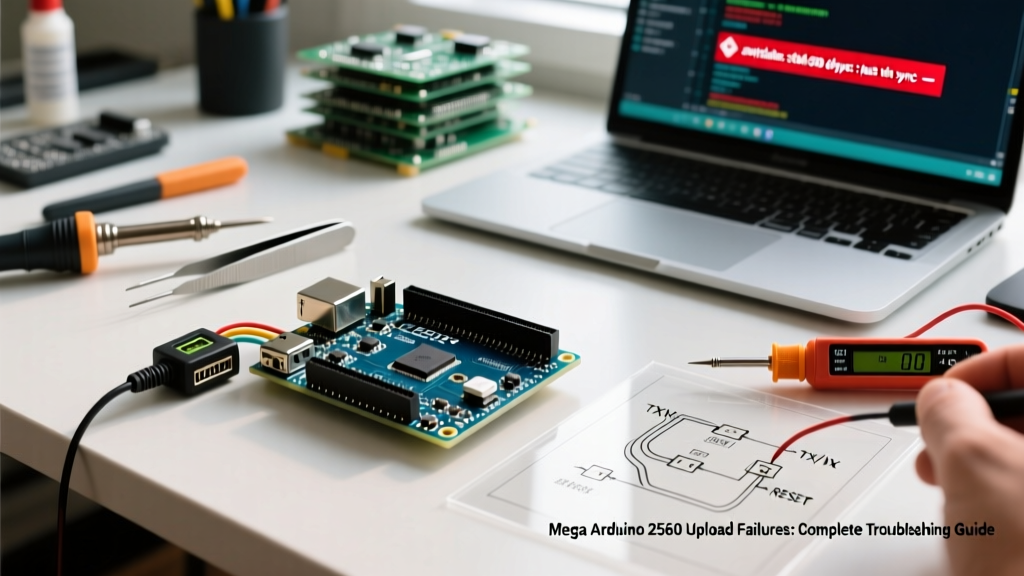
There are few things more frustrating in the electronics lab than staring at the Arduino IDE as it hangs on 'Uploading...' only to fail with a cryptic avrdude: stk500v2_ReceiveMessage(): timeout error. When your Mega Arduino 2560 board refuses to accept a new sketch, the issue rarely lies in your code. Instead, it is almost always a breakdown in the hardware communication chain between your PC's USB controller, the onboard USB-to-Serial bridge, and the main ATmega2560-16AU microcontroller.
As of 2026, the maker market is saturated with both official Arduino Rev3 boards and hundreds of third-party clone variants. While the core microcontroller remains the same, the supporting circuitry—specifically the USB interface and auto-reset capacitors—varies wildly. This guide bypasses generic 'restart your PC' advice and dives deep into the silicon-level realities of Mega Arduino troubleshooting, providing actionable fixes for bootloader corruption, driver conflicts, and ICSP recovery.
Diagnostic Matrix: Match Your Error to the Fix
Before opening the IDE's verbose output log, identify your primary symptom. Use this diagnostic matrix to pinpoint the exact failure node in your upload chain.
| IDE Symptom / Error Message | Probable Hardware/Software Cause | Targeted Fix Strategy |
|---|---|---|
avrdude: stk500v2_ReceiveMessage(): timeout | Corrupted bootloader, failed auto-reset circuit, or wrong board processor selected. | Burn new bootloader via ISP; check 100nF reset capacitor. |
avrdude: ser_open(): can't open device | Phantom COM port, missing CH340/16U2 drivers, or dead USB cable. | Clear device manager ghost ports; install specific bridge drivers. |
Programmer is not responding (Immediate fail) | USB-to-Serial chip is in a locked state or firmware on the 16U2 is bricked. | Reflash ATmega16U2 firmware via DFU mode or ICSP. |
| Upload succeeds, but board immediately resets | Sketch exceeds SRAM (8KB), causing stack overflow and watchdog resets. | Optimize memory; move large arrays to PROGMEM/Flash. |
The Hardware Divide: Official Rev3 vs. Clone Boards
Understanding the physical board on your desk is the first step to fixing it. Official Arduino Mega 2560 Rev3 boards (retailing around $49.90 in 2026) use an ATmega16U2-MU microcontroller as the USB-to-Serial bridge. In contrast, budget clone boards ($12 to $18 on Amazon or AliExpress) almost exclusively use the WCH CH340G or the newer CH340C chip.
Fixing CH340 Clone Driver Conflicts on Windows 11
If you are using a clone Mega Arduino board on a modern Windows 11 machine, the OS will often attempt to install a generic Microsoft CDC driver. This generic driver frequently fails to handle the specific baud-rate handshaking required by the CH340C's internal oscillator, resulting in silent upload failures.
- Open Windows Device Manager and locate 'Ports (COM & LPT)'.
- Right-click the 'USB-SERIAL CH340' device and select 'Uninstall device'. Crucial: Check the box that says 'Attempt to remove the driver for this device'.
- Download the official WCH CH340 driver package directly from the manufacturer or refer to SparkFun's CH340 driver installation guide for the latest verified 2026 Windows 11 signed binaries.
- Install the driver manually, then reconnect the board. The COM port should now appear as 'USB-SERIAL CH340 (COMx)' without the yellow warning triangle.
The ATmega16U2 DFU Recovery (Official Boards)
If your official board's USB chip becomes corrupted, it will disappear from the IDE entirely. You can force the ATmega16U2 into Device Firmware Upgrade (DFU) mode by briefly shorting the HWB (Hardware Boot) pin to GND while pressing the reset button. Once in DFU mode, you can use the dfu-programmer utility to flash the Arduino-COMBINED-dfu-usbserial-atmega16u2-Mega2560-Rev3.hex firmware, restoring the USB bridge to factory settings.
The Infamous Auto-Reset Circuit Bug
Unlike older serial adapters that required you to manually press the reset button exactly when the IDE began compiling, the Mega Arduino uses an auto-reset circuit. The DTR (Data Terminal Ready) line from the USB bridge chip is routed through a 100nF ceramic capacitor to the RESET pin of the ATmega2560. When the IDE opens the serial port, the DTR line drops low, and the capacitor translates this into a brief negative pulse on the RESET pin, triggering the bootloader.
Expert Hardware Note: If you are using a low-quality clone board, the 100nF capacitor may be poorly soldered, or the USB bridge chip may not assert the DTR line fast enough. If you suspect this, try the 'Manual Reset Trick': Press and hold the physical RESET button on the Mega. Click 'Upload' in the IDE. Wait until the IDE says 'Done compiling' and begins the upload phase, then release the RESET button. This manually injects the reset pulse at the exact millisecond avrdude expects it.
Bootloader Corruption & ISP Recovery
If the auto-reset trick fails and you are still getting stk500v2 timeouts, the bootloader residing in the dedicated boot flash section of the ATmega2560 is likely corrupted. This happens frequently when a sketch accidentally writes to the wrong memory address, or if power is lost during an upload. Fortunately, the Mega Arduino exposes the ICSP (In-Circuit Serial Programming) header, allowing you to bypass the USB bridge entirely and communicate directly with the main microcontroller's SPI bus.
Step-by-Step: Burning a Fresh Bootloader via ISP
You will need a working Arduino Uno or Nano to act as an ISP (In-System Programmer).
- Wire the ISP Header: Connect the working Uno's ICSP pins to the Mega Arduino's ICSP header (the 2x3 pin block near the main chip). The pinout is standard: MISO to MISO, SCK to SCK, MOSI to MOSI, 5V to VCC, GND to GND, and Uno Pin 10 to Mega RESET.
- Upload the ArduinoISP Sketch: Connect the Uno to your PC, open the IDE, and upload
File > Examples > ArduinoISPto the Uno. - Configure the Target: Disconnect the Uno from the PC. Connect the Uno to the Mega via the ICSP wires. Power the Uno via USB. In the IDE, set the Board to 'Arduino Mega or Mega 2560', Processor to 'ATmega2560', and Programmer to 'Arduino as ISP'.
- Burn the Bootloader: Click
Tools > Burn Bootloader. The IDE will use AVRDUDE to wipe the flash memory, set the correct high/low/extended fuses, and write thestk500boot_v2_mega2560.hexfile to the board.
Once complete, disconnect the ICSP wires. Your Mega Arduino is now factory-fresh and ready to accept sketches via the standard USB port again.
IDE Configuration & Phantom COM Ports
Sometimes the hardware is perfectly fine, but the Arduino IDE's underlying Java serial monitor is confused by 'phantom' COM ports left behind by Windows after a USB hub disconnect. According to the official Arduino Mega 2560 hardware documentation, the board requires a stable 115200 baud rate connection for bootloader handshaking.
- Clear Ghost Ports: Open Windows Device Manager, click 'View', and select 'Show hidden devices'. Expand 'Ports (COM & LPT)' and uninstall any greyed-out COM ports that are no longer physically connected.
- Check the Processor Dropdown: A surprisingly common mistake is leaving the IDE set to 'ATmega1280' (the chip used on the original, discontinued Mega). Ensure
Tools > Processoris explicitly set to ATmega2560. The 1280 and 2560 use different bootloader memory offsets; selecting the wrong one guarantees an immediate upload failure. - Disable Serial Monitor Interference: If you have a Python script, Processing sketch, or 3D printer host software (like Pronterface) running in the background, it may be holding the COM port open. The IDE cannot upload if another application has an exclusive lock on the serial port. Close all background serial applications before uploading.
When to Abandon the Board: Hardware Failure Signs
While 95% of Mega Arduino issues are software or bootloader-related, physical hardware damage does occur. If you have verified the USB cable, reinstalled drivers, burned a fresh bootloader via ISP, and confirmed the IDE settings, look for these fatal hardware signs:
- Shorted Voltage Regulator: Touch the onboard 5V linear regulator (the large SMD component near the DC barrel jack). If it is too hot to touch while powered only via USB (drawing less than 50mA), it has likely failed due to a downstream short circuit on your custom shield.
- Cracked Crystal Oscillator: The main 16MHz quartz crystal oscillator is highly sensitive to mechanical shock. If the board was dropped, the internal quartz element may be fractured. The ATmega2560 will fail to execute any instructions, appearing completely dead even via ICSP.
- USB Connector Shearing: The Type-B USB connector on the Mega is through-hole soldered, but heavy cables can crack the solder pads on the PCB's inner layers. If wiggling the cable causes the power LED to flicker, the data lines (D+ / D-) are likely severed internally.
By systematically isolating the USB bridge, the auto-reset circuit, and the main microcontroller's bootloader, you can rescue almost any bricked Mega Arduino board from the scrap bin and return to your embedded systems projects.