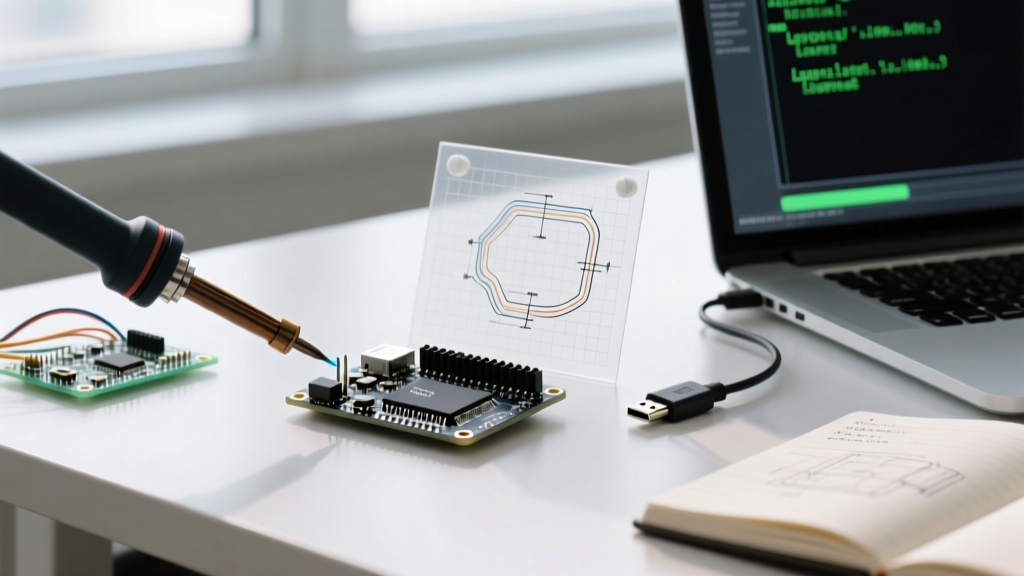

Beyond the AVR: Understanding the Arduino Teensy Ecosystem
When makers transition from standard 8-bit AVR boards to the ARM Cortex-M7 powerhouse that is the Teensy 4.1 (or the compact 4.0), they often encounter a steep learning curve. While the phrase Arduino Teensy is commonly used to describe running PJRC hardware via the Arduino IDE, the underlying architecture is fundamentally different. The NXP i.MX RT1062 crossover MCU operating at 600 MHz does not behave like an ATmega328P.
In 2026, with Arduino IDE 2.x being the standard and Teensyduino fully integrated via the Boards Manager, software setup is smoother than ever. However, hardware-level troubleshooting—specifically regarding USB enumeration, bootloader lockouts, and memory allocation—requires a deep understanding of ARM architecture. This guide bypasses generic advice and dives straight into advanced troubleshooting for PJRC Teensy boards.
The Golden Rule of Teensy USB: Unlike AVR Arduinos where the USB interface is handled by a dedicated secondary chip (like the ATmega16U2), the Teensy's USB stack is implemented in software on the main MCU. If your user code crashes, locks up, or starves the CPU of interrupts, the USB connection will instantly drop.
The 'Vanishing COM Port' Phenomenon (USB Enumeration Failures)
The most frequent issue reported by developers is the Teensy disappearing from the Arduino IDE's port menu immediately after an upload. This is rarely a hardware defect; it is almost always a software-induced USB stack starvation.
Root Causes of USB Dropouts
- Interrupt Hogging: Using
noInterrupts()for extended periods (more than a few milliseconds) prevents the USB interrupt service routines (ISRs) from maintaining the connection with the host OS. - Infinite Blocking Loops: A
while(1)loop that lacks ayield()ordelay()call will starve the background USB tasks. - Memory Overflows: Writing past the boundaries of an array into the USB buffer memory space causes a HardFault, instantly resetting or halting the MCU.
The 15-Second Hardware Recovery Method
If your Teensy is stuck in a crash loop and the IDE cannot initiate an upload via the software serial handshake, you must force the bootloader manually.
- Locate the tiny tactile pushbutton on the Teensy board.
- Press and hold the button. The onboard LED will turn solid red, indicating the bootloader has taken over and halted user code.
- While holding the button, click Upload in the Arduino IDE.
- Release the button as soon as the IDE console shows 'Opening Teensy Loader...'. The new sketch will flash and the USB stack will re-initialize with the fresh code.
Compilation & Architecture Mismatches
Porting legacy AVR code to an Arduino Teensy environment often triggers compiler errors. The ARM Cortex-M7 handles memory, data types, and PROGMEM differently. Below is a diagnostic matrix for common compilation failures.
| Error / Symptom | Underlying Cause | Actionable Fix |
|---|---|---|
avr/pgmspace.h: No such file | AVR-specific header called in ARM environment. | Replace with #include <pgmspace.h> or rely on the Arduino IDE's wrapper. On Teensy 4.x, Flash memory is executed directly (XIP), making PROGMEM largely obsolete. |
undefined reference to 'yield' | Missing background task handler in custom RTOS or bare-metal loops. | Ensure yield() is called in long loops, or include EventResponder if using asynchronous Teensy libraries. |
| Incorrect Math / Float Precision | Assuming double is 64-bit. On Teensy 3.x/4.x, float and double are both 32-bit by default. | Use explicit float declarations. For 64-bit precision, cast to specific math libraries or accept the 32-bit hardware limitation. |
| DMA Buffer Corruption | Placing DMA buffers in standard RAM without cache flushing. | Declare DMA buffers using DMAMEM or use arm_dcache_flush() before initiating the DMA transfer on the i.MX RT1062. |
Bootloader Brick Recovery & Secure Boot Lockouts
Teensy 4.0 and 4.1 feature a sophisticated bootloader stored in a protected 64KB region of the internal flash. However, experimental use of the Secure Boot feature or improper manipulation of the FlexSPI NOR Flash configuration can result in a 'bricked' state where the 15-second pushbutton recovery fails.
Diagnosing a True Brick
If pressing the pushbutton does not illuminate the red LED, and the device does not enumerate as 'HalfKay' (the PJRC bootloader protocol) in your OS device manager, the bootloader configuration sector may be corrupted. According to the PJRC Troubleshooting Guide, this usually occurs when user code accidentally overwrites the first 64KB of Flash memory.
The FlexSPI Recovery Short
To force the NXP processor into its native ROM serial downloader mode (bypassing the corrupted Teensy bootloader entirely):
- Disconnect the USB cable.
- Locate the specific recovery pads on the underside or edge of the Teensy 4.1 (refer to the PJRC pinout card for the 'BOOT' and 'GND' pads).
- Short the BOOT pad to GND using tweezers.
- Plug in the USB cable while maintaining the short.
- Use NXP's MCU BootUtility via an external serial connection to wipe the FlexSPI configuration block and restore the factory bootloader HEX file.
Power Delivery & Silent Brownout Resets
A frequently misdiagnosed issue is the 'silent reset.' Your code compiles, uploads successfully, but the Teensy restarts randomly when peripherals are activated. This is almost always a power brownout.
The Teensy 4.1 operates at 3.3V logic and features an onboard LDO regulator. While it can accept 3.6V to 6.0V on the VIN pin, the onboard LDO is limited. At 600 MHz, the i.MX RT1062 can draw upwards of 100mA on its own. If you attach an SD card (which can spike to 150mA during writes) and a string of WS2812 LEDs, you will exceed the thermal and current limits of the onboard regulator.
Fixing Power Instability
- Bypass the Onboard LDO: If your project requires high current, disable the onboard 5V-to-3.3V regulator (by cutting the specific trace on the underside) and supply a clean, external 3.3V directly to the 3.3V pin.
- Decoupling Capacitors: Add a 100µF electrolytic capacitor and a 0.1µF ceramic capacitor across the VIN and GND pins as close to the board as possible to handle transient current spikes during Wi-Fi or SD card initialization.
- USB Hub Isolation: Unpowered USB hubs often drop voltage to 4.7V under load, causing the Teensy's undervoltage lockout (UVLO) to trigger. Always use a powered hub or a direct motherboard connection for high-performance sketches.
Optimizing Memory: DMAMEM vs. PROGMEM in 2026
The Teensy 4.1 boasts 8MB of external Flash and 512KB of internal RAM, plus an optional 8MB PSRAM chip. However, developers migrating from AVR often misuse memory spaces, leading to severe performance bottlenecks or HardFaults.
Unlike older architectures where you had to explicitly read from Flash using pgm_read_byte(), the Teensy 4.x utilizes Execute-In-Place (XIP) via the FlexSPI interface. Standard const variables are automatically placed in Flash and read transparently.
However, for high-speed audio processing or video buffers, XIP latency (around 10-20 nanoseconds) is too slow. You must utilize DMAMEM. Variables declared with the DMAMEM attribute are placed in the tightly coupled RAM (TCM) or external PSRAM, optimized for Direct Memory Access (DMA) controllers. Failing to align these buffers to 32-byte cache lines will result in DMA cache-coherency errors, a notorious issue detailed in the NXP i.MX RT1060 Reference Documentation.
Frequently Asked Questions
Why doesn't my Serial Monitor print anything on boot?
On an Arduino Teensy setup, Serial maps to the USB Virtual COM port, not hardware UART. The Teensy boots and runs code instantly, often printing to the serial buffer before the host PC's OS has finished enumerating the USB device and opening the terminal. Add while (!Serial) { delay(10); } at the end of your setup() function to pause execution until the serial monitor is actively connected.
Can I use standard Arduino libraries with Teensy?
Most well-maintained libraries work flawlessly. However, libraries that rely on direct AVR port manipulation (e.g., writing directly to PORTB or DDRB) will fail to compile. You must use digitalWriteFast() or the arm_math CMSIS libraries for hardware-level GPIO toggling on the Cortex-M7.
How do I install Teensyduino in Arduino IDE 2.x?
The standalone Teensyduino installer is deprecated. In 2026, you simply open the Arduino IDE 2.x Boards Manager, search for 'Teensy', and install the official PJRC package. Ensure you also install the Arduino IDE Board Manager dependencies to properly compile ARM Cortex-M binaries.