
The Ultimate Quick Reference for Arduino Fan Projects
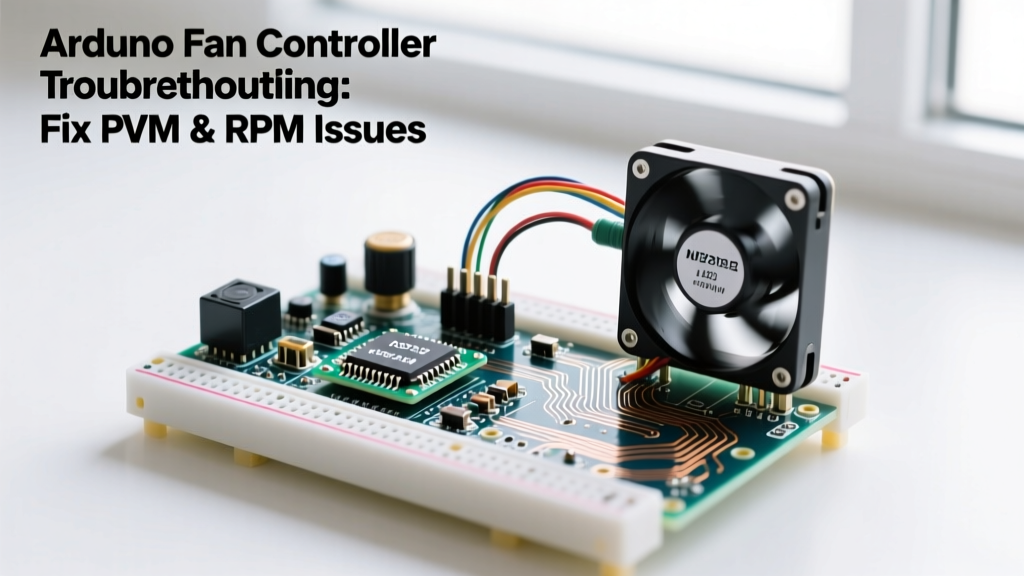
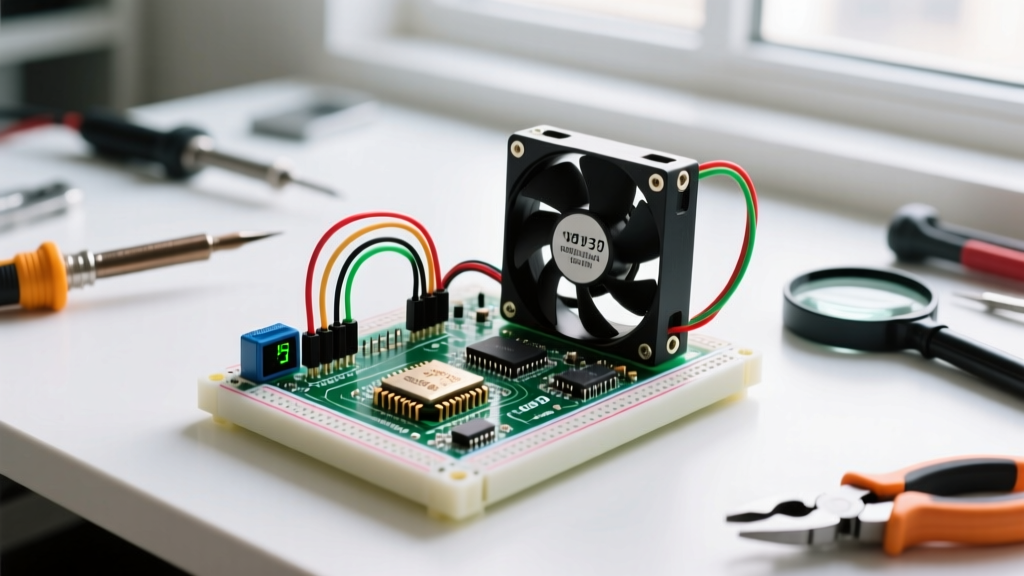
Integrating cooling systems into microcontroller projects is a rite of passage for makers. Whether you are building an automated 3D printer enclosure, a hydroponic climate controller, or a custom PC cooling loop, controlling an Arduino fan setup requires bridging the gap between low-voltage logic and higher-current inductive loads. This FAQ and quick reference guide cuts through the noise, providing exact component models, wiring schematics, and code snippets to ensure your fan control is silent, reliable, and safe for your microcontroller.
Quick Reference: Fan Types & Arduino Compatibility Matrix
| Fan Type | Typical Voltage / Current | Direct Arduino Pin? | Required Driver Component | PWM Compatibility |
|---|---|---|---|---|
| Standard 5V PC Fan (40mm) | 5V / 100mA - 250mA | No (Exceeds 40mA limit) | Logic-Level MOSFET (e.g., IRLB8721) | Excellent (2-wire) |
| 12V PC Fan (120mm) | 12V / 150mA - 500mA | No (Voltage & Current too high) | N-Channel MOSFET + 12V PSU | Requires 25kHz fix for 4-pin |
| Brushless Blower (3D Printer) | 12V-24V / 200mA+ | No | MOSFET Module or Relay | Poor (Usually 2-wire, stalls at low PWM) |
| Micro Piezo / Vibro Motor | 3.3V-5V / 20mA | Yes (With caution) | None (Direct PWM possible) | N/A (Not a cooling fan) |
FAQ: Power, Wiring, and Component Selection
Can I wire a 5V PC fan directly to an Arduino digital pin?
Absolutely not. The ATmega328P (used in the Arduino Uno and Nano) has an absolute maximum current rating of 40mA per I/O pin, and a total VCC/GND package limit of 200mA. Even a small 40mm 5V fan typically draws between 100mA and 250mA on startup due to inrush current. Connecting it directly will permanently damage the microcontroller's output buffer.
Critical Warning: Always use an intermediary switching component. For DC fans, a logic-level N-channel MOSFET is the gold standard. Avoid using standard relays if you need speed control (PWM), as relays only offer binary on/off states and will wear out rapidly under high-frequency switching.
Which MOSFET should I buy for an Arduino fan circuit?
You must use a logic-level MOSFET, meaning it fully turns on (low Rds(on)) with a gate voltage (Vgs) of 5V or less.
- IRLB8721 (Best Overall): Rds(on) of just 8.7mΩ at Vgs=4.5V. Handles up to 62A. Costs around $1.50. Runs completely cool without a heatsink for standard PC fans.
- IRLZ44N (Classic Alternative): Very common in maker kits. Rds(on) of 22mΩ at Vgs=5V. Excellent availability, though slightly higher gate charge than the 8721.
- IRF520 (Avoid): Often mistakenly sold in beginner kits. It requires 10V at the gate to fully open. At 5V from an Arduino, it operates in its linear (resistive) region, causing massive voltage drops and overheating.
- TIP120 Darlington BJT (Legacy): Works, but drops 1.5V to 2V across the collector-emitter junction. This wastes power as heat and starves a 5V fan of necessary voltage.
Do I need extra resistors and diodes?
Yes. A robust MOSFET switching circuit requires three passive components to protect your Arduino and ensure stable operation:
- Gate Resistor (100Ω - 220Ω): Placed between the Arduino PWM pin and the MOSFET gate. Limits the inrush current required to charge the MOSFET's parasitic gate capacitance, protecting the MCU pin.
- Pull-Down Resistor (10kΩ): Placed between the MOSFET gate and ground. Ensures the gate is held LOW during Arduino boot-up (when pins are floating/high-impedance), preventing the fan from spinning erratically on startup.
- Flyback Diode (1N4007 or 1N4148): Placed in reverse bias across the fan motor terminals (cathode to positive). Motors are inductive loads; when turned off, they generate a reverse voltage spike (back-EMF) that can arc across the MOSFET or fry the Arduino. The diode safely recirculates this spike.
FAQ: PWM Control and Eliminating the 'Whine'
Why does my 4-pin PWM fan make a high-pitched squealing noise?
Standard Arduino `analogWrite()` functions operate at roughly 490Hz on pins 9 and 10, and 980Hz on pins 3, 5, 6, and 11. According to Noctua's PWM specifications white paper, modern 4-pin PC fans expect a 25kHz PWM signal. Feeding them a 490Hz signal causes the internal motor driver to whine audibly and results in poor low-RPM control.
How do I fix the PWM frequency to 25kHz?
You can reconfigure the Arduino's internal Timer1 to output a true 25kHz signal on Pin 9. Add this setup code to your sketch:
void setup() {
  pinMode(9, OUTPUT);
  // Set Timer1 to Phase and Frequency Correct PWM
  // No prescaler (clock = 16MHz)
  TCCR1A = 0;
  TCCR1B = 0;
  TCNT1 = 0;
  ICR1 = 320; // 16,000,000 / (1 * 25000 * 2) = 320
  TCCR1A |= (1 << COM1A1); // Enable PWM on Pin 9
  TCCR1B |= (1 << WGM13) | (1 << CS10);
}

void setFanSpeed(int percent) {
  // Map 0-100% to 0-320 (ICR1 value)
  int duty = map(percent, 0, 100, 0, 320);
  OCR1A = duty;
}
Note: Changing Timer1 will break standard libraries that rely on it, such as the default `Servo.h` library. If you need servos and 25kHz fans simultaneously, use a dedicated PWM driver like the PCA9685.
FAQ: Reading Fan RPM (Tachometer)
How do I read the RPM wire on a 3-pin or 4-pin fan?
The yellow (3-pin) or green (4-pin) tachometer wire outputs a square wave. Typically, it outputs 2 pulses per revolution. You must use a hardware interrupt to count these pulses accurately without blocking your main code.
Tachometer Wiring & Code Quick-Start
- Wire the Tach pin to Arduino Pin 2 (Hardware Interrupt 0).
- Use a 10kΩ pull-up resistor between the Tach wire and 5V. (Many modern fans have open-collector outputs and require this pull-up to register a HIGH state).
volatile int pulseCount = 0;
unsigned long lastTime = 0;

void setup() {
  Serial.begin(9600);
  pinMode(2, INPUT_PULLUP); // Internal pull-up, external 10k recommended
  attachInterrupt(digitalPinToInterrupt(2), countPulse, FALLING);
}

void loop() {
  if (millis() - lastTime >= 1000) {
    detachInterrupt(digitalPinToInterrupt(2));
    // RPM = (Pulses / 2) * 60
    int rpm = (pulseCount / 2) * 60;
    Serial.print('RPM: '); Serial.println(rpm);
    pulseCount = 0;
    lastTime = millis();
    attachInterrupt(digitalPinToInterrupt(2), countPulse, FALLING);
  }
}

void countPulse() {
  pulseCount++;
}
Troubleshooting Edge Cases & Pro-Tips
The fan stalls or clicks at low PWM speeds
Brushless DC fans require a minimum voltage to overcome static friction and start the internal commutation circuit. If you command a 20% duty cycle from a standstill, the fan may just click or stall.
The Fix (Kickstart Routine): Always command 100% PWM for 500 milliseconds to spin up the rotor, then drop to your target maintenance speed.
void startFan(int targetPercent) {
  setFanSpeed(100); // Kickstart
  delay(500);       // Wait for rotor to engage
  setFanSpeed(targetPercent); // Drop to target
}
Recommended Components for 2026 Builds
If you are sourcing parts for a new build, here are the current market standards for quiet, reliable Arduino fan control:
- Premium Fan: Noctua NF-A4x20 5V PWM (~$17.00). Features built-in anti-vibration pads and operates silently down to 1000 RPM. Ideal for enclosed electronics boxes.
- Budget Fan: Winsinn 4010 5V Brushless (~$4.50). Common in 3D printing. Requires the kickstart code mentioned above, as it stalls below 45% duty cycle.
- Pre-built Module: If you prefer to skip the breadboard, search for a 'DC Motor Driver Module 15A'. These boards integrate the MOSFET, flyback diode, and optocoupler isolation onto a single PCB for roughly $6.00, providing a safe barrier between your fan's power supply and your Arduino PWM pins.
Final Checklist Before Powering On
- Verify fan power supply ground is shared with Arduino ground (Common Ground is mandatory for MOSFET gate referencing).
- Confirm flyback diode orientation (Stripe/Cathode pointing toward the positive voltage rail).
- Ensure no bare wire strands from the fan are bridging the 12V rail to the 5V Tachometer line.