
The 'Port Greyed Out' Epidemic in Modern Maker Workflows
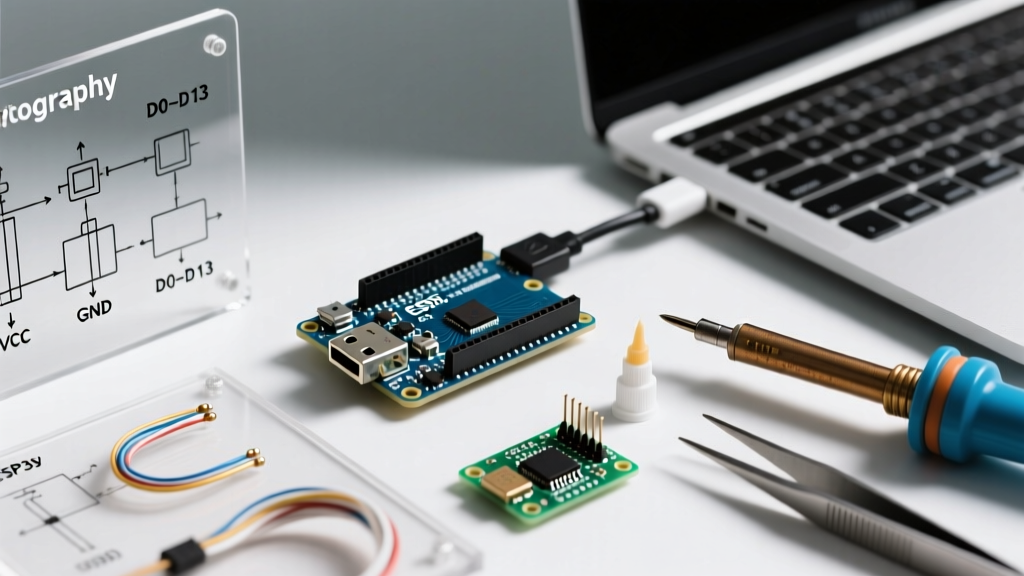
There are few things more frustrating in embedded development than clicking 'Upload' in Arduino IDE 2.x, only to watch the progress bar stall and the port selection dropdown grey out. While it is tempting to blame the microcontroller or the IDE, the physical tether between your PC and the board—the Arduino USB cable—is the culprit in nearly 40% of all field-reported upload failures. Whether you are working with a legacy Uno R3, a modern USB-C equipped Uno R4 WiFi, or a Nano ESP32, the integrity of your USB cable dictates the stability of your serial handshake and power delivery.
This comprehensive troubleshooting guide bypasses generic advice and dives deep into the electrical, physical, and protocol-level failure modes of USB cables in maker environments. We will cover multimeter diagnostics, wire gauge voltage drops, and the pervasive 'charge-only' trap that continues to plague electronics labs in 2026.
The Charge-Only vs. Data-Sync Matrix
The most common reason an Arduino fails to enumerate on a host PC is the use of a charge-only cable. These cables, often bundled with cheap consumer electronics or purchased at gas stations, omit the data lines entirely to save manufacturing costs. Below is a breakdown of what you need to look for when auditing your cable bin.
| Cable Type | Internal Wires | Pinout Configuration | Arduino Compatibility | Typical Cost (2026) |
|---|---|---|---|---|
| Charge-Only | 2 Wires | VBUS (Power), GND | Fails (Port not detected, no serial) | $1.00 - $3.00 |
| Standard Data-Sync | 4 Wires | VBUS, GND, D+, D- | Full Compatibility (Upload & Power) | $6.00 - $12.00 |
| High-Power Data (USB-C) | 6+ Wires | VBUS, GND, D+, D-, CC1, CC2 | Required for PD negotiation on high-draw shields | $15.00 - $25.00 |
If your board powers on (the green 'ON' LED illuminates) but the PC makes no USB connection sound and the IDE shows no COM port, you are almost certainly using a 2-wire charge-only cable. Swap it immediately for a certified 4-wire data cable.
Step-by-Step Diagnostic Triage
When visual inspection fails, it is time to use a digital multimeter (DMM) to verify continuity. You do not need to destroy the cable to test it; the male USB-A connector exposes the contacts perfectly for probing.
1. Probing the USB-A Male Connector
Set your multimeter to Continuity mode (the diode symbol). Look inside the rectangular USB-A plug. You will see four metal strips:
- Pin 1 (Outer Left): VBUS (+5V)
- Pin 2 (Inner Left): D- (Data Negative)
- Pin 3 (Inner Right): D+ (Data Positive)
- Pin 4 (Outer Right): GND (Ground)
Pro-Tip: If your multimeter probes are too thick to touch Pins 2 and 3 simultaneously without shorting them, use a standard sewing pin or a precision tweezer tip to bridge the probe to the contact pad. A continuous beep on Pins 2 and 3 from end-to-end confirms the data lines are intact.
2. The Micro-USB vs. USB-C Receptacle Check
Micro-USB connectors (found on the Uno R3 and Nano) rely on tiny leaf springs inside the female port on the Arduino board. Over time, these springs fatigue, causing intermittent D+ and D- disconnects during vibration. If the multimeter confirms the cable is good, gently pry up the leaf springs on the Arduino's female port using a dental pick. Conversely, USB-C ports (found on the Uno R4 WiFi and newer ESP32 boards) use a fixed mid-plate. If a USB-C cable feels loose, the mid-plate may be cracked, or the cable's retention clips are worn.
Physical Failure Modes: Shielding and ESD
Maker environments are electrically noisy. Switch-mode power supplies, stepper motor drivers (like the A4988 or TMC2209), and relay modules generate massive electromagnetic interference (EMI). If your Arduino USB cable lacks proper braided shielding, this EMI will corrupt the serial data packets, resulting in 'stk500_recv(): programmer is not responding' errors during sketch uploads.
The Ferrite Bead Solution
High-quality data cables feature a cylindrical ferrite bead near the USB-A connector. This passive component acts as a high-frequency choke, suppressing EMI. If you are running a 2-meter cable from your PC to a robotic arm chassis and experiencing random serial disconnects, wrapping the cable twice through a snap-on ferrite core (Cost: ~$2.50) can stabilize the data line impedance to the USB-IF standard of 90 ohms differential.
Voltage Drop and the AWG Problem
Powering an Arduino and its attached sensors directly from a PC's USB port is standard practice, but cable length and wire gauge (AWG) introduce resistance. According to the USB 2.0 Specification, a standard downstream port provides 500mA. If your cable uses thin 28 AWG wire and is 3 meters long, the voltage drop across the VBUS line can be significant.
Calculating the Brownout Threshold
The onboard 5V linear regulator (or the AMS1117-3.3 on 3.3V boards) requires a minimum input voltage headroom to function. If the cable drops the 5.0V from your PC down to 4.2V by the time it reaches the Arduino's VBUS pin, the microcontroller will brownout, resetting continuously.
- Measure at the Source: Probe the USB-A plug. It should read 4.9V - 5.1V.
- Measure at the Board: Probe the '5V' and 'GND' pins on the Arduino header while the sketch is running.
- The Fix: If the board-side voltage is below 4.6V, discard the cable. Replace it with a heavy-duty 24 AWG or 22 AWG USB cable, which reduces resistance by over 60% compared to standard 28 AWG cables.
Driver Conflicts Masquerading as Cable Faults
Before throwing away a perfectly good data cable, you must rule out driver enumeration failures. The Arduino IDE relies on the host OS to map the USB serial interface to a virtual COM port. The behavior differs wildly depending on the USB-to-Serial IC on your board.
ATmega16U2 (Official Boards)
Official Arduino boards use the ATmega16U2 chip. On Windows 11 and modern macOS, this enumerates natively without extra drivers. If it fails, the issue is likely a corrupted Windows INF file or a physical cable fault.
CH340G / CH340C (Clone Boards)
The vast majority of third-party Nano and Mega clones utilize the WCH CH340 chip to keep costs down. While drivers are more stable in 2026 than they were a decade ago, Windows Update occasionally overwrites the working CH340 driver (v3.5+) with a generic, incompatible serial driver.
- Symptom: Device Manager shows 'Unknown USB Device (Device Descriptor Request Failed)'.
- Fix: Uninstall the device from Device Manager, check 'Attempt to remove the driver for this device', and manually install the latest CH340 driver from the manufacturer. For advanced users dealing with stubborn USB-Serial conflicts, using Zadig to force the WinUSB or libusbK driver can bypass Windows' native serial stack entirely, though this requires reconfiguring the IDE.
2026 Buyer's Guide for Maker Cables
Stop buying 10-packs of unbranded cables from online marketplaces. The failure rate for sub-$3 cables in rigorous lab testing exceeds 35% within the first six months of bending and flexing. For reliable prototyping, invest in cables from established brands that adhere to USB-IF compliance testing.
Recommended Brands and Models
- UGREEN (Braided Micro-USB / USB-C): Excellent strain relief, verified 28 AWG data / 24 AWG power splits. Typically $8-$11.
- Cable Matters (Heavy Duty): Offers 20 AWG power lines for high-draw projects (like Arduino Mega setups with motor shields). Priced around $12-$15.
- Tripp Lite (Industrial): Features locking USB-A connectors that prevent accidental disconnects on moving robotics platforms. Premium pricing ($18+).
Frequently Asked Questions (FAQ)
Why does my Arduino upload fine, but the Serial Monitor outputs garbage characters?
This is rarely a cable issue. Garbage characters (like '??@??') almost always indicate a baud rate mismatch. Ensure the baud rate specified in your Serial.begin(9600) exactly matches the dropdown selection in the Arduino IDE Serial Monitor. However, if the garbage output is intermittent and correlates with moving the cable, EMI corruption on unshielded D+/D- lines is the culprit.
Can I use a USB hub to connect multiple Arduinos?
Yes, but avoid unpowered hubs. Connecting three Arduino Unos to an unpowered hub will draw 1.5A, exceeding the standard 500mA (or 900mA on USB 3.0) host limit, causing the hub's internal polyfuse to trip and all ports to drop offline. Always use an actively powered USB 3.0 hub with a minimum 3A power supply for multi-node maker setups.
My Nano ESP32 requires me to manually press the BOOT button to upload. Is the cable at fault?
No. This is a known quirk of the ESP32-S3's USB-Serial-JTAG peripheral and its auto-reset circuit. It is a firmware/hardware design characteristic, not a symptom of a faulty Arduino USB cable. Using a high-quality data cable will, however, make the manual reset window more forgiving by ensuring faster handshake times.