
The Legacy Trap: Why 433MHz ASK Fails in Modern Environments
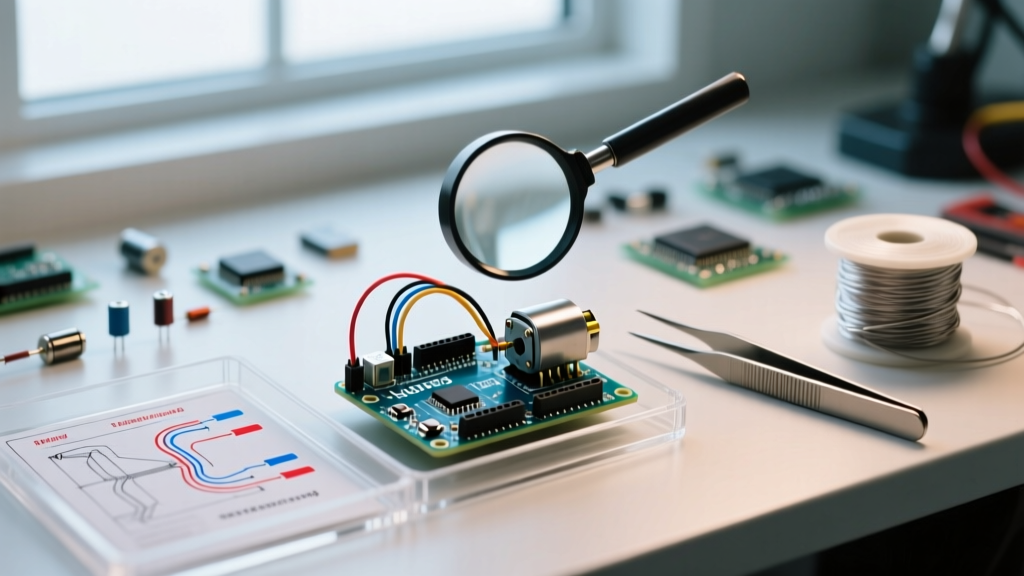
When makers first search for how to build a remote control using Arduino, they are almost universally directed toward the classic 433MHz ASK/OOK (Amplitude Shift Keying) transmitter and receiver pair. Modules like the FS1000A transmitter and the XY-MK-5V regenerative receiver cost roughly $2 and are incredibly easy to wire up using the legacy VirtualWire or RadioHead libraries. However, as we navigate the increasingly congested RF environments of 2026, these legacy modules are failing.
The primary failure mode of the XY-MK-5V is its lack of selectivity. It operates on a fixed frequency with no hardware addressing or packet acknowledgment (ACK). In urban environments, the 433MHz ISM band is saturated with weather stations, smart meters, and automotive key fobs. This results in a high noise floor, causing packet collisions, severe latency spikes, and a practical indoor range that rarely exceeds 15 meters through modern drywall and insulation.
If you are upgrading an existing Arduino remote or designing a new one for mission-critical applications (like RC robotics, drone telemetry, or agricultural automation), it is time to migrate away from raw ASK modulation. This guide details the exact hardware and software migration paths to modern, robust RF protocols.
Migration Matrix: Choosing Your 2026 RF Upgrade Path
Before ripping out your 433MHz antennas, evaluate your project's specific constraints. The table below compares legacy ASK against the two dominant modern upgrade paths: ESP-NOW and LoRa.
| Technology | Core Module (2026 Standard) | Avg. Cost | Urban Range | Latency | Power Draw (TX) |
|---|---|---|---|---|---|
| 433MHz ASK (Legacy) | FS1000A / XY-MK-5V | $2.00 | 10 - 20m | 50 - 200ms | ~10mA |
| ESP-NOW (2.4GHz) | ESP32-C3 SuperMini | $3.50 | 100 - 300m | < 5ms | ~130mA |
| LoRa (Sub-GHz) | Ai-Thinker Ra-02 (SX1276) | $9.00 | 2 - 5km | 50 - 500ms | ~120mA |
Migration Path A: Upgrading to ESP-NOW for Ultra-Low Latency
If your remote control requires instantaneous response—such as steering an RC car or controlling a robotic arm—Wi-Fi or standard Bluetooth Classic introduces unacceptable jitter. Espressif's ESP-NOW protocol bypasses the traditional Wi-Fi connection handshake, operating directly at the MAC layer for peer-to-peer communication.
Hardware BOM and Wiring Shifts
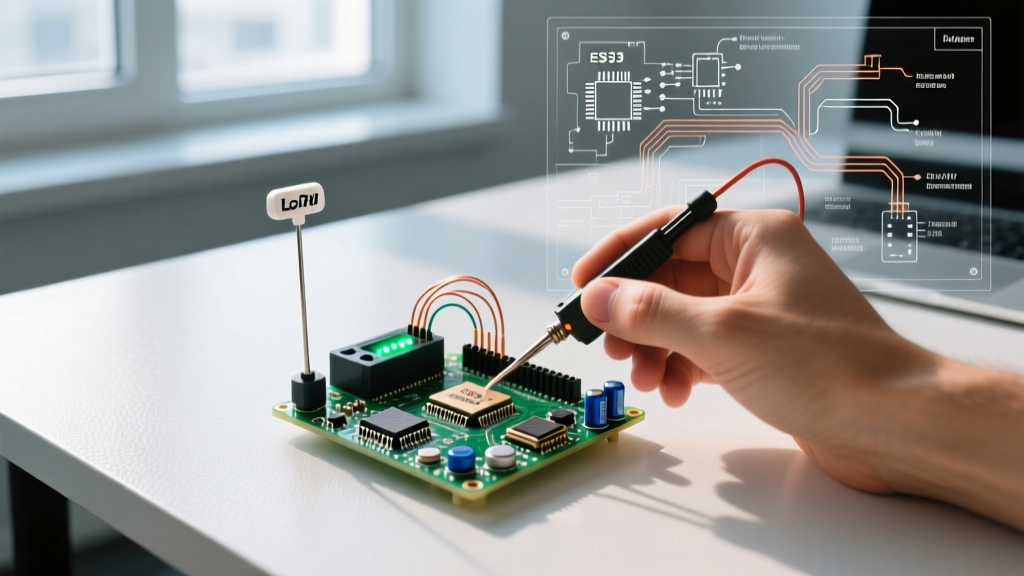
To migrate, replace your ATmega328P and 433MHz transmitter with an ESP32-C3 SuperMini ($3.50). The ESP32-C3 is a RISC-V single-core MCU that natively supports both Wi-Fi 4 and Bluetooth 5, but more importantly, it handles ESP-NOW with incredibly low power overhead.
- Joysticks: Wire dual-axis potentiometers to ADC pins 0 and 1. Note: The ESP32-C3 ADC is 12-bit (0-4095), providing much finer control resolution than the ATmega328P's 10-bit ADC.
- Power: The ESP32-C3 operates strictly at 3.3V. Do not feed it 5V from a legacy USB breakout.
- Antenna: The onboard PCB trace antenna is sufficient for 100m line-of-sight. For 300m, solder a 2.4GHz ceramic chip antenna (e.g., Abracon W3115) via a u.FL connector.
Code Migration: VirtualWire to ESP-NOW
You must abandon the RadioHead library. ESP-NOW requires the native esp_now.h library. The migration requires registering peer MAC addresses rather than broadcasting to the ether.
Pro-Tip: ESP-NOW supports up to 20 encrypted peers. Always enable PMK (Primary Master Key) and LMK (Local Master Key) in your code to prevent packet spoofing, a common vulnerability in open-source Arduino remote projects.
Migration Path B: Transitioning to LoRa for Kilometer-Scale Range
For agricultural rovers, high-altitude balloons, or remote camera triggers, latency is secondary to raw penetration and range. LoRa (Long Range) utilizes Chirp Spread Spectrum (CSS) modulation. According to the LoRa Alliance, CSS allows receivers to decode signals up to 20dB below the noise floor, making it virtually immune to the 2.4GHz interference that plagues urban environments.
Integrating the SX1276 Transceiver
The Semtech SX1276 (often found on the Ai-Thinker Ra-02 breakout for ~$9.00) is the industry standard for Sub-GHz LoRa. Unlike the 433MHz ASK modules that use simple single-wire data lines, the SX1276 requires an SPI bus connection.
- Logic Level Shifting: If you are retaining a 5V Arduino Pro Mini for the remote to save power, you must use a bidirectional logic level shifter (like the BSS138 MOSFET-based breakout, ~$1.50) between the 5V ATmega SPI pins and the 3.3V SX1276 pins. Direct connection will fry the SX1276 silicon instantly.
- Antenna Tuning: Never transmit without an antenna attached; the resulting VSWR (Voltage Standing Wave Ratio) reflection will destroy the RF front-end. Ensure your SMA pigtail antenna is tuned to your specific regional ISM band (868MHz for EU, 915MHz for NA).
Software-wise, migrate to the RadioLib library. It is actively maintained for 2026 hardware and provides a unified API for SX127x, SX126x, and nRF24 modules, making future hardware swaps trivial.
Power Supply Upgrades: Ditching the 9V Alkaline
The most overlooked aspect of learning how to build a remote control using Arduino is power delivery. Legacy tutorials often suggest a standard 9V alkaline battery. This is a critical mistake for modern RF modules.
A standard 9V alkaline battery has a high internal resistance (often 10 to 20 ohms). When an ESP-NOW or LoRa module initiates a transmission burst, it draws a transient current spike of 120mA to 300mA. This spike causes a massive voltage sag across the battery's internal resistance, dropping the voltage below the MCU's brownout detection threshold (usually 2.7V), resulting in an instant, silent reboot of your remote control mid-operation.
The 2026 Power Standard
Migrate to a single 18650 Li-ion cell (e.g., Samsung 35E or Molicel P28A, costing ~$6.00 to $8.00). These cells have an internal resistance of under 30 milliohms and can easily supply 20A continuous current, entirely eliminating TX brownouts.
- Charging: Integrate a TP4056 Type-C charging module ($1.00). Ensure you buy the version with the DW01A protection IC and dual MOSFETs to prevent over-discharge and reverse polarity.
- Regulation: Since a Li-ion cell ranges from 4.2V (full) to 3.0V (empty), and your ESP32 or SX1276 needs a stable 3.3V, use a TPS63020 buck-boost converter ($4.50). Unlike cheap linear regulators (like the AMS1117) which waste power as heat, the TPS63020 maintains 95% efficiency across the entire battery discharge curve, effectively doubling your remote's battery life.
Troubleshooting Edge Cases in RF Migration
When upgrading your Arduino remote, you will likely encounter specific hardware edge cases that don't appear in basic tutorials:
- SPI Bus Capacitance: If you are using long jumper wires between your Arduino and an SX1276 LoRa module, the added capacitance on the MOSI/MISO lines will corrupt data at high SPI clock speeds. Fix: Lower the SPI clock speed in your code to 4MHz, or solder the module directly to a custom PCB with a continuous ground plane.
- ADC Noise from Switching Regulators: The TPS63020 buck-boost converter operates at 2.4MHz, which can inject noise into your joystick ADC readings, causing erratic remote control behavior. Fix: Add a 100nF ceramic capacitor and a 10µF tantalum capacitor directly across the VCC and GND pins of your joystick potentiometers.
- Ground Plane Starvation: 2.4GHz ESP-NOW antennas require a solid ground plane directly beneath them to achieve their rated gain. If you mount the ESP32-C3 on a narrow breadboard, the range will drop by 60%. Always design a custom PCB or use a dedicated carrier board with an uninterrupted copper pour under the RF trace.
Conclusion
Understanding how to build a remote control using Arduino is no longer just about wiring a cheap 433MHz transmitter to a digital pin. By migrating to ESP-NOW for high-speed local control, or LoRa for extreme range, and upgrading your power delivery to modern Li-ion architectures, you transform a fragile hobby project into a professional-grade, reliable control system ready for the demands of 2026 and beyond.