
The Maker's Dilemma: Official Hardware vs. Budget Clones
When starting a new microcontroller project in 2026, every maker faces the same crossroads: should you invest in official hardware or opt for a budget-friendly alternative? The Elegoo vs Arduino debate is one of the most common discussions in forums and maker spaces. An official Arduino Uno R4 Minima retails for around $27.50, while an Elegoo Uno R3 clone can be sourced for $11.99 to $14.99, often including a starter kit of components.
But hardware is only half the battle. Clones introduce unique software hurdles—specifically regarding USB-to-serial bridge chips and bootloader configurations. This comprehensive tutorial will walk you through exactly how to choose between these ecosystems, install the necessary drivers, configure the Arduino IDE 2.3+, and troubleshoot the most common flashing failures unique to clone boards.
Hardware Teardown: What Are You Actually Buying?
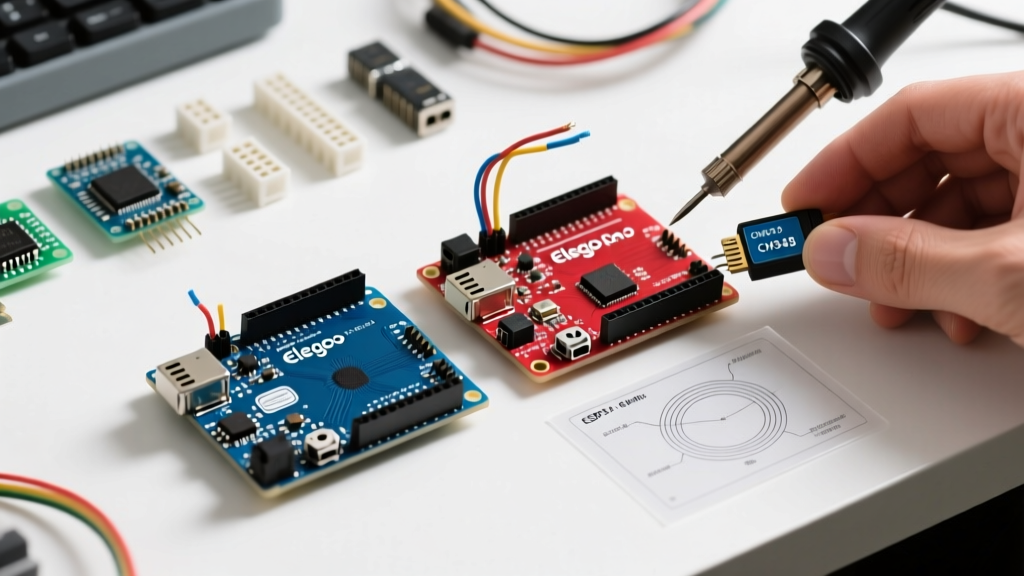
Before we plug anything in, it is crucial to understand the silicon differences. While the main microcontroller is usually identical, the supporting circuitry dictates your setup experience.
| Feature | Official Arduino Uno R3 / R4 | Elegoo Uno R3 (Clone) |
|---|---|---|
| Main MCU | ATmega328P-PU (DIP) or RA4M1 (R4) | ATmega328P-AU (SMD) or CH32V (variants) |
| USB-to-Serial Chip | ATmega16U2 (Programmable) | CH340G or CH340C |
| Voltage Regulator | NCP1117ST50T3G (High efficiency) | Generic AMS1117-5.0 (High heat) |
| USB VBUS Protection | 500mA Resettable Polyfuse | Often omitted or lower rated |
| Avg. Price (2026) | $27.00 - $27.50 | $11.99 - $14.99 |
The CH340G Factor
The most significant difference for beginners is the USB-to-Serial chip. Official boards use an ATmega16U2, which natively identifies as an 'Arduino Uno' to your operating system. Elegoo boards utilize the WCH CH340G chip to cut costs. While highly reliable, the CH340 requires a specific third-party driver on Windows and older macOS systems to function correctly.
Step-by-Step CH340 Driver Installation
If you plug an Elegoo board into a Windows 11 machine and open Device Manager, you will likely see an 'Unknown Device' or a device with a yellow exclamation mark under 'Other devices'. Here is how to properly install the drivers without triggering Windows Core Isolation security blocks.
- Download the Official Driver: Navigate to the Elegoo Official Download Page or the SparkFun CH340 Driver Guide to get the latest signed WCH CH34x driver package.
- Extract and Run as Administrator: Unzip the folder. Right-click the
CH341SER.EXEfile and select 'Run as Administrator'. - Click 'INSTALL': The UI is rudimentary. Simply click the INSTALL button. You should see a pop-up confirming 'Driver install success'.
- Verify in Device Manager: Plug in your Elegoo board via a data-capable USB-B cable. Open Device Manager and expand 'Ports (COM & LPT)'. You should now see 'USB-SERIAL CH340 (COMX)'.
Pro-Tip for macOS Users: If you are on macOS Sonoma or newer with an Apple Silicon (M1/M2/M3) Mac, the CH340C chip (found on newer Elegoo revisions) is often recognized natively via the CDC-ACM class. However, if you have an older CH340G board, you must install the WCH VCP driver and explicitly allow the kernel extension in System Settings > Privacy & Security.
Configuring Arduino IDE 2.3+ for Clone Boards
With the driver installed, open the Arduino IDE. The board selection process is identical to official hardware, but the underlying communication parameters can sometimes cause friction.
Selecting the Correct Board Profile
- Go to Tools > Board > Arduino AVR Boards.
- Select Arduino Uno. (Do not select 'Arduino Uno WiFi' or any third-party ESP profiles).
- Navigate to Tools > Port and select the COM port associated with the CH340 (e.g., COM3 on Windows, or /dev/cu.wchusbserial* on macOS).
The Bootloader Speed Mismatch
Here is an edge case that trips up even experienced engineers. Official Arduino boards ship with the Optiboot bootloader, which communicates at 115200 baud. Some older or bulk-shipped Elegoo clones ship with the legacy ATmegaBOOT bootloader, which expects 57600 baud.
If you hit 'Upload' and the progress bar stalls at 99% before timing out, you are likely facing a bootloader mismatch. To fix this without an ISP programmer:
- Go to Tools > Processor.
- Change the selection from 'ATmega328P' to 'ATmega328P (Old Bootloader)'.
- Attempt the upload again. The IDE will now initiate the serial handshake at 57600 baud, successfully flashing the sketch.
Troubleshooting Common Flashing Failures
When dealing with budget hardware, environmental and manufacturing variances lead to specific error codes. Consult the official Arduino Troubleshooting Documentation for deep-dive diagnostics, but here are the three most common Elegoo-specific failures and their exact fixes.
1. 'avrdude: stk500_recv(): programmer is not responding'
The Cause: This is almost always a physical layer issue. Either the USB cable is charge-only (missing the D+ and D- data lines), or the board's auto-reset circuit is failing to trigger the bootloader.
The Fix: Swap to a verified data cable. If that fails, perform the 'Manual Reset Trick': Hold down the physical RESET button on the Elegoo board. Click 'Upload' in the IDE. The moment the console says 'Sketch uses X bytes...', release the RESET button. This manually forces the MCU into the bootloader window just as avrdude attempts to connect.
2. The 'L' LED is Stuck Solid On
The Cause: Factory testing often leaves a modified Blink sketch on the EEPROM, or the board was subjected to an electrostatic discharge (ESD) event that locked up the GPIO registers.
The Fix: Upload the default 'BareMinimum' sketch (File > Examples > 01.Basics > BareMinimum) to clear the flash memory and reset the pin states.
3. Board Overheating When Powering Servos
The Cause: As noted in our hardware table, clones frequently use generic AMS1117 linear regulators and omit the 500mA USB polyfuse. If you connect two SG90 micro servos directly to the 5V and GND pins, the voltage regulator will attempt to dissipate the excess voltage as heat, quickly triggering thermal shutdown or permanently damaging the regulator.
The Fix: Never power inductive loads or high-draw motors directly from the clone's 5V pin. Use a dedicated external 5V buck converter (like an LM2596 module) wired to a common ground for servo power.
Decision Matrix: When to Buy Which?
Ultimately, the choice between Elegoo and Arduino comes down to your project's lifecycle stage and your tolerance for software configuration.
- Choose Elegoo When: You are prototyping, building a disposable proof-of-concept, teaching a classroom of 30 students on a strict budget, or building a permanent installation where the board will be soldered and hidden away.
- Choose Official Arduino When: You are developing a commercial product, require the advanced features of the Uno R4 (like the DAC, CAN bus, or WiFi matrix), need guaranteed USB-Serial bridge reliability for automated testing rigs, or want to support the open-source Arduino foundation that maintains the IDE and core libraries.
By understanding the underlying silicon differences and mastering the CH340 driver setup, you can confidently leverage budget clones without sacrificing your development velocity. Whether you choose the premium ecosystem or the budget route, the C++ code you write remains exactly the same.