
The Ultimate RGB LED Arduino Quick Reference (2026 Edition)
Integrating an RGB LED Arduino setup is a rite of passage for makers, yet it remains a frequent source of hardware damage and software frustration. As of 2026, the maker landscape has shifted heavily toward the Arduino Uno R4 Minima ($20) and the Nano ESP32 ($22), meaning legacy current-limit assumptions from the old Uno R3 era are now actively dangerous to your microcontroller. This FAQ and quick reference guide cuts through the noise, providing exact resistor values, MOSFET switching schematics, and code-level gamma correction insights to ensure your RGB projects work flawlessly on the first upload.
Quick Reference Data Matrix: Common Cathode vs. Common Anode
Before wiring, you must identify your LED type. Misidentifying these will result in inverted logic or dead shorts.
| Parameter | Common Cathode (CC) | Common Anode (CA) |
|---|---|---|
| Shared Pin Connection | GND (Ground) | 5V / VCC |
| PWM Logic (0-255) | 0 = OFF, 255 = Full Brightness | 0 = Full Brightness, 255 = OFF |
| Resistor Placement | On each color anode leg | On each color cathode leg |
| Example Part Number | Kingbright L-154A4SURCKGKZC | Kingbright L-154A4SUREQBFZW |
Hardware & Wiring FAQ
Q: How do I definitively identify Common Cathode vs. Common Anode without a datasheet?
While the longest leg is usually the common pin, manufacturing tolerances in cheap bulk components often violate this rule. The only 100% reliable method is using a multimeter in Diode Test Mode.
- Set your multimeter to the diode symbol.
- Place the red probe on the suspected common pin and the black probe on an adjacent pin.
- If the LED illuminates faintly, you have a Common Cathode LED (red probe is positive).
- If it does not light up, swap the probes (black on common, red on adjacent). If it lights up now, it is Common Anode.
Q: What are the exact resistor values needed for a 5V Arduino?
Never wire an RGB LED directly to an Arduino GPIO without current-limiting resistors. Standard 5mm RGB LEDs have different forward voltages (Vf) for each die. According to Adafruit's comprehensive LED guide, you must calculate per-color:
- Red Die: Vf ≈ 2.0V. Target current = 20mA. Resistor = (5V - 2.0V) / 0.02A = 150Ω.
- Green/Blue Dies: Vf ≈ 3.2V. Target current = 20mA. Resistor = (5V - 3.2V) / 0.02A = 90Ω (Use standard 100Ω).
Pro-Tip: If you want balanced white light, human eyes are more sensitive to green. Drop the green current to 10mA by using a 220Ω resistor instead, which yields a much more natural white mix without code-level compensation.
Power Limits & Microcontroller Safety
Q: Can I power a high-brightness RGB LED directly from the Arduino Uno R4?
No. This is the most common hardware failure mode in 2026. The legacy ATmega328P (Uno R3) could safely source 20mA per pin. However, the Renesas RA4M1 chip on the Arduino Uno R4 has a recommended maximum of just 8mA per I/O pin. Pushing 20mA per color (60mA total) will degrade the MCU's internal bond wires and cause permanent voltage sag or silicon death.
The Solution: Limit your Uno R4 GPIO current to 5mA per color using higher value resistors (e.g., 470Ω for Red, 220Ω for Blue/Green), or use a driver IC like the ULN2803A Darlington transistor array ($1.20) to handle the heavy lifting.
Q: How do I drive 12V RGB LED strips with an Arduino?
Arduino pins output 5V (or 3.3V on the Nano ESP32) and cannot directly switch 12V loads. You must use Logic-Level N-Channel MOSFETs. The IRLZ44N (~$1.50) is the industry standard because its Rds(on) is fully saturated at a Vgs of 5V.
Wiring the MOSFET Gate:
- Connect a 150Ω gate resistor between the Arduino PWM pin and the MOSFET Gate to prevent high-frequency ringing.
- Connect a 10kΩ pull-down resistor between the Gate and Ground. This ensures the LED strip stays OFF while the Arduino is booting up or resetting, preventing random color flashes.
- Connect the 12V Strip's color channel to the MOSFET Drain, and the Source to Ground.
Software, Code & FastLED FAQ
Q: Why do my mixed colors look muddy or wrong?
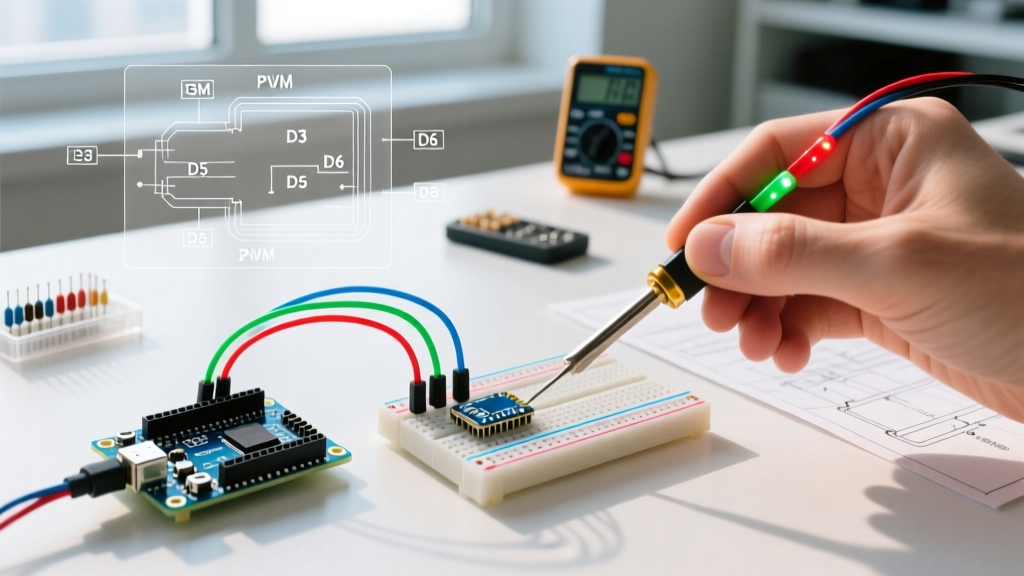
This is caused by two factors: PWM pin mismatch and Gamma Correction. First, ensure you are only using pins marked with a tilde (~) on the Uno, or the dedicated PWM channels on the ESP32. According to the official Arduino analogWrite() documentation, non-PWM pins will only output binary HIGH/LOW, destroying your color mixing.
Second, human vision perceives brightness logarithmically, not linearly. An analogWrite(pin, 128) does not look half as bright as analogWrite(pin, 255); it looks nearly identical. To fix this, apply gamma correction in your code. The FastLED library handles this automatically via the CRGB struct, but if you are writing raw PWM code, use this mapping array:
const uint8_t gamma8[] = {
    0,  0,  0,  0,  0,  0,  0,  0,  0,  0,  0,  0,  0,  0,  0,  0,
    // ... [truncated for brevity, use full 256-byte CIE 1931 array in production] ...
    245, 247, 249, 251, 253, 255
};
// Usage: analogWrite(redPin, gamma8[targetRedValue]);
Q: Standard RGB vs. Addressable RGB (NeoPixel) - Which should I use?
If your project requires multiple independent light sources (e.g., a 60-LED desk lamp), standard RGB LEDs are a wiring nightmare requiring hundreds of resistors and MOSFETs. Instead, pivot to Addressable RGB LEDs like the WS2812B or the newer SK6812 (which includes a dedicated warm-white die for better interior lighting). Addressable LEDs only require one data pin, a 5V power supply, and a single 1000µF decoupling capacitor at the power injection point.
Troubleshooting Matrix: Symptom to Solution
| Symptom | Root Cause | Immediate Fix |
|---|---|---|
| LED glows dimly and changes color randomly when touching wires. | Floating common pin or missing ground connection. | Ensure Common Cathode is tied directly to Arduino GND, not just a breadboard rail. |
| Red channel works, but Blue/Green are completely dead. | Blown MCU GPIO pin from exceeding 8mA (Uno R4) or 20mA (Uno R3). | Move Blue/Green wires to new PWM pins. Add proper resistors. Update code pin mappings. |
| Colors are inverted (Code says RED, LED shows CYAN). | Using Common Anode LED with Common Cathode logic. | Invert PWM values in code: analogWrite(pin, 255 - value); |
| LED flickers violently when connected to a motor or relay. | EMI noise or voltage brownout on the 5V rail. | Add a 100nF ceramic decoupling capacitor directly across the RGB LED's VCC and GND legs. |
Final Maker Advice
When designing custom PCBs for RGB LED Arduino shields in 2026, always route the PWM traces away from high-current motor driver paths to prevent inductive coupling. Furthermore, if you are utilizing the 3.3V logic of the Arduino Nano ESP32, ensure your MOSFETs have a Vgs(th) threshold below 2.5V (like the STP16NF06L), otherwise the 3.3V signal will fail to fully open the gate, resulting in severe thermal throttling and burnt components.