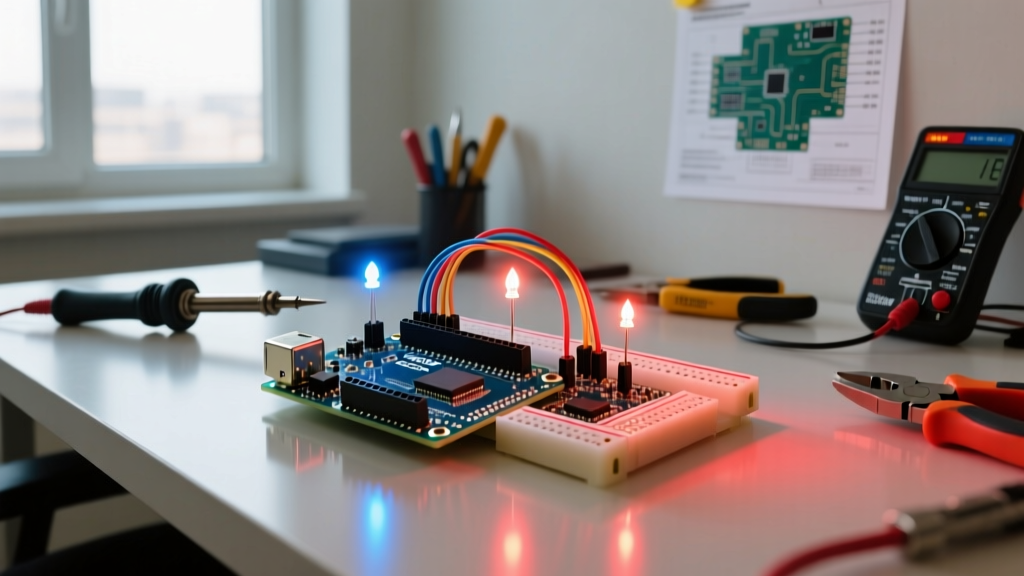

Understanding Arduino Voltage Limits: The Hard Specs
Working with microcontrollers requires a strict respect for electrical boundaries. The most common way makers destroy a brand-new board is by exceeding its maximum Arduino voltage thresholds on the I/O pins or the Vin rail. Before wiring up sensors, battery packs, or solar arrays, you must understand the silicon limits of your specific board.
Below is a comparison of the voltage tolerances for three of the most popular boards used in 2026 maker projects. Note that while the Uno R4 Minima operates at 5V logic, its Renesas RA4M1 ARM Cortex-M4 microcontroller natively uses 3.3V logic internally, requiring careful handling of analog inputs compared to the older ATmega328P.
| Board Model | Logic Level | Recommended Vin | Absolute Max Vin | Analog Pin Max |
|---|---|---|---|---|
| Arduino Uno R3 | 5.0V | 7V - 12V | 20V | 5.0V |
| Arduino Uno R4 Minima | 5.0V (3.3V tolerant) | 6V - 24V | 24V | 5.0V (VREF) |
| Arduino Nano 33 IoT | 3.3V | 7V - 21V | 21V | 3.3V |
Source: Official Arduino Uno Rev3 Schematic and respective board documentation.
The Voltage Divider: Your First Line of Defense
Microcontroller analog-to-digital converters (ADCs) can only read voltages up to their reference voltage (usually 5V or 3.3V). If you want to monitor a 12V LiFePO4 battery (which peaks at 14.6V when fully charged), feeding 14.6V directly into pin A0 will instantly fry the ATmega328P's internal clamping diodes and likely kill the chip.
The solution is a voltage divider, a simple circuit using two resistors to scale down a higher voltage to a safe, readable level. According to SparkFun's Voltage Divider Tutorial, the output voltage is calculated as:
V_out = V_in × [ R2 / (R1 + R2) ]
Calculating the Resistor Values for a 12V Battery
Let's design a divider for a 12V LiFePO4 battery (Max V_in = 14.6V). We want the maximum V_out to be safely under 5V (let's aim for ~2.6V to leave headroom and protect against voltage spikes).
- R1 (High-side resistor): 10,000Ω (10kΩ)
- R2 (Low-side resistor): 2,200Ω (2.2kΩ)
The Math: 14.6V × [ 2200 / (10000 + 2200) ] = 14.6V × 0.1803 = 2.63V.
This 2.63V maximum output is perfectly safe for both 5V and 3.3V Arduino boards. Furthermore, using high resistance values (10kΩ+) ensures the divider draws minimal current (roughly 1.2mA), preventing unnecessary battery drain.
Step-by-Step: Wiring and Coding the Battery Monitor
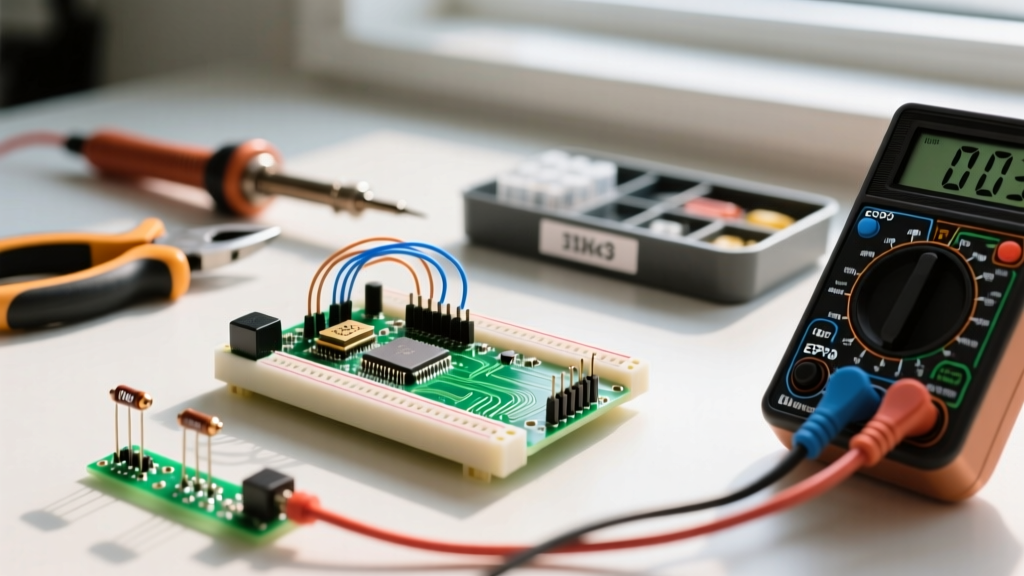
Here is how to physically wire and program this circuit using an Arduino Uno R3 and a standard AstroAI DM6000AR multimeter (~$35) for verification.
1. Hardware Connections
- Connect the positive terminal of your battery to one leg of the 10kΩ resistor (R1).
- Connect the other leg of R1 to the analog pin A0 on the Arduino.
- Connect the 2.2kΩ resistor (R2) between A0 and the Arduino's GND pin.
- Connect the negative terminal of the battery to the Arduino's GND pin. (Common ground is mandatory for accurate ADC readings).
2. The Arduino Voltage Measurement Code
The Arduino analogRead() function returns a value between 0 and 1023 for 10-bit ADCs (like the Uno R3). We must map this back to the actual battery voltage.
// Voltage Divider Constants
const float R1 = 10000.0; // 10k Ohm
const float R2 = 2200.0;  // 2.2k Ohm
const float V_REF = 5.0;  // Uno R3 reference voltage
const int ADC_MAX = 1023; // 10-bit ADC resolution

void setup() {
  Serial.begin(9600);
  pinMode(A0, INPUT);
}

void loop() {
  // Read raw ADC value
  int rawADC = analogRead(A0);

  // Convert ADC value to voltage at the pin
  float pinVoltage = (rawADC * V_REF) / ADC_MAX;

  // Calculate actual battery voltage using divider ratio
  float batteryVoltage = pinVoltage / (R2 / (R1 + R2));

  Serial.print("Battery Voltage: ");
  Serial.print(batteryVoltage);
  Serial.println(" V");

  delay(1000);
}
Advanced Accuracy: Software Oversampling
A standard 10-bit ADC yields roughly 4.88mV per step (5V / 1024). When multiplied by a voltage divider ratio of 5.54, each step represents ~27mV of battery voltage. For precision applications, this is too coarse.
You can achieve 12-bit resolution (4096 steps) on a 10-bit ADC using software oversampling. By taking 16 readings, summing them, and dividing by 4, you effectively gain 2 extra bits of resolution. This technique costs less than $0.02 in passive components but drastically reduces ADC noise and jitter, rivaling the native 14-bit ADC found on the newer $20 Arduino Uno R4 Minima.
Critical Arduino Voltage Mistakes to Avoid
Even with a voltage divider, makers frequently fall into hardware traps that destroy boards. Avoid these specific failure modes:
- Backfeeding via USB and Vin: Never supply power to the Vin pin (or 5V pin) while the board is connected to a PC via USB. The onboard PTC fuse and MOSFET auto-select circuitry on the Uno R3 can overheat if external 12V is backfed into the USB 5V rail.
- Ignoring Ground Loops: If you are measuring a solar panel or a separate DC power supply, the Arduino GND and the external power source GND must be tied together. Without a common ground reference, the ADC will read floating noise, yielding random values between 0V and 5V.
- Missing Transient Protection: Inductive loads (like relays or motors) generate voltage spikes. Add a 5.1V Zener diode (costing ~$0.15) in reverse bias across R2 to clamp any transient spikes that exceed the Arduino's safe limits.
FAQ: Arduino Voltage Troubleshooting
Why is my analogRead() fluctuating by 10-20 points?
This is typical ADC noise caused by electromagnetic interference (EMI) or an unstable reference voltage. If you are powering the Arduino via a cheap USB wall-wart, the 5V rail will have high ripple. Switch to a regulated linear power supply, or use the Arduino's internal 1.1V reference (analogReference(INTERNAL)) with a correspondingly smaller voltage divider.
Can I use the Arduino 3.3V pin to power a voltage divider?
No. The voltage divider must be connected across the external voltage source you are trying to measure. However, you should use the 3.3V pin as the DEFAULT analog reference on 3.3V boards (like the Nano 33 IoT) to maximize ADC resolution for lower-voltage sensor signals.
What happens if I accidentally wire 12V directly to an analog pin?
The internal ESD protection diodes will forward-bias, attempting to shunt the excess voltage to the 5V rail. Because the USB port or onboard regulator cannot dissipate this energy, the diode will burn out, permanently shorting the pin to VCC and destroying the microcontroller. Always verify wiring with a multimeter before applying power.