
Elegoo Arduino Starter Kit Lineup: 2026 Quick Comparison
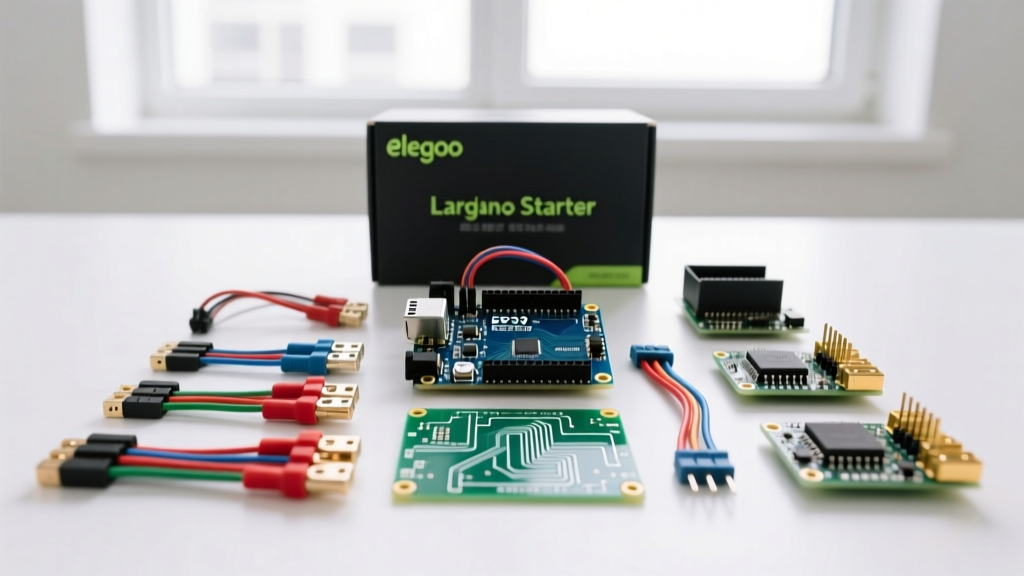
Choosing the right hardware foundation is critical for any microcontroller project. As of 2026, Elegoo remains a dominant force in the maker space, offering tiered kits that cater to everyone from absolute beginners to advanced robotics enthusiasts. Below is a quick reference matrix comparing the three most popular Elegoo Arduino starter kits currently on the market.
| Kit Model | Core MCU | Component Count | Est. Price (2026) | Best Use Case |
|---|---|---|---|---|
| Super Starter Kit | UNO R3 (ATmega328P) | ~200 | $35 - $40 | Basic logic, sensors, LED matrices |
| Most Complete Kit | Mega 2560 R3 | ~400+ | $65 - $75 | Robotics, 3D printers, high I/O projects |
| Project RF Starter | UNO R3 + NRF24L01 | ~250 | $45 - $50 | Wireless telemetry, IoT, remote control |
While the UNO R3 is perfect for learning, the Mega 2560's 54 digital I/O pins and 16 analog inputs make it indispensable for complex builds. For a complete breakdown of official hardware specifications, refer to the Elegoo official Arduino kits catalog.
Setup & Driver FAQs: Getting Your Board Recognized
Q: My PC doesn't show a COM port when I plug in the Elegoo UNO R3. What's wrong?
This is the most common hurdle for new users. Unlike ultra-cheap clone boards that rely on the CH340G USB-to-Serial chip, modern genuine Elegoo UNO R3 boards utilize the ATmega16U2 chip for USB communication. This means it should appear natively as an 'Arduino UNO' in your device manager without requiring third-party drivers.
- Step 1: Verify your cable. The included USB Type-B to Type-A cable must be a data cable. Many household USB-B cables (often used for older printers) are charge-only or lack intact data pins.
- Step 2: Check Device Manager (Windows) or System Report (macOS). Look under 'Ports (COM & LPT)' or 'USB Devices'. If you see 'Unknown Device', the ATmega16U2 firmware may be corrupted.
- Step 3: Try a different USB port. Avoid unpowered USB hubs, as the UNO R3 can draw up to 500mA during initial connection and upload phases.
Pro-Tip: If your board was manufactured in late 2024 or earlier, it might still use the CH340 chip. In that case, download the official CH341SER driver from the WCH website to resolve the missing COM port issue.
Compilation & Upload Error Troubleshooting
Q: I keep getting the avrdude: stk500_recv(): programmer is not responding error. How do I fix it?
This error indicates that the Arduino IDE cannot establish a serial handshake with the bootloader on the ATmega328P. According to the official Arduino Troubleshooting Guide, this is rarely a hardware failure and usually a configuration mismatch.
- Wrong Board Selected: Ensure you have selected 'Arduino UNO' and not 'Arduino Duemilanove' or 'ATmega328P (Old Bootloader)' in the Tools > Board menu.
- Wrong Port Selected: Always verify Tools > Port. If you have multiple COM ports listed, unplug the board to see which one disappears, then plug it back in and select that specific port.
- Serial Monitor Conflict: The IDE cannot upload a sketch if the Serial Monitor is open and occupying the COM port. Close the Serial Monitor before hitting 'Upload'.
- The Manual Reset Trick: If the upload hangs on 'Uploading...', press and release the physical red RESET button on the Elegoo board exactly when the IDE console switches from 'Compiling' to 'Uploading'. This manually triggers the bootloader window.
Hardware & Breadboard Wiring FAQs
Q: My LEDs and sensors randomly stop working when I move the breadboard. Are the components defective?
Before blaming the components, inspect your breadboard. The Elegoo kits include the standard MB-102 solderless breadboard (830 tie-points). A critical, often overlooked feature of the MB-102 is the power rail split.
The red and blue lines running horizontally along the top and bottom edges are not continuous all the way across. There is a physical break in the metal clips exactly in the middle of the board. If you are powering a circuit on the right side but only plugged your 5V/GND jumper wires into the left side, the right side will have no power. Fix: Use a short jumper wire to bridge the left and right power rails together.
Q: The 28BYJ-48 Stepper Motor stutters and the UNO resets. Why?
The Elegoo kits include the 28BYJ-48 stepper motor paired with a ULN2003 driver board. A frequent beginner mistake is powering the ULN2003 directly from the UNO's 5V pin.
- The Problem: The 28BYJ-48 draws roughly 240mA per phase (up to 400mA peak). The UNO R3's onboard 5V linear regulator can only safely supply about 400mA total before accounting for the ATmega328P's own power draw. This causes a voltage brownout, triggering the UNO's auto-reset circuit.
- The Solution: Always power the ULN2003 driver board using an external 5V power supply (like a USB breakout board or a dedicated 5V wall adapter), and ensure the external GND is tied to the UNO's GND to maintain a common logic reference.
Q: My LCD1602 I2C module just shows a row of white boxes. What's the fix?
This indicates the backlight is receiving power, but the I2C data handshake is failing. This is almost always an I2C address mismatch.
The PCF8574 I2C backpacks included in Elegoo kits typically use one of two addresses: 0x27 or 0x3F. If your sketch initializes the LiquidCrystal_I2C library with the wrong address, the screen will remain blank.
Actionable Fix: Upload the 'I2CScanner' example sketch (File > Examples > Wire > I2CScanner) to your UNO. Open the Serial Monitor at 9600 baud. The scanner will print the exact hexadecimal address of your LCD module. Update your sketch's initialization line (e.g., LiquidCrystal_I2C lcd(0x3F, 16, 2);) to match.
Power & Thermal Management Quick Reference
Q: Can I use a 12V adapter with the Elegoo UNO R3 barrel jack?
While the UNO R3 technically accepts 7V to 12V via the DC barrel jack, doing so is highly discouraged for projects utilizing shields or high-current sensors. The onboard NCP1117 5V linear regulator must dissipate the excess voltage as heat. At 12V input, drawing just 200mA from the 5V pin will cause the regulator to dissipate 1.4 Watts of heat, rapidly leading to thermal shutdown.
2026 Best Practice: If you must use the barrel jack, stick to a 7V to 7.5V DC power supply. For anything requiring more current, bypass the onboard regulator entirely by feeding a clean 5V source directly into the '5V' pin on the header (ensuring the USB is unplugged to avoid back-feeding).
Arduino IDE 2.x Transition Guide for Elegoo Users
If you are following older Elegoo tutorial PDFs, you may notice discrepancies with the modern Arduino IDE v2 software. Here is a quick translation guide for the 2026 IDE environment:
- Library Management: The 'Include Library' menu has been replaced by the dedicated Library Manager sidebar (Ctrl+Shift+I). Search for 'LiquidCrystal I2C' by Frank de Brabander rather than manually downloading ZIP files.
- Serial Plotter: Now integrated directly into the bottom panel alongside the Serial Monitor. Use
Serial.println(sensorValue);to instantly graph analog readings from the Elegoo photoresistors and potentiometers without third-party software. - Board Manager URLs: To use the ESP8266 or ESP32 add-on boards alongside your Elegoo kit, navigate to File > Preferences and paste the JSON URLs into the 'Additional boards manager URLs' field, separated by commas.
By understanding the specific hardware quirks of the Elegoo ecosystem—from the MB-102 power splits to the ATmega16U2 USB architecture—you can bypass common frustrations and focus entirely on building robust, functional microcontroller projects.