
The Limitations of Bang-Bang Control
When makers first attempt to regulate temperature, motor speed, or fluid pressure, they almost universally start with a simple conditional statement: if the sensor reading is below the target, turn the actuator on; if it is above, turn it off. In control theory, this is known as Bang-Bang or On/Off control. While sufficient for a basic home thermostat, Bang-Bang control is disastrous for precision electronics. It guarantees continuous oscillation around the setpoint, causes severe thermal or mechanical stress on components, and rapidly destroys mechanical relays.
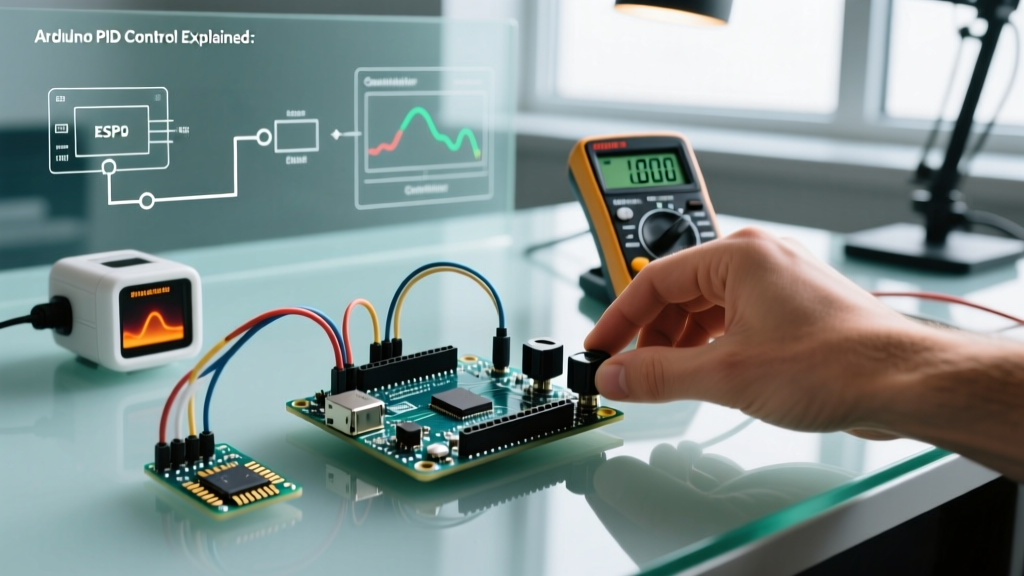
To achieve stable, precision regulation, engineers rely on Proportional-Integral-Derivative (PID) control. By calculating an error value as the difference between a desired setpoint and a measured process variable, a PID controller applies a correction based on proportional, integral, and derivative terms. In the modern maker ecosystem, implementing Arduino PID control is highly accessible, provided you understand the underlying mathematics, hardware constraints, and tuning frameworks.
Deconstructing the PID Algorithm
The PID algorithm outputs a control signal (often a PWM value from 0 to 255) based on three distinct mathematical operations. Understanding how each term behaves is critical for diagnosing unstable systems.
Proportional (P): The Present Error
The Proportional term accounts for the current error. If your target temperature is 100°C and the current reading is 80°C, the error is 20. The P term multiplies this error by a gain constant (Kp). The larger the error, the stronger the corrective action. However, P-only control suffers from steady-state error (also known as droop). As the system approaches the setpoint, the error shrinks, and the output power drops. Eventually, the system reaches an equilibrium where the heat lost to the environment exactly matches the reduced power output, leaving the system permanently short of the target.
Integral (I): The Accumulated Past
To eliminate steady-state error, the Integral term sums the error over time. Even a tiny, persistent error of 0.5°C will accumulate over several minutes, gradually increasing the I term until the actuator outputs enough power to push the system exactly to the setpoint. While essential for precision, the I term is the primary culprit behind overshoot and oscillation if not properly constrained.
Derivative (D): The Predicted Future
The Derivative term measures the rate of change of the error. If the temperature is rising rapidly toward the setpoint, the D term anticipates that it will overshoot and preemptively reduces the output power. This acts as a damping force, smoothing out the response and reducing settling time. However, because it relies on the derivative, it is highly susceptible to high-frequency sensor noise.
Hardware Selection and Timing Constraints in 2026
Executing a PID loop requires strict timing. The algorithm assumes a fixed time interval ($dt$) between calculations. If your loop is delayed by sensor read times or blocking code, the derivative and integral calculations will yield chaotic results.
- Microcontroller Choice: While the legacy Arduino Uno R3 (16MHz, 10-bit ADC) is still common, modern 2026 implementations heavily favor the Arduino Uno R4 Minima ($27.50). Its Renesas RA4M1 processor runs at 48MHz and features a 14-bit ADC, drastically reducing quantization noise which otherwise triggers derivative spikes. For high-speed motor control, the dual-core ESP32-S3 ($8.00) allows you to dedicate one core entirely to a high-frequency PID interrupt.
- Sensor Resolution: For thermal control, avoid basic thermistors. Use an RTD amplifier like the MAX31865 ($4.50 breakout) paired with a PT100 sensor. The SPI digital output eliminates ADC noise.
- Actuators: For AC heating elements, use a Solid State Relay (SSR) like the Omron G3NA-210B ($12.00) driven by a PWM signal. SSRs support high-frequency switching (1-5Hz) without the mechanical wear of physical relays.
Implementing the Arduino PID Library
Rather than writing the math from scratch, the industry standard is the Arduino PID Library, originally authored by Brett Beauregard. As detailed in his seminal series on Improving the Beginner's PID, the library handles complex edge cases natively.
A robust implementation requires setting the sample time and output limits explicitly in the setup() function:
Expert Tip: Never use
delay()in a PID sketch. Instead, usemyPID.SetSampleTime(100);to enforce a 100ms calculation interval, and callmyPID.Compute()inside a non-blockingloop(). Thermal systems generally require a 100ms to 500ms sample time, while DC motor position control requires 10ms or faster.
The Tuning Matrix: How Kp, Ki, and Kd Affect the System
Tuning is the process of finding the optimal Kp, Ki, and Kd values. Modifying one parameter inevitably affects the others. The University of Michigan Control Tutorials provides a foundational matrix for understanding these relationships.
| Parameter | Rise Time | Overshoot | Settling Time | Steady-State Error |
|---|---|---|---|---|
| Kp (Proportional) | Decrease | Increase | Small Change | Decrease |
| Ki (Integral) | Decrease | Increase | Increase | Eliminate |
| Kd (Derivative) | Minor Change | Decrease | Decrease | Minor Change |
Critical Edge Cases: Integral Windup and Derivative Kick
Novice developers frequently encounter two catastrophic failure modes when deploying Arduino PID control in the real world.
1. Integral Windup
Imagine a 3D printer hotend targeting 220°C, starting from a cold 25°C. The error is massive, and the Integral term accumulates rapidly while the heater is pinned at 100% PWM. By the time the temperature reaches 220°C, the I term is so large that the controller continues outputting 100% power for several more minutes, causing the hotend to overshoot to 260°C and melt the PTFE tubing.
The Fix: You must clamp the output. In the Arduino PID Library, calling myPID.SetOutputLimits(0, 255); prevents the internal I term from accumulating beyond the physical capabilities of the actuator.
2. Derivative Kick
If you suddenly change the Setpoint from 100 to 200, the error changes instantly. The derivative of an instantaneous step is mathematically infinite, resulting in a massive spike in the control output that can damage actuators or trigger safety resets.
The Fix: Use "Derivative on Measurement" rather than "Derivative on Error." Beauregard's library implements this by default, calculating the derivative based on the sensor's rate of change rather than the error's rate of change, entirely eliminating the kick.
Step-by-Step Heuristic Tuning Guide
While the Ziegler-Nichols method is academically rigorous, it requires forcing the system into sustained oscillation, which is dangerous for thermal or mechanical systems. Instead, use this safe, heuristic tuning approach:
- Zero out Ki and Kd: Set both to 0. You are now using P-only control.
- Increase Kp: Slowly raise Kp until the system responds quickly to a step change but exhibits minor, manageable oscillation.
- Add Kd: Gradually increase Kd to dampen the oscillation. You will notice the system becomes more stable but may respond slightly slower. Stop increasing Kd when the noise from the sensor begins to cause jitter in the output.
- Add Ki: Finally, introduce a small Ki value to eliminate the remaining steady-state error. Increase it just enough to reach the setpoint within an acceptable timeframe without causing secondary overshoot.
Mastering Arduino PID control bridges the gap between simple hobbyist projects and professional-grade automation. By respecting sampling constraints, utilizing high-resolution ADCs, and defensively coding against windup and derivative kick, you can achieve laboratory-grade stability on a maker budget.