
Introduction to Arduino Audio Output Configuration
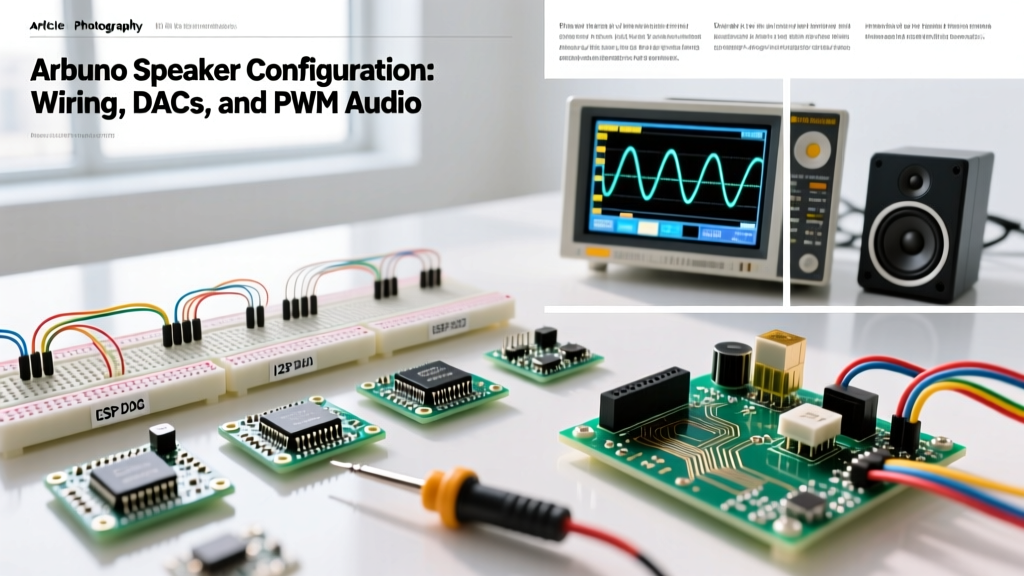
Configuring an Arduino speaker setup goes far beyond simply connecting a buzzer to a digital pin. Whether you are building a retro synthesizer, an IoT device with voice alerts, or a high-fidelity audio logger, the microcontroller's native digital-to-analog capabilities dictate your hardware choices. Standard 8-bit AVR boards like the Arduino Uno lack a true DAC, relying instead on Pulse Width Modulation (PWM) or external Digital-to-Analog Converters (DACs). Meanwhile, modern 32-bit boards like the ESP32 or Arduino Nano RP2040 Connect feature native I2S (Inter-IC Sound) interfaces capable of driving high-quality audio amplifiers.
This configuration guide details the exact wiring, component selection, and software parameters required to drive various Arduino speaker types in 2026, moving from basic piezo alerts to CD-quality I2S audio synthesis.
Hardware Selection Matrix: Matching Speakers to Microcontrollers
Before writing a single line of code, you must match your transducer and amplifier topology to your board's processing architecture. Below is a comparative breakdown of standard Arduino speaker configurations, including approximate 2026 component pricing and ideal use cases.
| Audio Topology | Example Hardware | Cost (Approx.) | Audio Quality | Best Suited Board |
|---|---|---|---|---|
| Passive Piezo | CUI Devices CPT-9019S | $1.50 | Poor (Square waves only) | ATmega328P (Uno/Nano) |
| Active Buzzer | TDK PS1240P02BT | $0.80 | Very Poor (Single tone) | Any (Digital GPIO) |
| PWM + RC Filter + Class AB | TI LM386 Amp | $2.20 | Fair (8-bit lo-fi) | ATmega328P / ATmega2560 |
| I2S DAC + Class D Amp | Adafruit MAX98357A | $7.50 | Excellent (16/24-bit) | ESP32 / RP2040 / SAMD21 |
Configuring Basic Piezo and Active Buzzers
Piezo transducers are highly capacitive loads. When driven directly by an ATmega328P GPIO pin, the rapid voltage transitions can cause electromagnetic interference (EMI) and ghost-triggering on adjacent analog inputs. Furthermore, when the PWM signal stops, the piezo can retain a charge, causing a faint, continuous humming or clicking sound.
The Pull-Down Resistor Fix
To configure a passive piezo speaker correctly, you must place a 1kΩ to 10kΩ pull-down resistor in parallel with the piezo element. This bleeds off residual charge the moment the GPIO pin goes LOW, ensuring absolute silence between tones. Wire the positive lead of the piezo to a PWM-capable pin (e.g., Pin 8) and the negative lead to GND, with the resistor bridging the two leads.
For software configuration, the native tone() function is the standard approach. However, be aware of hardware timer conflicts. On the ATmega328P, the tone() function hijacks Timer2. This completely disables PWM functionality on Pins 3 and 11 while a tone is playing. If your project requires simultaneous motor control via PWM and audio alerts, you must either use an external 555 timer circuit for the audio or migrate to a board with more hardware timers, like the Arduino Mega 2560.
Pro-Tip: Never usetone()andanalogWrite()on pins 3 and 11 simultaneously on an Arduino Uno. The timer conflict will result in erratic motor speeds and distorted audio output.
High-Fidelity Audio: I2S DAC and Amplifier Configuration
For projects requiring WAV file playback, text-to-speech, or high-quality synthesizer output, I2S is the mandatory protocol. The Adafruit MAX98357A I2S Class-D Amplifier is the industry standard for makers, integrating a DAC and a 3.2W amplifier into a single breakout board.
Wiring the I2S Interface
I2S requires three shared clock/data lines, plus power. Unlike analog audio, I2S is a digital bus, meaning wire length and signal integrity matter. Keep your I2S traces under 10cm to prevent clock jitter.
- BCLK (Bit Clock): Synchronizes individual bits. Connect to ESP32 GPIO 26.
- LRC / WS (Word Select): Delineates Left/Right channels. Connect to ESP32 GPIO 25.
- DIN (Serial Data): Carries the audio payload. Connect to ESP32 GPIO 22.
- GAIN: Leave unconnected for default 15dB gain, or bridge to GND for 12dB if using highly sensitive 4Ω speakers.
Software Configuration for I2S
Modern ESP32 Arduino cores utilize the ESP32-audioI2S or the official I2S.h library. When configuring the I2S driver in your setup loop, you must define the DMA (Direct Memory Access) buffer count. Setting dma_buf_count = 8 and dma_buf_len = 64 provides a stable audio stream without consuming excessive SRAM. If you experience audio stuttering during Wi-Fi operations, increase the DMA buffer count to 12 to absorb network interrupt latencies.
Advanced PWM Audio Synthesis with RC Filters
If you are constrained to an 8-bit AVR microcontroller but need better audio than a square-wave piezo, you can use high-frequency PWM combined with a low-pass RC (Resistor-Capacitor) filter. This technique is heavily utilized by the Mozzi audio synthesis library, which configures the ATmega328P's Timer 1 to run at an ultrasonic 32,768 Hz PWM frequency, pushing the carrier noise far above the human hearing range.
Designing the Low-Pass Filter
To strip the 32kHz PWM carrier wave and leave only the audible audio envelope, you must build a hardware low-pass filter. The cutoff frequency ($f_c$) is calculated as $1 / (2 \pi R C)$.
- Select a 1kΩ resistor and a 100nF (0.1µF) ceramic capacitor.
- Solder the resistor in series with the Arduino PWM output pin (Pin 9 for Timer 1).
- Solder the capacitor from the opposite end of the resistor to Ground.
- The junction between the resistor and capacitor is your analog audio output.
This specific 1kΩ/100nF combination yields a cutoff frequency of approximately 1.59 kHz. While this rolls off high treble frequencies, it effectively eliminates PWM switching noise. For full-range audio (up to 10kHz), use a 150Ω resistor and a 100nF capacitor, but be aware that the lower impedance will draw more current from the GPIO pin.
Troubleshooting Common Audio Failure Modes
Even with correct wiring, audio configurations frequently suffer from analog artifacts. Here is how to diagnose and resolve the most common issues encountered in the field.
1. Ground Loop Hum in Class-D Amplifiers
Symptom: A loud 50Hz/60Hz hum or high-frequency whine that changes pitch when the microcontroller processes data.
Cause: Class-D amplifiers like the PAM8403 or MAX98357A switch rapidly at high currents. If the amplifier's ground is shared on the same breadboard rail as the microcontroller's logic ground, switching noise injects directly into the MCU's reference voltage.
Solution: Implement a star-ground topology. Run a dedicated, thick ground wire directly from the power supply's negative terminal to the amplifier's GND pin, and a separate wire to the Arduino's GND. Do not daisy-chain grounds.
2. Audio Clipping and Distortion
Symptom: Harsh, crackling audio during loud transients.
Cause: Impedance mismatch or insufficient current delivery. A standard USB port provides only 500mA. If your speaker is rated for 4Ω and the amplifier attempts to deliver 3W, it will pull over 800mA, causing the USB voltage to sag and the audio to clip.
Solution: Power the amplifier's VIN directly from a dedicated 5V 2A wall adapter. Alternatively, use the Arduino tone() documentation guidelines to implement software-level volume attenuation if using PWM, scaling the output values down by 30% to maintain headroom.
3. SD Card Read Stutters during WAV Playback
Symptom: Rhythmic clicking or dropout every 1-2 seconds during audio playback.
Cause: The SD card's internal controller is performing wear-leveling or garbage collection, causing momentary read delays that empty the microcontroller's audio buffer.
Solution: Format your microSD card using the official SD Association's Formatter tool (not the OS default formatter) to align the FAT32 clusters properly. Furthermore, ensure your SPI clock divider is set correctly; running SPI at 8MHz instead of the maximum 20MHz often yields more stable, continuous read streams on longer breadboard jumper wires.
Summary of Best Practices
Successful Arduino speaker configuration requires aligning your hardware topology with your microcontroller's native peripherals. Use piezos with pull-down resistors for simple alerts, leverage I2S DACs on 32-bit boards for high-fidelity playback, and utilize ultrasonic PWM with RC filters for 8-bit synthesis. By respecting timer conflicts, managing ground loops with star topologies, and properly sizing DMA buffers, you can achieve professional-grade audio output from hobbyist microcontrollers.