
The Hidden Cost of Resistive Probes
If you have ever attempted to build an automated irrigation system, you likely started with a standard resistive soil moisture sensor. These cheap, fork-shaped probes are ubiquitous in beginner kits, but they harbor a fatal design flaw: galvanic corrosion. When a continuous direct current passes through the exposed metal traces into the damp, ion-rich soil, electrolysis occurs rapidly. Within a matter of days, the copper or nickel plating dissolves, leaving behind a blackened, oxidized mess that yields wildly inaccurate readings before failing completely.
The Electrolysis Effect: Resistive probes measure the electrical resistance between two exposed electrodes. Soil acts as a weak electrolyte. Applying a constant DC voltage causes metal ions to migrate from the anode to the cathode, physically destroying the sensor. Even alternating the polarity via software only delays the inevitable.
The solution is to transition to a capacitive soil moisture probe. Arduino makers have widely adopted these sensors because they measure the dielectric permittivity of the surrounding soil using a high-frequency alternating field, meaning no direct galvanic contact or DC current flows through the earth. In this tutorial, we will cover the exact hardware selection, critical wiring pitfalls, professional waterproofing techniques, and the calibration code required to get reliable, long-term data.
2026 Bill of Materials (BOM)
Not all capacitive sensors are created equal. The market is flooded with generic clones that suffer from poor voltage regulation. Below is the recommended hardware matrix for a robust deployment.
| Component | Recommended Model / SKU | Approx. Cost | Engineering Notes |
|---|---|---|---|
| Capacitive Sensor | DFRobot Gravity SEN0193 | $6.50 | Features proper 3.3V-5V tolerance and conformal coating out of the box. |
| Budget Sensor Clone | Generic 'v1.2' Capacitive | $1.50 | Requires manual waterproofing. The onboard 3.3V LDO overheats if fed 5V. |
| Microcontroller | Arduino Nano (ATmega328P) | $4.00 - $22.00 | 10-bit ADC (0-1023). Genuine or high-quality clones (e.g., DFRobot, SparkFun). |
| Wiring | 22 AWG Shielded Cable | $0.50/ft | Critical for runs over 2 meters to prevent 60Hz AC hum interference. |
| Waterproofing | MG Chemicals 832C Epoxy | $18.00 | Marine-grade potting compound for the top header pins and exposed traces. |
Wiring the Sensor: The Voltage Regulator Trap
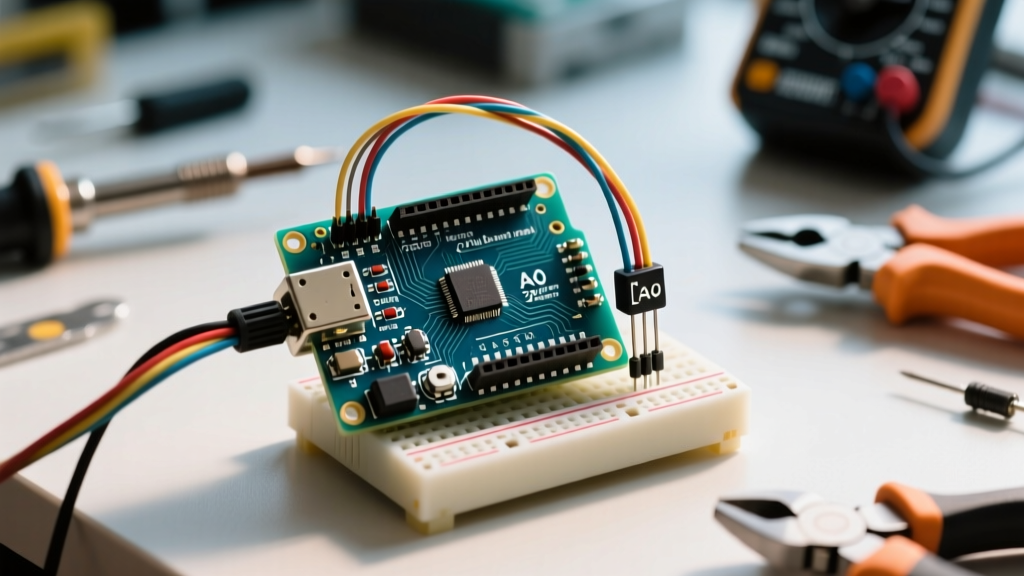
When wiring your soil moisture probe, Arduino pin selection and voltage routing are critical. A standard capacitive sensor outputs an analog voltage that inversely correlates with soil moisture (more water = higher dielectric constant = higher capacitance = lower output voltage).
The Generic v1.2 Overheating Issue
If you purchased the ultra-cheap generic v1.2 clones, examine the small SOT-223 chip near the top header. This is a linear voltage regulator (LDO) designed to drop your input voltage down to 3.3V for the internal 555-timer-based oscillator circuit. If you wire the VCC pin to the Arduino Uno's 5V pin, the LDO must dissipate 1.7V as heat. Because these clones lack adequate thermal vias on the PCB, the chip will overheat, causing thermal drift in the oscillator frequency and resulting in erratic ADC readings.
The Fix: Wire the VCC pin of the generic v1.2 directly to the Arduino's 3.3V output pin. This bypasses the LDO's heavy lifting, keeping the sensor cool and stable. If you are using the premium DFRobot SEN0193, it utilizes a more efficient power management circuit and can safely accept 3.3V to 5V on the VCC pin. For detailed pinout schematics, refer to the official DFRobot SEN0193 Wiki.
Step 1: Waterproofing Exposed Traces
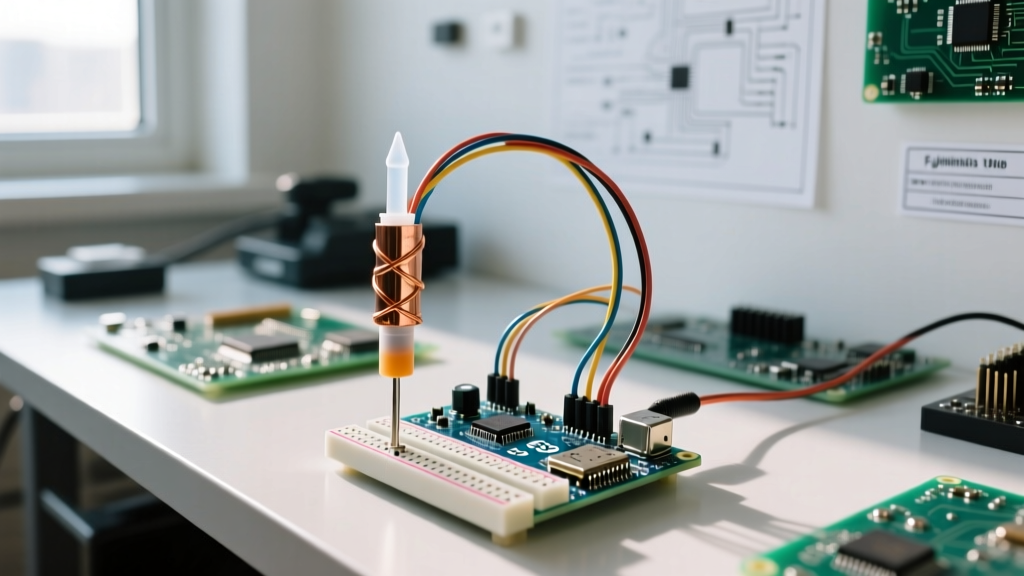
Even capacitive sensors will fail if water bridges the exposed copper traces near the header pins, causing parasitic capacitance that skews the baseline readings. While the DFRobot model comes with a factory-applied conformal coating, budget clones usually have bare copper on the upper half.
- Clean the PCB: Wipe the sensor with 99% Isopropyl Alcohol (IPA) to remove manufacturing flux residues. Let it dry completely.
- Mask the Header Pins: Use Kapton tape to cover the metal header pins so they remain solderable/pluggable.
- Apply Potting Compound: Mix a two-part marine epoxy like MG Chemicals 832C. Paint a generous layer over the exposed traces and the top edge of the PCB where the cable connects.
- Cure Time: Allow the epoxy to cure for 24 hours at room temperature before burying the sensor in damp soil.
Step 2: ADC Calibration Sketch
Before you can map sensor readings to a 'percentage' or trigger a water pump, you must calibrate the specific sensor in your specific soil type. The dielectric constant of sandy loam differs vastly from heavy clay, meaning the raw analogRead() values will shift based on your local geology.
Upload the following raw data logging sketch to your Arduino. Open the Serial Monitor at 9600 baud.
const int SENSOR_PIN = A0;
int rawADC = 0;

void setup() {
  Serial.begin(9600);
  pinMode(SENSOR_PIN, INPUT);
  Serial.println("Starting Soil Moisture Calibration...");
}

void loop() {
  // Read the analog value (10-bit resolution: 0 to 1023)
  rawADC = analogRead(SENSOR_PIN);

  Serial.print("Raw ADC Value: ");
  Serial.println(rawADC);

  delay(1000);
}
Finding Your Bounds
- Dry Air Bound: Hold the sensor in the air, completely dry and untouched. Record the stable ADC value. (Typically around
580to620on a 5V Arduino Nano). - Saturated Soil Bound: Bury the sensor in a cup of your target soil, mixed with enough water to reach a muddy, saturated consistency (field capacity). Record the lowest stable ADC value. (Typically around
280to320).
Step 3: Mapping Values to Percentages
Once you have your dry and wet bounds, you can use the Arduino map() function to translate the raw ADC data into a usable 0-100% scale. Note that because capacitive sensors output a lower voltage when wet, the mapping logic is inverted compared to resistive sensors.
const int SENSOR_PIN = A0;

// Replace these with your specific calibration bounds
const int DRY_AIR_VAL = 595;
const int SATURATED_VAL = 290;

void setup() {
  Serial.begin(9600);
}

void loop() {
  int rawADC = analogRead(SENSOR_PIN);

  // Map the inverted analog reading to a 0-100% scale
  // Dry air = 0%, Saturated = 100%
  int moisturePercent = map(rawADC, DRY_AIR_VAL, SATURATED_VAL, 0, 100);

  // Constrain the value to prevent negative numbers or >100% anomalies
  moisturePercent = constrain(moisturePercent, 0, 100);

  Serial.print("Moisture Level: ");
  Serial.print(moisturePercent);
  Serial.println("%");

  // Simple automation logic: Trigger pump if below 30%
  if (moisturePercent < 30) {
    Serial.println("ALERT: Soil is dry. Activate irrigation.");
  }

  delay(2000);
}
Common Failure Modes & Troubleshooting Matrix
Deploying sensors in outdoor or greenhouse environments introduces environmental variables that bench testing cannot replicate. Use this matrix to diagnose field issues.
| Symptom | Probable Cause | Engineering Solution |
|---|---|---|
| Readings fluctuate wildly (e.g., jumping 50+ points per second) | Electromagnetic Interference (EMI) from nearby AC water pumps or fluorescent ballasts inducing noise on the analog signal wire. | Switch to shielded 22AWG Cat5e cable. Connect the shield drain wire to the Arduino GND pin only (not both ends, to avoid ground loops). Add a 0.1µF ceramic capacitor between the A0 pin and GND. |
| Sensor reads a constant 1023 or 0 regardless of moisture | Internal oscillator failure, often caused by water ingress shorting the 555 timer circuit, or a blown LDO from overvoltage. | Sensor is physically destroyed. Replace the unit and verify VCC does not exceed 5.5V. Ensure waterproofing epoxy covers the IC. |
| Readings slowly drift upward over a week | Soil settling or the formation of an 'air gap' around the smooth plastic body of the probe, reducing capacitive coupling. | When inserting the probe, pack the soil tightly around the base. Some agronomists recommend wrapping the probe in a thin layer of burlap to maintain soil-to-sensor contact via capillary action. |
By selecting the correct hardware variant, managing thermal dissipation on budget clones, and applying rigorous waterproofing protocols, your capacitive soil moisture probe Arduino setup will provide reliable, maintenance-free data for multiple growing seasons.