
The Modern Reality of a Classic Primer
Massimo Banzi’s Getting Started with Arduino remains the undisputed bible for electronics beginners. However, the hardware and software ecosystems have evolved drastically since the book's final major revisions. If you are reading this in 2026, you are likely using Arduino IDE 2.3+ and potentially an Arduino Uno R4 Minima or WiFi, rather than the classic Uno R3 (ATmega328P) that the book assumes. This divergence between legacy literature and modern toolchains creates a specific set of compilation, upload, and runtime errors that can stall beginners on day one.
This diagnostic guide bridges the gap between Banzi’s foundational teachings and the 2026 maker environment, providing exact troubleshooting steps for the most common errors encountered when following the book's examples today.
Error 1: The Architecture Mismatch (AVR vs. Renesas RA4M1)
In later chapters, Getting Started with Arduino by Massimo Banzi introduces direct port manipulation to bypass the overhead of digitalWrite(). The book uses AVR C syntax, such as PORTB |= (1 << 5); or includes <avr/io.h>.
The Symptom
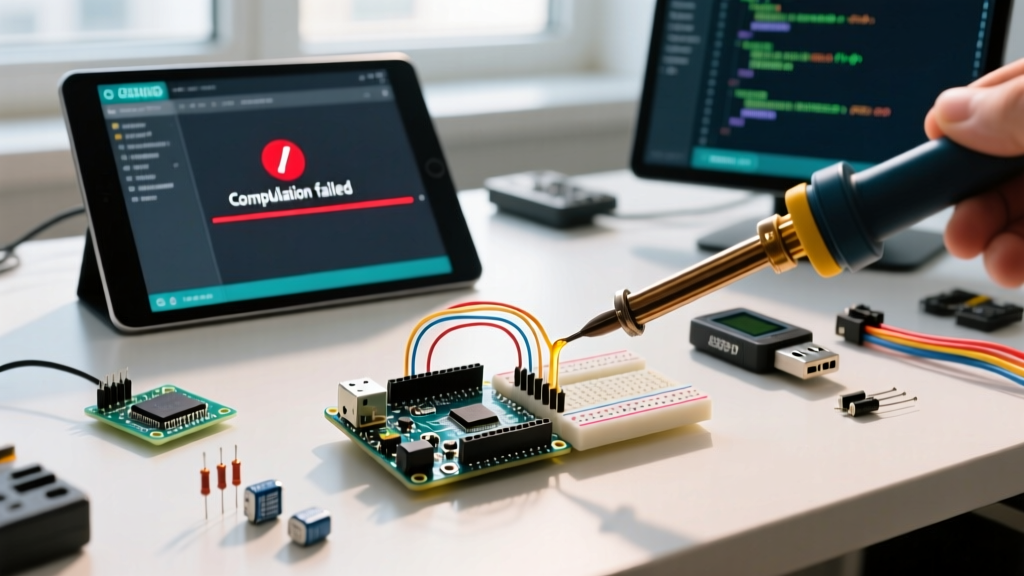
If you purchased a modern starter kit in 2026, it likely includes an Arduino Uno R4 Minima or Uno R4 WiFi. These boards are powered by the Renesas RA4M1 ARM Cortex-M4 processor, not the 8-bit AVR chip. Attempting to compile the book's direct port manipulation code yields:
fatal error: avr/io.h: No such file or directory
compilation terminated.
The Diagnosis & Fix
The Renesas chip does not use AVR registers. You cannot map pins using PORTB or DDRB. To achieve the high-speed toggling Banzi describes on an R4 board, you must use the modern CMSIS (Cortex Microcontroller Software Interface Standard) or the optimized Arduino API.
- Quick Fix: Replace direct port manipulation with
digitalWriteFast()(available via modern Arduino AVR/Renesas cores) or stick to standarddigitalWrite()if nanosecond timing isn't critical for your specific learning exercise. - Hardware Fix: If you strictly want to follow the book's AVR-specific chapters, purchase an Arduino Uno R3 (approx. $27 USD) or a high-quality ATmega328P clone. Avoid the R4 series for legacy AVR tutorials.
Error 2: The 'avrdude: stk500_getsync()' Upload Failure
The book assumes a straightforward USB-to-Serial connection via the ATmega16U2 chip found on genuine Uno R3 boards. Today, the market is flooded with budget clones utilizing the CH340G or CP2102 UART bridge chips.
The Symptom
When clicking 'Upload' in Arduino IDE 2.x, the progress bar stalls, and the console outputs:
avrdude: stk500_recv(): programmer is not responding
avrdude: stk500_getsync() attempt 10 of 10: not in sync: resp=0x00
The Diagnosis & Fix
This is a handshake failure between the IDE and the board's bootloader. According to the official AVRDUDE repository, a resp=0x00 usually indicates that the DTR (Data Terminal Ready) signal isn't resetting the microcontroller, or the wrong UART driver is intercepting the COM port.
- For CH340 Clones: Windows 11 and macOS Sonoma/Sequoia often auto-install a generic, incompatible driver. Download the official WCH CH340 driver (version 3.8+ for 2026 OS compatibility) and manually update the device via Device Manager.
- The Capacitor Trick: If using an older clone where the auto-reset circuit fails, place a 10µF electrolytic capacitor between the RESET and GND pins right as the IDE console says 'Uploading...'. This blocks the serial port from prematurely resetting the board.
- Bootloader Baud Rate: Some cheap clones ship with an 'Optiboot' variant configured for 57600 baud instead of 115200. In the IDE, select
Tools > Processor > ATmega328P (Old Bootloader)to force AVRDUDE to use the correct handshake speed.
Book Assumptions vs. 2026 Reality Matrix
| Feature | Banzi Book Context | 2026 Reality | Error Triggered |
|---|---|---|---|
| IDE Version | Arduino IDE 1.0.x - 1.8.x | Arduino IDE 2.3.x | Workspace/Sketch folder mismatch errors |
| Serial Monitor | Dedicated Window, 9600 Baud | Integrated Tab, Auto-detect Baud | Garbled text / Unicode rendering bugs |
| Core Architecture | 8-bit AVR (ATmega328P) | 32-bit ARM (Renesas RA4M1) or ESP32 | avr/io.h compilation failures |
| USB Bridge | FTDI or ATmega16U2 | CH340G, CP2102, or Native USB | stk500_getsync() timeouts |
Error 3: Serial Monitor Garbled Output & Encoding Shifts
Chapter 5 of the book focuses heavily on Serial communication, teaching users to use Serial.begin(9600) to debug pushbutton states and sensor readings. In the legacy IDE, the Serial Monitor was a separate popup window that defaulted to matching your sketch's baud rate.
The Symptom
You upload the sketch successfully, open the Serial Monitor in Arduino IDE v2, and see endless streams of ????? or wingdings characters instead of 'Button Pressed'.
The Diagnosis & Fix
The modern IDE's integrated Serial Terminal defaults to 115200 baud or attempts to auto-detect, ignoring the 9600 baud initialized in your setup() function. Furthermore, the modern terminal enforces stricter UTF-8 encoding, which can misinterpret raw byte arrays sent from legacy code.
- Fix 1 (The Dropdown): Look at the bottom right corner of the Serial Monitor tab. Manually change the baud rate dropdown from '115200' to '9600' to match Banzi's code.
- Fix 2 (Line Endings): The book's examples often rely on
Serial.println(). Ensure the line ending dropdown in the IDE is set to 'Newline' or 'Carriage Return', otherwise the IDE won't render the buffer correctly when parsing incoming strings.
Error 4: The 'WProgram.h' Legacy Library Failure
If you attempt to download legacy code bundles associated with early editions of the book, or use third-party shields (like the classic Adafruit Motor Shield V1) referenced in older maker forums, you will hit a hard compilation stop.
The Symptom
fatal error: WProgram.h: No such file or directoryThe Diagnosis & Fix
Before Arduino 1.0 (released in 2011), the core header file was named WProgram.h. It was renamed to Arduino.h over a decade ago. Modern IDE 2.x compilers strictly enforce include paths and will not alias the old name.
The Fix: Open the offending .cpp or .h file in the IDE. Locate #include "WProgram.h" and replace it with the modern backward-compatible wrapper:
#if ARDUINO >= 100
  #include "Arduino.h"
#else
  #include "WProgram.h"
#endif
Diagnostic Flowchart for First-Time Uploads
When following the book's first 'Blink' example, use this exact diagnostic sequence if the board fails to program:
- Check the COM Port: Go to
Tools > Port. If the port is greyed out, your USB cable is likely 'charge-only' and lacks data lines. Swap to a verified data cable. - Verify the Board Package: In IDE 2.x, Uno R3 and R4 require different board packages. Open Boards Manager. For R3, ensure
Arduino AVR Boards(v1.8.6+) is installed. For R4, ensureArduino UNO R4 Boardsis installed. - Isolate the Hardware: Disconnect all wires from pins 0 (RX) and 1 (TX). The book's early chapters sometimes have users wire buttons to these pins, which directly interferes with the USB serial programming handshake.
Summary
Getting Started with Arduino by Massimo Banzi teaches timeless concepts regarding circuit logic, microcontroller I/O, and computational thinking. However, the physical and software layers have shifted. By understanding the difference between AVR and ARM architectures, managing modern UART bridge drivers, and adapting to the Arduino IDE 2.x environment, you can seamlessly apply Banzi's foundational lessons to the hardware of 2026 without being derailed by legacy compilation errors.