
Rethinking the Hardware Baseline for Modern Workflows
Most tutorials on getting started with Arduino begin and end with blinking an LED on a legacy Uno R3. While the ATmega328P is a historic chip, optimizing your workflow in 2026 requires hardware that natively supports modern debugging, higher memory ceilings, and native USB HID capabilities. Transitioning to the Arduino Uno R4 WiFi (priced around $27.50) or the Uno R4 Minima ($20.00) fundamentally changes your development speed.
The R4 series utilizes the Renesas RA4M1 (Arm Cortex-M4 @ 48 MHz) processor. From a workflow perspective, this means you are no longer constrained by the 2KB SRAM limit of the R3. You can buffer larger sensor arrays, drive complex LED matrices without aggressive memory optimization, and utilize the hardware I2C and CAN bus interfaces natively. Furthermore, the R4 WiFi includes an ESP32-S3 coprocessor, allowing you to offload network requests via hardware serial bridges rather than blocking your main loop with Wi-Fi handshake routines.
IDE Selection: Arduino IDE 2.x vs. PlatformIO
The single biggest bottleneck when getting started with Arduino is environment mismanagement. The legacy Arduino IDE 1.8.x is officially deprecated, and while the Arduino IDE 2.3.x introduces welcome features like autocomplete and a built-in serial plotter, it still falls short for rigorous project management. For a truly optimized workflow, transitioning to Visual Studio Code with the PlatformIO extension is the industry standard.
| Feature | Arduino IDE 2.3.x | VS Code + PlatformIO |
|---|---|---|
| Library Management | Global installation (high conflict risk) | Project-scoped via platformio.ini |
| Version Control | Manual Git integration | Native Git/GitHub integration |
| Code Navigation | Basic autocomplete | Full IntelliSense, "Go to Definition" |
| Multi-Board Builds | Requires manual board switching | Simultaneous multi-environment builds |
| Setup Time | ~2 minutes | ~15 minutes (initial learning curve) |
Bulletproof Library Management
A common failure mode for beginners is the "missing library" or "conflicting library" error, which occurs when multiple projects rely on different versions of the same global library. When getting started with Arduino using PlatformIO, you eliminate this by declaring dependencies in your platformio.ini file.
Instead of manually downloading ZIP files from GitHub, you lock specific library versions. For example, if your project requires the Adafruit NeoPixel library, your configuration file handles the dependency resolution automatically:
[env:uno_r4_wifi]
platform = renesas-ra
board = uno_r4_wifi
framework = arduino
lib_deps =
    adafruit/Adafruit NeoPixel@^1.12.0
    bblanchon/ArduinoJson@^7.0.3
This ensures that anyone cloning your repository in the future will compile the exact same binary, completely bypassing the "it works on my machine" syndrome. You can explore more about dependency resolution in the PlatformIO lib_deps Documentation.
Physical Prototyping & Wiring Standards
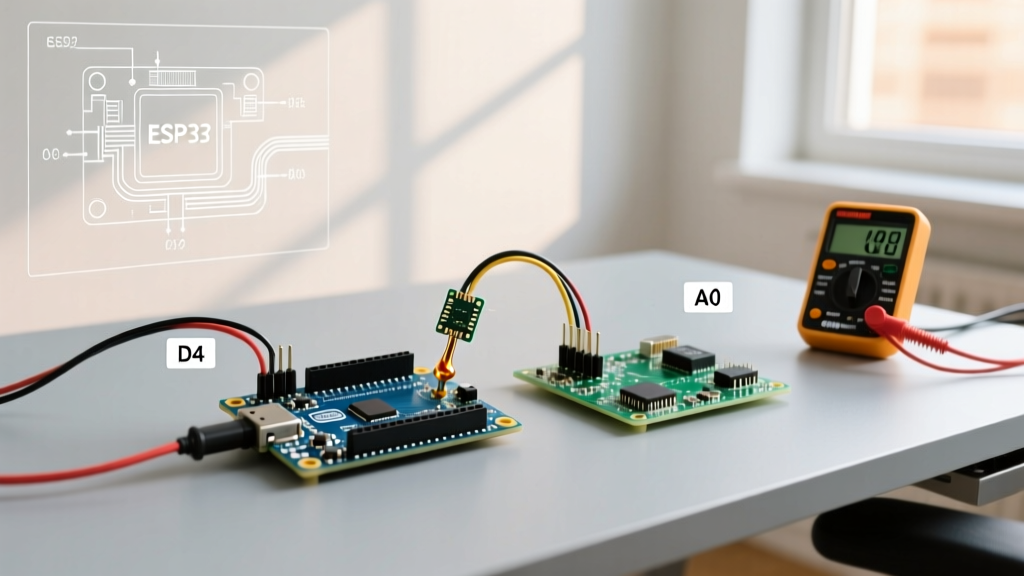
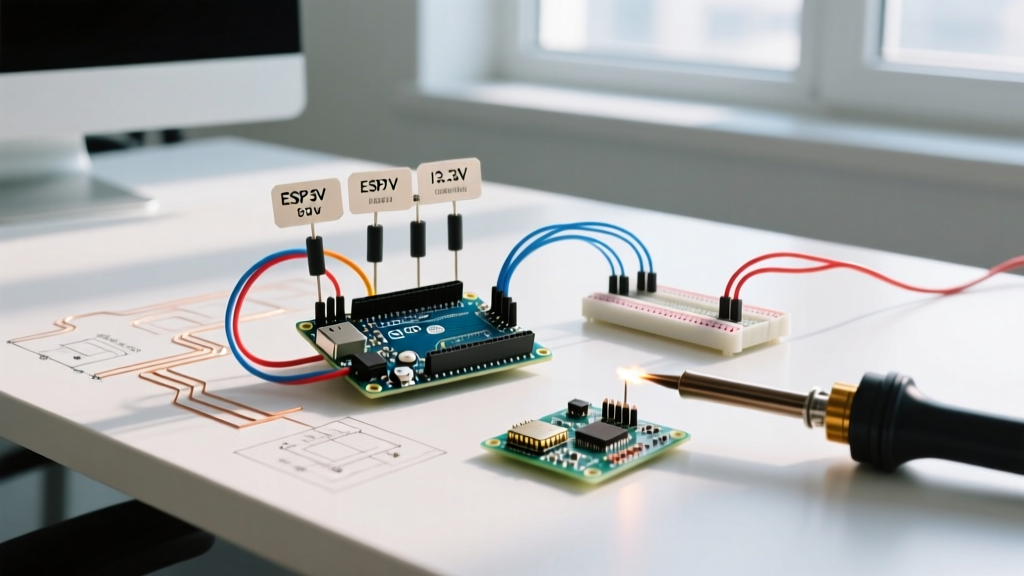
Workflow optimization extends beyond software into physical hardware assembly. A disorganized breadboard leads to hours of debugging phantom electrical faults. Adopt a strict color-coding and routing standard from your very first build:
- Black: Ground (GND) connections.
- Red: 5V power rails.
- Orange: 3.3V power rails (critical for modern I2C sensors and ESP32 logic level shifting).
- Yellow/Blue: Signal and data lines.
- Green: SPI/I2C specific bus lines (e.g., Green for SDA, Blue for SCL).
Furthermore, abandon long, looping jumper wires. Use pre-cut, flush-stripped solid-core wire kits to route connections flat against the breadboard. This prevents accidental disconnects when probing the circuit with a multimeter and drastically reduces parasitic capacitance and inductive noise on high-frequency signal lines like SPI clocks.
Power Delivery Edge Cases: Avoiding USB Brownouts
One of the most frustrating edge cases when getting started with Arduino is the "random reset" issue. A standard USB 2.0 port supplies a maximum of 500mA. If your sketch initializes a 5V relay module (drawing ~75mA) and a micro servo (which can spike to 250mA during stall), you will exceed the USB current limit. This causes a voltage drop (brownout), triggering the onboard ATmega16U2 USB-serial bridge to reset, which in turn drops your serial connection and halts the board.
Pro-Tip: Never power inductive loads (motors, relays, solenoids) directly from the Arduino's 5V pin. Use an external 5V 2A buck converter wired directly to the breadboard power rails, ensuring you tie the external ground to the Arduino GND to maintain a common logic reference.
Version Control Integration
Treating your sketches as disposable text files is a critical workflow error. Hardware projects evolve, and you will inevitably break a working sketch while adding a new feature. Integrating Git into your Arduino workflow takes less than five minutes and saves hours of rollback frustration.
When initializing a Git repository in your project folder, you must exclude build artifacts and compiled binaries. If you are using the Arduino IDE, it generates hidden directories that bloat your repository. Create a .gitignore file in your project root with the following parameters to keep your commit history clean:
# Arduino IDE build cache
/build/
/.theia/

# PlatformIO build artifacts
/.pio/
/.vscode/

# OS generated files
.DS_Store
Thumbs.db
For a deeper understanding of ignoring tracked files, refer to the GitHub .gitignore Guide. By committing your code early and often, you create a reliable timeline of your hardware project's evolution.
Debugging: Moving Beyond Serial.print()
Finally, optimize your debugging workflow by moving away from relying solely on Serial.println(). While useful for basic state checks, serial printing blocks the main loop and alters the timing of interrupts. For analyzing sensor noise or PWM signal integrity, integrate a basic USB logic analyzer (such as a 24MHz 8-channel Saleae clone, available for ~$15) paired with PulseView or the Arduino IDE 2.x Serial Plotter.
The Serial Plotter allows you to visualize variables in real-time. By formatting your serial output as comma-separated values (e.g., Serial.print(sensorA); Serial.print(","); Serial.println(sensorB);), you can instantly graph multi-axis accelerometer data or PID controller error margins, turning abstract numbers into actionable visual data. For official hardware debugging capabilities via the CMSIS-DAP interface, consult the Arduino Uno R4 WiFi Documentation.
Summary
Getting started with Arduino doesn't mean you have to adopt bad habits. By selecting modern hardware like the Uno R4, migrating to a project-scoped IDE like PlatformIO, enforcing strict wiring standards, and utilizing version control, you transform a frustrating hobbyist experience into a streamlined, professional engineering workflow.