
Introduction to Arduino Animatronic Engineering
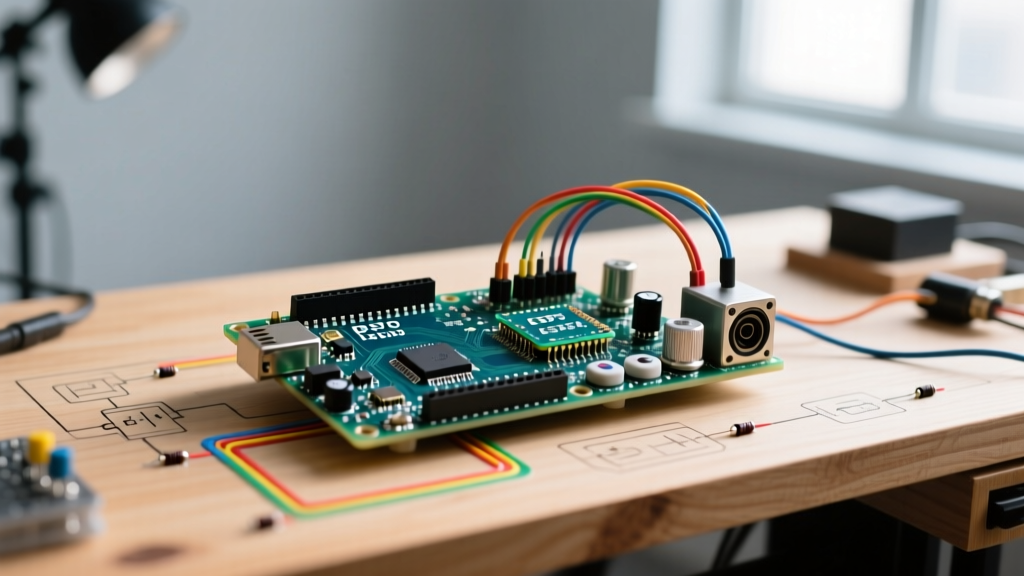
Building a reliable Arduino animatronic prop requires moving beyond basic breadboard prototypes. Whether you are designing a Halloween jump-scare prop, a cosplay helmet with motorized jaws, or a multi-axis robotic puppet, the core challenges remain identical: managing high-current inductive loads, ensuring I2C bus stability, and calculating mechanical torque limits. This quick reference FAQ addresses the most common hardware and software bottlenecks faced by makers in 2026, providing exact specifications, wiring rules, and failure-mode analysis.
Microcontroller Selection for Animatronics
While the Arduino Uno is the standard starting point, animatronics often require simultaneous audio triggering (via DFPlayer Mini), PIR motion sensors, and multiple servo channels. Here is how the standard AVR boards compare for animatronic control.
| Microcontroller | Flash Memory | Available I/O Pins | Best Use Case | Approx. Cost (2026) |
|---|---|---|---|---|
| Arduino Nano | 32 KB | 22 | Compact cosplay helmets, single-axis props | $19 (Clone) |
| Arduino Uno R4 | 256 KB | 20 | Standard props with basic audio integration | $28 (Genuine) |
| Arduino Mega 2560 | 256 KB | 70 | Multi-sensor haunted house props, complex puppets | $42 (Genuine) |
Expert Tip: If you are using a PCA9685 PWM shield, pin count matters less because the shield uses I2C (only 2 pins). However, the Mega 2560 is highly recommended if you need to route multiple hardware serial ports for MP3 players and serial bus servos simultaneously.
Power Architecture: Calculating Amp Draw and Preventing Brownouts
The number one cause of Arduino animatronic failure is inadequate power delivery. Servos draw massive current spikes when starting, stopping, or stalling against mechanical resistance.
The "Stall Current" Multiplier
Beginners often calculate power based on the servo's running current (usually 200mA - 500mA). You must design your power supply around the stall current. For example, a standard MG996R servo has a stall current of approximately 2.5 Amps at 5V. If your animatronic uses four MG996R servos that could potentially bind or stall simultaneously, your power supply must be capable of delivering 10 Amps continuously without voltage sag.
CRITICAL WARNING: Never use linear regulators (like the LM7805) to step down 12V to 5V for animatronic servos. The voltage drop (7V) multiplied by a 5A load equals 35 Watts of heat. This will instantly trigger the LM7805's thermal shutdown, causing your prop to go completely limp. Always use a synchronous buck converter (e.g., DROK 10A step-down module, ~$12) or a dedicated 5V switching power supply like the Mean Well LRS-150-5 (5V, 30A, ~$28).
Servo Selection Matrix: Torque, Speed, and Cost
Selecting the right actuator is critical. Undersized servos will strip their internal gears (especially on 3D printed PLA/PETG linkages), while oversized servos will drain power and add unnecessary weight.
| Servo Model | Torque (kg-cm) | Stall Current | Gear Material | Ideal Application |
|---|---|---|---|---|
| SG90 (Micro) | 1.8 kg-cm | ~700mA | Plastic / Nylon | Light eyelids, small jaw hinges, sensor panning |
| MG996R | 13.0 kg-cm | ~2.5A | Brass / Steel | Neck rotation, heavy limb actuation, standard props |
| DS3218 | 20.0 kg-cm | ~3.0A | Full Steel | Main torso lifting, heavy animatronic jaws, large props |
| LewanSoul LX-16A | 17.0 kg-cm | ~2.0A | Steel / Serial Bus | Daisy-chained serial networks, precise angle feedback |
PCA9685 PWM Shield Quick Reference & Wiring
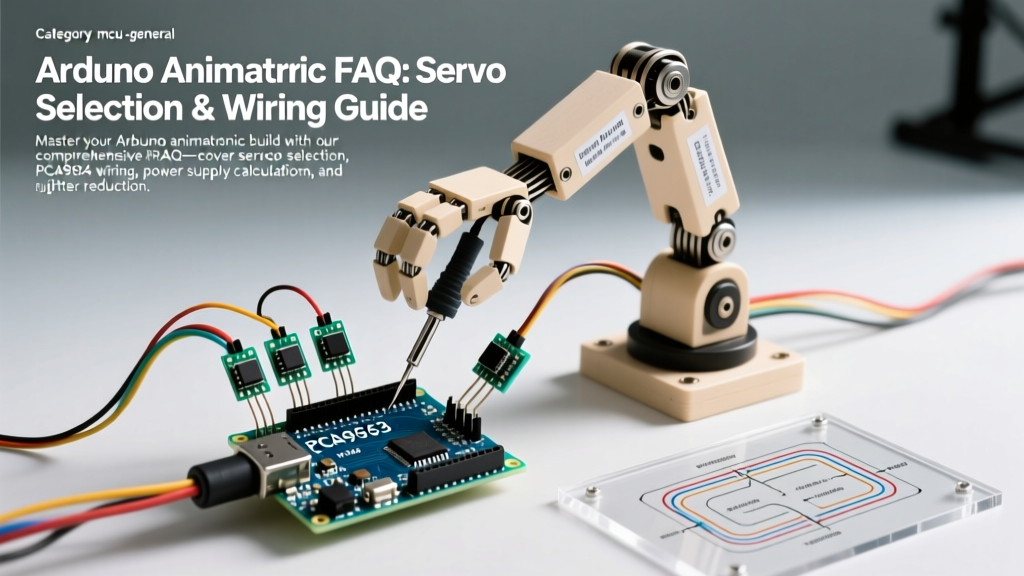
Driving more than two standard servos directly from an Arduino's digital pins will cause hardware PWM timer conflicts and erratic behavior. The Adafruit 16-Channel PCA9685 PWM/Servo Shield (or its generic clones) is the industry standard for Arduino animatronics. It communicates via I2C and generates rock-solid hardware PWM signals independently of the microcontroller.
Wiring Specifications
- SDA / SCL: Connect to Arduino I2C pins (A4/A5 on Uno, Pins 20/21 on Mega). Use 22 AWG wire.
- V+ (Servo Power):strong> Connect directly to your 5V external power supply positive terminal. Use 18 AWG wire minimum.
- GND: Tie the external power supply GND, the PCA9685 GND, and the Arduino GND together at a single common point to prevent ground loops.
Critical Edge Case: The V+ Jumper Hazard
Most PCA9685 breakout boards feature a jumper block labeled V+ near the logic pins. This jumper is designed to route servo power back into the Arduino's 5V rail. Remove this jumper immediately. If left intact, the backfed current from a high-amp servo power supply can bypass the Arduino's USB polyfuse, overheat the onboard voltage regulator, and permanently destroy the microcontroller's USB-to-Serial chip.
FAQ: Troubleshooting Jitter and Erratic Motion
Servo jitter is the most frequently reported issue in animatronic builds. If your servos are twitching randomly or failing to hold position, check these specific failure modes:
- I2C Bus Capacitance: When routing I2C (SDA/SCL) wires longer than 12 inches to a remote PCA9685 board, bus capacitance exceeds the 400pF I2C specification. This causes data corruption and servo lockups. Keep the shield within 6 inches of the microcontroller, or use an I2C bus extender IC like the PCA82C250.
- Missing Decoupling Capacitors: Cheap PCA9685 clones often omit adequate bulk capacitance. Solder a 1000µF 10V electrolytic capacitor directly across the V+ and GND terminal blocks on the shield to absorb inductive voltage spikes generated by the servo motors.
- USB Backfeed Interference: If your animatronic jitters only when the USB programming cable is plugged in, your computer's USB port is fighting your external power supply for ground reference dominance. Always power the Arduino via the barrel jack or a dedicated USB isolator when the main servo PSU is active.
- Potentiometer Wear: Standard servos use internal carbon-track potentiometers for position feedback. Over time, mechanical vibration wears these tracks, causing internal resistance spikes that the servo interprets as position errors, resulting in physical jitter. For high-vibration props, upgrade to magnetic encoder servos or brushless gimbal motors.
Software Libraries and Animation Smoothing
The standard Arduino Servo library moves servos at maximum speed. In an animatronic, this sudden acceleration causes mechanical shock, stripping 3D-printed gears and creating unnatural, robotic movement.
To achieve lifelike motion, utilize the VarSpeedServo.h library or the Adafruit_PWMServoDriver.h library with custom easing functions. By implementing sine-wave easing (slow-fast-slow acceleration curves), you reduce the peak torque requirement on the servo by up to 40%, extending the lifespan of your mechanical linkages.
For complex, multi-channel choreography, many professional haunt builders bypass raw Arduino code for timing and instead use the Pololu Maestro Servo Controller. While the Maestro is a dedicated hardware board rather than a general-purpose MCU, it can be triggered via serial commands from an Arduino, combining the Arduino's sensor-processing capabilities with the Maestro's native, hardware-level animation sequencing and spline interpolation.
Summary Checklist for Your Next Build
- Calculate total stall current and size the 5V PSU accordingly (add a 20% safety margin).
- Use a PCA9685 shield and remove the V+ backfeed jumper.
- Implement a common ground star-topology for all high-current components.
- Use software easing libraries to protect mechanical linkages from shock loads.
- Keep I2C traces short to prevent bus capacitance lockups.