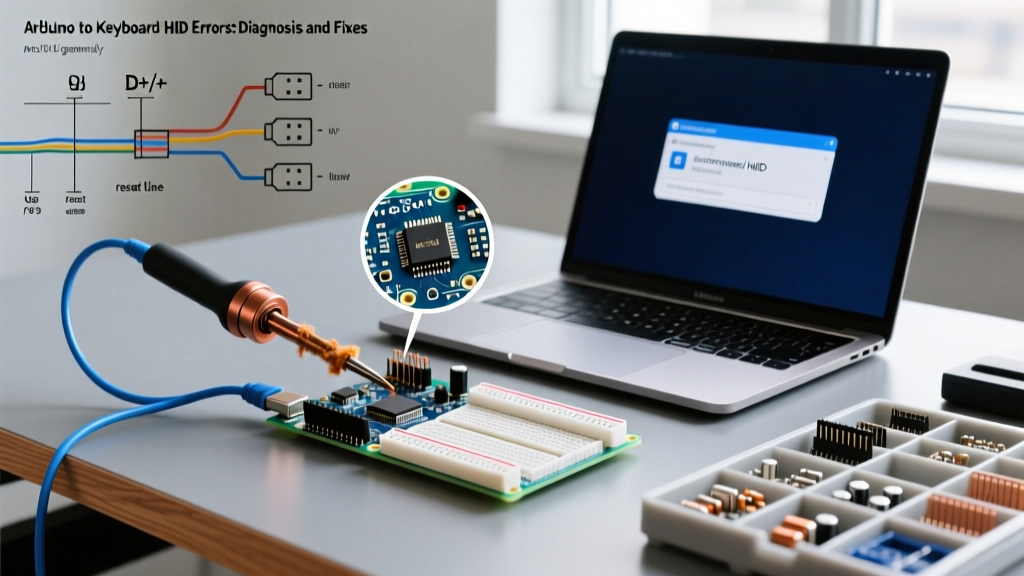

Why Your Arduino to Keyboard Project is Failing
Configuring an Arduino to keyboard interface is a foundational milestone for makers building custom macro pads, flight simulator panels, and accessibility switches. By leveraging the Human Interface Device (HID) protocol, microcontrollers can emulate standard USB keyboards without requiring custom host drivers. However, the transition from a standard serial device to an HID-compliant keyboard is fraught with architectural misunderstandings, bootloader lockups, and OS-level rejection errors.
In 2026, while many makers have migrated to RP2040-based boards utilizing the TinyUSB stack, the legacy ATmega32U4 architecture (found in the Leonardo, Micro, and Pro Micro) remains ubiquitous. This guide provides deep-level error diagnosis for when your Arduino to keyboard project fails to compile, upload, or register keystrokes on the host machine.
1. The Core Architecture Mistake: Native USB vs. UART
The single most common reason an Arduino to keyboard project fails is attempting to use the native Keyboard.h library on a board that lacks native USB hardware capabilities. The standard Arduino Uno R3 and Nano use a primary microcontroller (ATmega328P) for logic and a secondary chip (ATmega16U2 or CH340) strictly for UART-to-USB serial conversion.
| Board Model | Primary MCU | USB Interface | Native HID Support? |
|---|---|---|---|
| Leonardo / Micro | ATmega32U4 | Native USB | Yes (Plug & Play) |
| Pro Micro (5V/16MHz) | ATmega32U4 | Native USB | Yes (Requires correct board def) |
| Nano RP2040 Connect | RP2040 | Native USB | Yes (Via TinyUSB / PluggableUSB) |
| Uno R3 | ATmega328P | ATmega16U2 (UART) | No (Requires HoodLoader2 firmware flash) |
| Nano (Clone) | ATmega328P | CH340 (UART) | No (Hardware incapable) |
Diagnostic Rule: If your sketch throws a 'Keyboard' not found. Does your sketch include the line '#include <Keyboard.h>'? error, or if the IDE simply hides the Keyboard examples, you are likely compiling for an ATmega328P-based board. You must switch to an ATmega32U4 or RP2040 board profile in the IDE.
2. The Bootloader Blackout: Port Disappears After Upload
When you upload an Arduino to keyboard sketch that contains a blocking infinite loop or floods the USB bus with keystrokes, the ATmega32U4's CDC serial port can crash. The host OS drops the connection, the COM port greys out in the Arduino IDE, and you are locked out of uploading a fixed sketch.
The 1200bps Touch Reset Trick
The ATmega32U4 bootloader is designed to listen for a specific serial baud rate to trigger a hardware reset into programming mode. If your port is bricked, follow this exact recovery sequence:
- Open the Arduino IDE and load a known-good, benign sketch (like
Blink.ino). - Select the correct board and the last known COM port (even if it says it's disconnected).
- Open the Serial Monitor and set the baud rate dropdown to 1200 baud.
- Open and immediately close the Serial Monitor. This sends the 1200bps DTR pulse, forcing the MCU into bootloader mode.
- Quickly go to Tools > Port and select the new COM port that just appeared (the bootloader enumerates as a different device).
- Click Upload immediately. You have roughly 8 seconds before the bootloader times out and returns to the crashed sketch.
Expert Insight: For heavily bricked SparkFun Pro Micro clones where the 1200bps touch fails, you may need to manually short the
RSTpin toGNDtwice in rapid succession to trigger the bootloader manually. See the SparkFun Pro Micro Troubleshooting Guide for hardware-level recovery pinouts.
3. OS-Level Recognition Failures
If the upload succeeds but the host computer refuses to register keystrokes, the error has shifted to the OS USB stack.
Windows: Code 43 and Descriptor Errors
Open Device Manager and expand Human Interface Devices. If you see a yellow triangle with USB Device Not Recognized (Code 43), the Arduino is failing to provide a valid HID Report Descriptor.
- Cause A: You are using an outdated or conflicting third-party board definition (e.g., an old version of the SparkFun AVR boards package) that generates malformed USB descriptors.
- Fix: Uninstall the board package via the Boards Manager. Rely on the native
Arduino AVR Boardspackage for Leonardo/Micro, or update to the latest 2026 release of thearduino-picocore for RP2040 boards. - Cause B: Windows has cached a bad driver association from a previous failed flash.
- Fix: Right-click the device, select Uninstall Device, check Attempt to remove the driver for this device, and physically unplug/replug the USB cable.
Linux: Permissions and udev Rules
On Ubuntu or Debian-based systems, the Arduino might enumerate, but your custom user-space application (like a Python macro script reading the raw HID) gets a Permission Denied error. Furthermore, if the device drops out randomly, it's often a USB autosuspend issue.
Run lsusb -v | grep -i hid in the terminal to verify the kernel sees the HID descriptor. If the device is recognized by the kernel but ignored by user-space, you must write a custom udev rule. Create /etc/udev/rules.d/99-arduino-hid.rules with the following:
SUBSYSTEM=="usb", ATTRS{idVendor}=="2341", ATTRS{idProduct}=="8036", MODE="0666"Note: Replace the Vendor and Product IDs with your specific board's IDs, which you can find using the lsusb command.
4. Sketch Logic Traps: The Infinite Keypress Loop
A frequent logical error in Arduino to keyboard sketches is flooding the host OS with unthrottled keystrokes, which causes the host's USB hub driver to panic and disable the port entirely to protect the system.
Missing Delays and Release Commands
Consider the following flawed code snippet:
void loop() {
  if (digitalRead(2) == LOW) {
    Keyboard.press('a');
  }
}
This code will crash your host machine's text input buffer within milliseconds. The Keyboard.press() function sends a continuous stream of HID reports. You must pair it with Keyboard.release() or use Keyboard.write(), which handles the press-and-release cycle automatically. Furthermore, you must implement hardware debouncing or a software delay to prevent mechanical switch bounce from registering as 50 keystrokes in a single millisecond.
For comprehensive syntax and memory management regarding the HID library, always refer to the Official Arduino Keyboard Language Reference.
5. Hardware Defects in Modern Clones
If you are using budget Pro Micro clones sourced from online marketplaces, physical hardware degradation is a prime suspect for intermittent Arduino to keyboard failures.
The USB Connector Desoldering Issue
Legacy micro-USB connectors on cheap clones are notorious for lifting their surface-mount pads off the PCB after minimal cable strain. In 2026, we strongly recommend purchasing USB-C Pro Micro variants. The USB-C connector features deeper board penetration and more robust grounding tabs, drastically reducing HID disconnects caused by micro-fractures in the D+ and D- data lines.
Voltage Regulator Dropout
Many 5V Pro Micro clones use undersized voltage regulators. When your sketch activates the internal pull-up resistors on 15+ I/O pins for a large macro pad matrix, the current draw can exceed the regulator's thermal limit. The MCU browns out, the USB enumeration drops, and the device reboots endlessly.
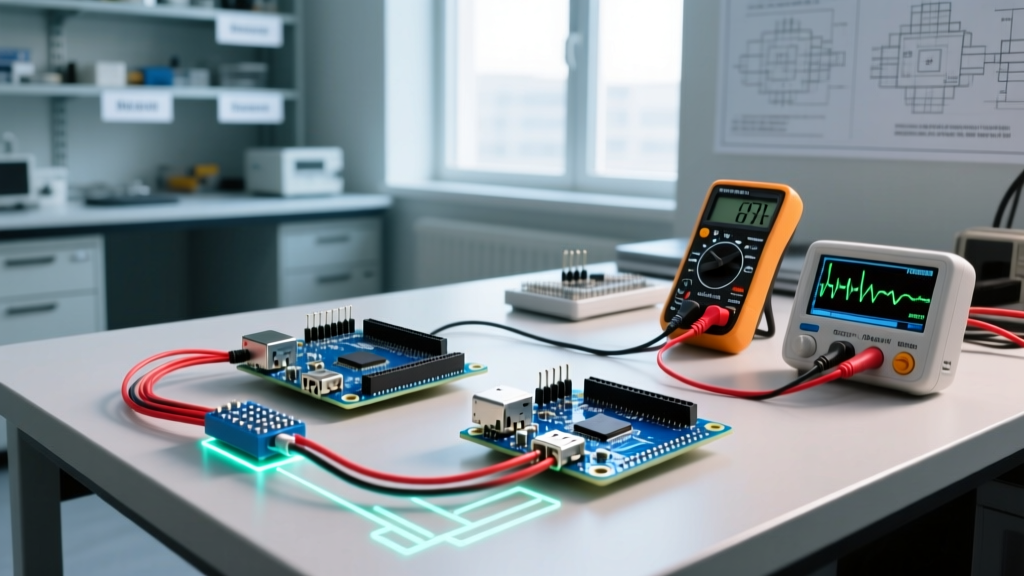
Diagnostic Test: Use a multimeter to probe the VCC and GND pins while pressing multiple keys. If the voltage dips below 4.75V during keystroke registration, you need to power the matrix externally or upgrade to a premium board with a 500mA LDO regulator.
Summary Diagnostic Checklist
Before discarding a failing project, run through this definitive checklist:
- Chip Verification: Am I using an ATmega32U4 or RP2040? (ATmega328P will not work natively).
- Port Recovery: Have I attempted the 1200bps serial touch to revive a bricked bootloader?
- OS Rejection: Did I clear cached HID drivers in Device Manager or update Linux udev rules?
- Code Safety: Are all
Keyboard.press()commands followed byKeyboard.release()with adequate debounce delays? - Physical Integrity: Is the USB cable a true data-sync cable, and are the PCB solder joints intact?
By methodically isolating the failure domain—from silicon architecture to OS descriptors and physical wiring—you can reliably transform any supported microcontroller into a robust, low-latency USB keyboard. For broader IDE and connection issues, the Arduino Troubleshooting Documentation remains an essential bookmark for advanced diagnostics.