
The Hidden Cost of Context Switching in the Lab
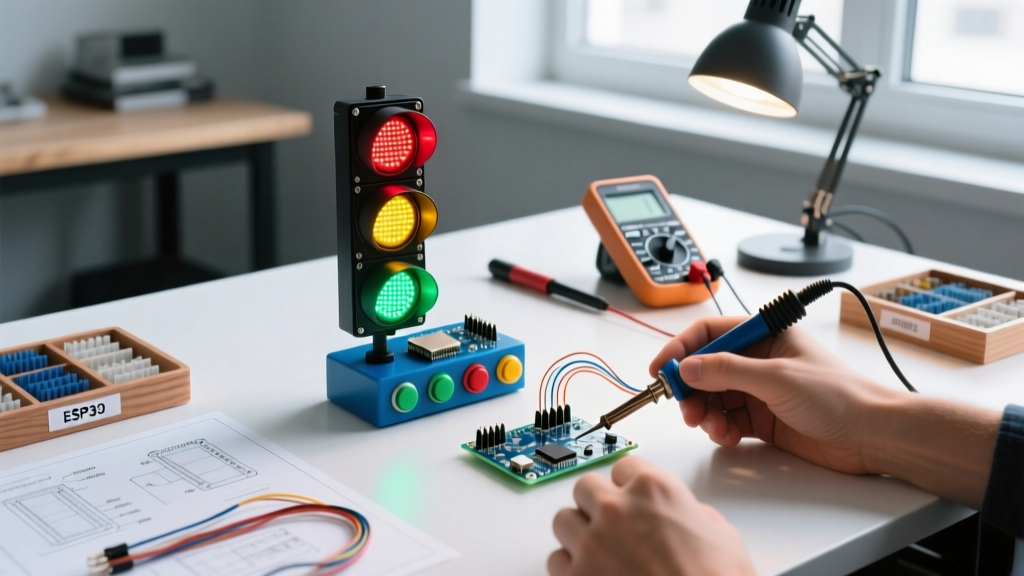
In any shared makerspace, home lab, or engineering office, interruptions are the silent killer of productivity. Research consistently shows that recovering from a single context switch can cost a maker up to 23 minutes of deep focus. When you are debugging a complex I2C bus issue or waiting for a 45-minute 3D print to reach a critical layer, a casual 'quick question' from a colleague can derail your entire afternoon. This is where a physical arduino stop light transitions from a novelty project to an essential workflow optimization tool.
By building a programmable, multi-state status beacon, you create a physical API for your attention. Instead of relying on easily ignored digital status indicators on Slack or Teams, a high-luminosity LED array mounted to your workstation or lab door communicates your availability instantly. In 2026, with hybrid work and shared community labs more prevalent than ever, managing your physical environment is just as critical as managing your digital one.
Workflow Rule of Thumb: Map your physical stop light states directly to your cognitive load. Red means 'Compiling/Deep Debugging' (zero interruptions). Yellow means 'Hardware Assembly/Testing' (interruptible for emergencies). Green means 'Open/Collaborative' (available for mentoring and chat).
Bill of Materials: Building a Compact Status Beacon
To ensure the device is unobtrusive yet highly visible, we will avoid the bulky Arduino Uno R3. Instead, we will utilize the Arduino Nano Every, which offers a compact footprint, 5V logic (eliminating the need for logic level shifters), and enough processing power to handle non-blocking animations. For the visual array, the Adafruit NeoPixel Stick provides dense, diffused RGB output that can be seen from across a large room without causing eye strain.
| Component | Model / Specification | Est. Price (2026) | Workflow Purpose |
|---|---|---|---|
| Microcontroller | Arduino Nano Every (ATSAMD48) | $14.50 | Compact 5V logic core for state management |
| LED Array | Adafruit NeoPixel Stick (8 x 5050 RGB) | $7.95 | High-density, diffused visual status output |
| User Input | KY-040 Rotary Encoder w/ Pushbutton | $2.50 | Tactile, glove-friendly state selection |
| Power Supply | 5V 2A USB-C Wall Adapter | $6.00 | Prevents brownouts during high-luminosity states |
| Passives | 470Ω Resistor, 1000µF Electrolytic Capacitor | $0.50 | Signal integrity and power decoupling |
Electrical Engineering: Wiring the NeoPixel Array
A common failure mode in DIY status lights is flickering or random color shifts. This is almost always caused by ignoring the strict electrical requirements of the WS2812B LED protocol. The data line is highly sensitive to noise, and the power rails experience massive transient spikes when multiple LEDs change state simultaneously.
Follow this exact wiring schematic to ensure rock-solid reliability:
- Power Decoupling: Solder a 1000µF electrolytic capacitor directly across the 5V and GND rails of the NeoPixel stick. This acts as a local energy reservoir, preventing voltage sags that could reset your Arduino Nano Every.
- Data Line Protection: Place a 470Ω resistor inline between Arduino Pin 6 and the NeoPixel DIN (Data In) pin. This prevents voltage spikes on the data line from destroying the first LED's internal logic IC.
- Encoder Wiring: Connect the KY-040 CLK to Pin 2, DT to Pin 3, and SW (Switch) to Pin 4. Enable internal pull-up resistors in your code to avoid floating inputs.
For a comprehensive breakdown of WS2812B electrical characteristics and best practices, refer to the Adafruit NeoPixel Uberguide, which remains the definitive resource for addressable LED engineering.
Non-Blocking State Machine Architecture
When coding a workflow tool, you cannot use the delay() function. If your Arduino is stuck in a delay loop, it cannot read the rotary encoder, meaning you cannot quickly switch your light from 'Red' to 'Green' when a colleague approaches. You must implement a non-blocking state machine using the millis() function, a paradigm thoroughly documented in the official Arduino BlinkWithoutDelay reference.
Defining the Workflow States
Structure your C++ code using an enum to define your workflow states. This makes the code self-documenting and easy to expand.
- STATE_DEEP_WORK (Red): Solid, low-brightness red. Minimizes eye strain while signaling 'Do Not Disturb'.
- STATE_COMPILING (Amber Pulse): Breathing amber animation. Indicates you are waiting on the machine and can be interrupted if necessary.
- STATE_COLLABORATIVE (Green): Solid, high-brightness green. Signals open availability.
- STATE_AWAY (Blue Sweep): Slow cyan sweep. Indicates you have stepped away from the bench.
Inside your main loop(), you first poll the encoder for state changes, update the current state variable, and then pass that state to a rendering function. The rendering function calculates the current frame of the animation based on millis() - previousMillis, updates the NeoPixel buffer, and calls strip.show() without ever pausing the CPU.
Scaling Up: ESP32 and Digital Webhook Integration
While the Arduino Nano Every is perfect for a standalone, localized stop light, modern workflow optimization often requires bridging the physical and digital worlds. If you work in a hybrid environment where remote team members need to know your physical lab status, upgrading the MCU to an ESP32-S3 ($8.00) allows you to push state changes to the cloud.
By utilizing the ESP32's Wi-Fi capabilities, you can configure the device to send an HTTP POST request to a Slack Incoming Webhook whenever you turn the physical dial to 'Red'. This automatically updates your Slack status emoji to a red circle and pauses your notifications, creating a seamless, unified focus environment across both your physical lab and your digital workspace.
Troubleshooting Matrix: Common Failure Modes
Even with careful assembly, environmental factors in a makerspace (EMI from soldering irons, voltage drops from shared power strips) can cause issues. Use this matrix to diagnose problems quickly.
| Symptom | Probable Cause | Engineering Solution |
|---|---|---|
| First LED is yellow, rest are off | Missing or incorrect data line resistor | Verify the 470Ω resistor is between Pin 6 and DIN. Check for cold solder joints. |
| Random flickering at high brightness | Power supply brownout / transient sag | Upgrade to a 5V 3A PSU. Ensure the 1000µF capacitor is installed with correct polarity. |
| Encoder skips states or registers double turns | Switch bounce / EMI interference | Implement software debouncing (5ms delay on state change) or add 0.1µF ceramic caps across encoder pins. |
| Light resets when 3D printer or heater turns on | Dirty AC mains power / Ground loops | Move the stop light to an isolated USB power supply with integrated ferrite beads. |
Conclusion: Reclaiming Your Cognitive Bandwidth
Building an arduino stop light is an exercise in applied environmental design. By investing roughly $30 and an afternoon of assembly, you construct a hard boundary against the fragmentation of your attention. The combination of robust WS2812B hardware engineering and non-blocking state machine software ensures the tool is reliable enough to become a permanent, trusted fixture of your daily maker workflow. Stop relying on willpower to fend off interruptions; engineer your environment to do the work for you.