
The Shift to Mobile: Why Migrate Your Arduino Workflow to Android?
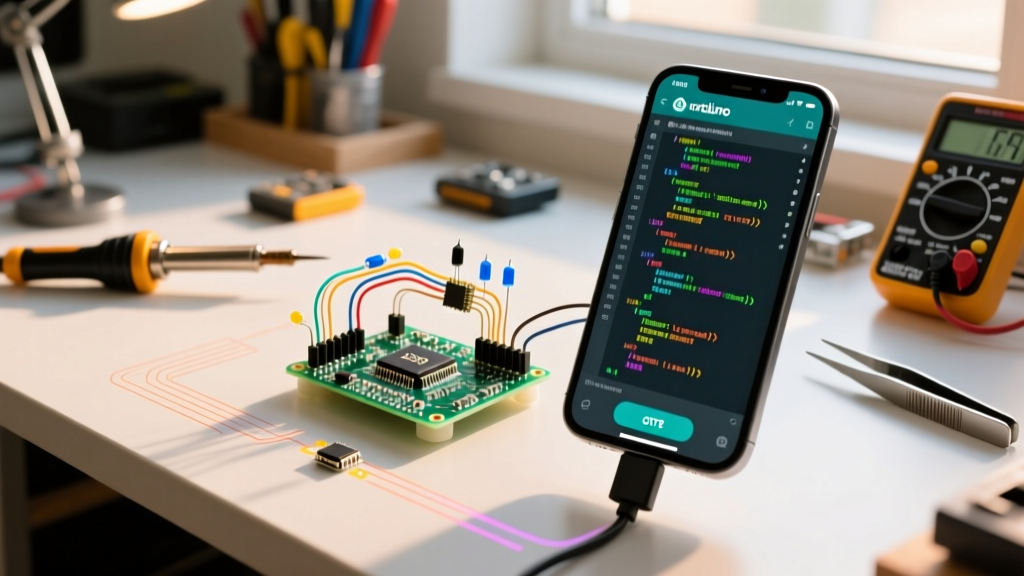
For years, the desktop Arduino IDE has been the undisputed king of microcontroller development. However, as field deployment, rapid IoT prototyping, and on-site debugging become more common, relying on a bulky laptop is no longer practical. With the maturation of USB CDC/ACM drivers in Android 15 and 16, compiling and flashing directly from a smartphone or tablet is now a robust, production-ready workflow.
Migrating to mobile isn't just about convenience; it's about leveraging the sensors, connectivity, and battery life of modern Android devices to interact with your MCUs in real-time. Whether you are transitioning from the desktop Arduino IDE 2.x to a native Android environment or upgrading from deprecated Bluetooth serial apps, this guide covers the definitive Arduino software for Android ecosystem in 2026. We will explore exact migration steps, hardware prerequisites, and edge-case troubleshooting for USB OTG and BLE workflows.
Top Arduino Software for Android: 2026 Comparative Matrix
Choosing the right application depends entirely on your target board (AVR vs. ESP32/STM32) and your connection medium (USB OTG vs. Bluetooth/Wi-Fi). Below is a technical breakdown of the leading platforms.
| Software / App | Primary Use Case | Offline Compilation? | Board Support | Cost (2026) |
|---|---|---|---|---|
| ArduinoDroid | Full IDE replacement via USB OTG | Yes (Local) | AVR, ESP8266, ESP32, STM32 | Free / $5.99 (Ad-free) |
| Bluino Loader | Wireless flashing via HC-05/HC-06 | Yes (Local) | AVR (ATmega328P) | Free / $4.99 (Pro) |
| Blynk IoT | Dashboard & Cloud MCU control | No (Cloud/Template) | ESP32, Wi-Fi Boards | Freemium (Sub-based) |
| Chrome Web Serial | Browser-based ESP Web Tools flashing | No (Pre-compiled BIN) | ESP32, ESP8266, RP2040 | Free |
Expert Insight: If you are migrating a legacy AVR project (Uno/Nano) and need to flash code in the field without cables, Bluino Loader paired with an HC-05 module is unmatched. For modern ESP32 IoT projects, bypassing native apps entirely and using Chrome's Web Serial API via ESP Web Tools offers the most frictionless upgrade path.
Step-by-Step Migration: Desktop IDE to ArduinoDroid
Moving your existing codebase to your Android device requires more than just copying `.ino` files. You must account for custom libraries, board manager URLs, and directory structures.
1. Exporting and Structuring Your Sketches
The Android file system handles permissions differently than Windows or macOS. To ensure your chosen Arduino software for Android can read your files without triggering scoped storage errors, organize your migration payload as follows:
- On your desktop, open Arduino IDE 2.x and navigate to
Sketch > Export Compiled Binaryto verify your code is clean. - Compress your entire
Arduinosketchbook folder into a `.zip` archive. Ensure the root of the zip contains the folder structure, not a parent directory. - Transfer the `.zip` to your Android device's internal storage, specifically targeting
/Documents/ArduinoDroid/sketches/. - Extract the archive using a robust file manager like Solid Explorer to preserve hidden files and directory permissions.
2. Migrating Custom Libraries and Board Cores
Unlike the desktop IDE, Android apps do not automatically resolve GitHub dependencies. You must manually migrate your libraries.
- Standard Libraries: Use the built-in library manager in ArduinoDroid. It pulls directly from the official Arduino repository.
- Custom/Local Libraries: Copy your custom `.h` and `.cpp` files directly into the
/Documents/ArduinoDroid/libraries/YourLibName/directory. Do not place them in the same folder as the `.ino` file unless they are strictly sketch-specific. - Third-Party Cores (ESP32/STM32): You will need to download the core packages via the app's Board Manager. Warning: Downloading the ESP32 core package requires roughly 1.2 GB of storage and a stable Wi-Fi connection. Do not attempt this over cellular data.
Hardware Prerequisites: The USB OTG Reality Check
Software is only half the battle. The physical connection between your Android device and the microcontroller introduces strict power and data-line constraints. According to the Android USB Host API Documentation, smartphones act as the host and must supply power to the peripheral.
Power Draw Limitations and Brownouts
Most smartphone USB-C ports limit peripheral power delivery to 500mA. If you plug in an Arduino Uno (which draws ~50mA) connected to a 5V relay module and an I2C OLED display, you will easily exceed 500mA. This causes a voltage brownout, resulting in the Android OS instantly killing the USB connection to protect the phone's battery management system (BMS).
The Upgrade Fix: If your circuit requires more than 300mA, you must use a powered USB OTG hub. Inject 5V into the hub's power delivery port, ensuring the data lines pass through to the phone while the hub supplies the amperage to the MCU.
Cable and Adapter Selection
Do not use gas-station USB-C adapters. Many cheap adapters lack the internal ID resistor on the USB-C connector, which tells the Android device to switch into Host Mode. Purchase a certified USB-C to USB-A 3.0 OTG adapter with an integrated 56kΩ pull-up resistor.
Upgrading Your Wireless Workflow: Serial over BLE
If you are tired of carrying OTG cables, upgrading to Bluetooth Low Energy (BLE) is the logical next step. However, migrating from a wired serial monitor to BLE introduces latency and packet-size limitations.
When using modules like the HM-10 or ESP32's native BLE, the Maximum Transmission Unit (MTU) is typically capped at 20 bytes by default in older Android serial apps. In 2026, modern implementations negotiate an MTU of up to 512 bytes. To ensure your Arduino software for Android doesn't drop packets during high-speed sensor logging:
- Implement a handshake protocol in your C++ sketch before streaming data.
- Use a ring buffer on the MCU side to catch incoming BLE packets, as Android's BLE stack can jitter under heavy UI loads.
- For deep technical implementation of serial protocols over Android, reference the usb-serial-for-android open-source driver library, which powers the underlying USB communication for most third-party maker apps on the Play Store.
Troubleshooting Common Android-to-MCU Upload Failures
When migrating to a mobile workflow, you will inevitably encounter errors that don't exist on the desktop. Here is how to resolve the most critical failure modes.
Error: 'Permission Denied for USB Device'
Cause: Android 15+ enforces strict scoped storage and USB permission resets. If you denied the permission prompt once, the OS caches that denial.
Fix: Go to Settings > Apps > [Your Arduino App] > Permissions > USB Devices and clear defaults. Unplug and replug the OTG cable to force the OS to re-prompt.
Error: 'Board Not Recognized / Serial Port Missing'
Cause: You are using a clone Arduino Nano with a counterfeit CH340G USB-to-Serial chip. While Windows drivers are forgiving, the Linux kernel underlying Android often fails to enumerate counterfeit CH340 chips due to incorrect PID/VID descriptors.
Fix: Swap the clone board for one utilizing the CP2102 or genuine FTDI FT232RL chip. These chips have native CDC/ACM support built directly into the Android kernel, requiring zero third-party driver apps.
Error: 'Compilation Fails on ESP32: Missing Python'
Cause: The ESP32 core relies on Python scripts for certain build processes. While the desktop IDE bundles Python, some lightweight Android IDE ports fail to include the Python binary in their ARM64 toolchain.
Fix: Ensure you are using the latest 2026 build of ArduinoDroid, which utilizes a pre-compiled ESP-IDF toolchain that bypasses the need for local Python execution during the linking phase.
Frequently Asked Questions
Can I use the official Arduino Cloud IoT app to write code?
No. The official Arduino IoT Cloud Remote app is strictly for monitoring dashboards and triggering webhooks. For actual C++ sketch compilation and firmware flashing on Android, you must rely on third-party IDE ports or Web Serial tools.
Does migrating to Android affect my boards.txt custom configurations?
Yes. Android IDE ports do not easily expose the boards.txt or platform.txt files for manual editing. If you rely on custom clock speeds or modified upload parameters, you must apply these via #pragma directives or inline code configurations where possible, or stick to the desktop IDE for low-level bootloader modifications.
What is the best tablet for mobile Arduino development?
For serious field engineers, the Samsung Galaxy Tab S9 series (with DeX mode) paired with a physical Bluetooth keyboard offers a near-desktop experience. The USB-C port on these tablets supports higher power output (up to 1.5A in some configurations), significantly reducing OTG brownout issues when powering sensor arrays.
By understanding the hardware limitations, file system quirks, and driver behaviors of the Android ecosystem, you can successfully migrate your microcontroller workflow to a highly portable, powerful mobile environment. For further reading on sketch structures and library management, always consult the official Arduino documentation to ensure your code remains cross-platform compatible.