
Hardware Selection: Generic VS1838B vs. Vishay TSOP4838
Integrating an Arduino with IR remote receivers remains one of the most cost-effective and reliable methods for short-range wireless control in 2026. While Bluetooth and Wi-Fi dominate high-bandwidth IoT applications, Infrared (IR) is unmatched for low-power, line-of-sight command inputs, drawing less than 1mA in idle states. When configuring your microcontroller, the first critical decision is selecting the receiver module.
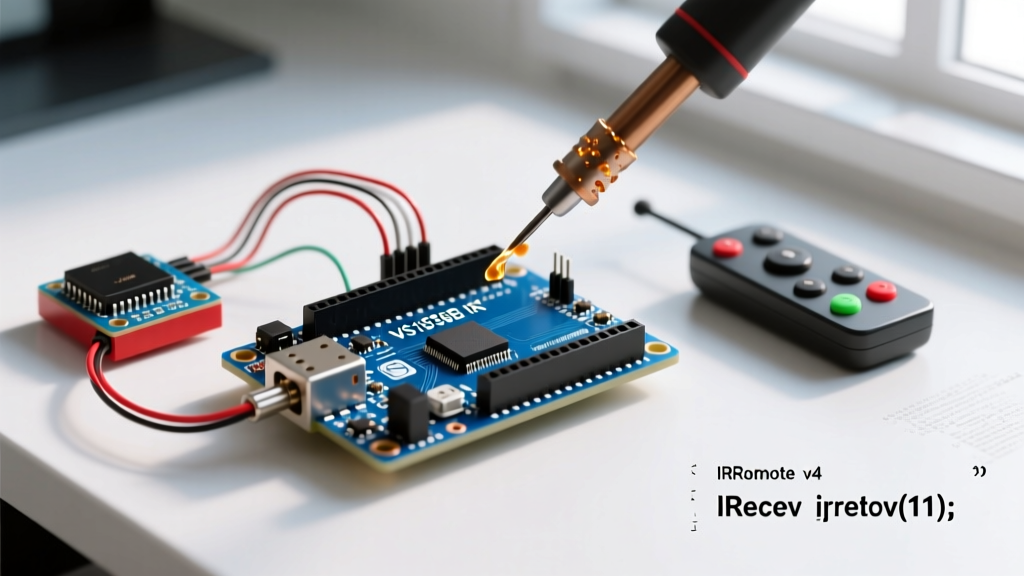
The market is flooded with the generic VS1838B (typically priced around $0.12 in bulk). While adequate for basic hobbyist projects, it suffers from poor Automatic Gain Control (AGC) and high susceptibility to electromagnetic interference (EMI). For robust, production-grade configurations, we strongly recommend the Vishay TSOP4838 (approximately $1.15 per unit). The TSOP4838 features an internal bandpass filter centered precisely at 38kHz, an integrated daylight blocking filter, and superior immunity to optical noise from modern LED and CFL lighting.
Wiring Matrix and the Critical RC Noise Filter
A common failure mode when setting up an Arduino with IR remote circuits is phantom triggering or complete signal deafness. This is almost always caused by power supply ripple from the Arduino's USB voltage regulator triggering the receiver's AGC. To prevent this, Vishay's application notes mandate an RC filtering circuit on the VCC line.
| Receiver Pin | Arduino Pin | Component / Notes |
|---|---|---|
| VCC (Pin 3) | 5V | Route through a 100Ω resistor first. |
| GND (Pin 2) | GND | Connect a 4.7µF electrolytic capacitor between VCC (after the resistor) and GND. |
| OUT (Pin 1) | Digital Pin 11 | Direct connection. No pull-up resistor needed (internal pull-up is active). |
Pro-Tip for 3.3V MCUs: If you are using a 3.3V board like the Arduino Nano ESP32 or Nano 33 BLE, the TSOP4838 operates flawlessly down to 2.5V. Power it directly from the 3.3V pin to ensure the output logic HIGH matches the MCU's GPIO tolerance, eliminating the need for a logic level shifter.
Software Configuration: IRremote v4.x Architecture
The most frequent configuration error in legacy tutorials is the use of the deprecated IRremote v2.x syntax. As of 2026, the Arduino-IRremote Official Repository is on version 4.4+. The architecture has shifted from instantiating an IRrecv object to using the globally managed IrReceiver and IrSender objects, which drastically reduces memory overhead and simplifies timer interrupt conflicts.
To configure your environment, install the IRremote library by shirriff (maintained by ArminJo) via the Arduino Library Manager. Ensure you are on version 4.4 or higher.
Base Decoding Sketch (NEC Protocol)
The following sketch configures Pin 11 for reception, enables the onboard LED for visual feedback, and outputs the decoded hexadecimal command to the Serial Monitor.
#include <IRremote.hpp>

const int IR_RECEIVE_PIN = 11;

void setup() {
  Serial.begin(115200);
  // Initialize the receiver with LED feedback enabled
  IrReceiver.begin(IR_RECEIVE_PIN, ENABLE_LED_FEEDBACK);
  Serial.println("IR Receiver configured on Pin 11.");
}

void loop() {
  if (IrReceiver.decode()) {
    // Check if a valid protocol was detected
    if (IrReceiver.decodedIRData.protocol != UNKNOWN) {
      Serial.print("Protocol: ");
      Serial.print(IrReceiver.decodedIRData.protocol);
      Serial.print(" | Command: 0x");
      Serial.println(IrReceiver.decodedIRData.command, HEX);
    }
    // Crucial: Resume listening for the next signal
    IrReceiver.resume();
  }
}
Handling the NEC Toggle Bit and Repeat Codes
When configuring an Arduino with IR remote controls using the ubiquitous NEC protocol, developers frequently encounter a specific edge case: holding down a button on the remote. The NEC protocol does not continuously transmit the same 32-bit data frame. Instead, after the initial transmission, it sends a specialized Repeat Code (a 9ms AGC burst followed by a 2.25ms space and a single 562.5µs pulse).
In the IRremote v4 library, this repeat code is often decoded as 0xFFFFFFFF or flagged via the isRepeat boolean. If your application involves holding a button to dim an LED or move a stepper motor, your logic must account for this:
if (IrReceiver.decodedIRData.flags & IRDATA_FLAGS_IS_REPEAT) {
  // Handle continuous press logic here
  Serial.println("Repeat detected - continuing action.");
}
Failing to implement this check results in the MCU interpreting a held button as a single, momentary press, which is a primary cause of user-reported 'lag' or 'unresponsiveness' in DIY remote projects.
Advanced Troubleshooting Matrix
Even with perfect wiring, environmental factors can disrupt IR communication. Use this matrix to diagnose physical layer failures.
| Symptom | Root Cause | Engineering Solution |
|---|---|---|
| Random phantom commands received without pressing remote. | Optical noise from CFL bulbs or high-frequency PWM LED drivers exceeding the receiver's AGC threshold. | Add a physical tube shield around the receiver dome to limit the field of view to 30°. Switch to a Vishay TSOP series with aggressive AGC (e.g., TSOP38238). |
| Range is limited to less than 1 meter (expected 5-8m). | Carrier frequency mismatch. Using a 36kHz remote with a 38kHz receiver drops signal amplitude by up to 40%. | Verify the remote's carrier frequency using an oscilloscope or a logic analyzer. Match the receiver exactly (e.g., TSOP4836 for 36kHz). |
| Serial monitor prints "UNKNOWN" protocol for all buttons. | Timer interrupt conflict. Another library (like Servo or SoftwareSerial) is hijacking the hardware timer used by IRremote. | Edit the IRremoteBoardDefs.h file to reassign the IR timer, or migrate to an Arduino Uno R4 Minima which utilizes a dedicated FPU and multiple flexible timers. |
Protocol Timing and Signal Integrity
For makers building custom IR transmitters alongside their receivers, understanding the NEC timing architecture is vital. The NEC protocol uses pulse distance encoding. A logical '0' is a 562.5µs pulse burst followed by a 562.5µm space, while a logical '1' is a 562.5µs pulse burst followed by a 1.6875ms space. The carrier frequency is strictly 38kHz with a 1/3 duty cycle. Attempting to drive an IR LED directly from a 5V Arduino GPIO without a current-limiting transistor (like a 2N2222) will yield less than 1 meter of range and risk damaging the MCU's GPIO pin due to the 100mA+ peak current spikes required for adequate optical output.
Authoritative References
- Arduino-IRremote Official GitHub Repository - Documentation for v4.x syntax, timer configurations, and supported protocols.
- Vishay TSOP4838 Datasheet - Essential reading for AGC behavior, RC filter requirements, and optical noise immunity specifications.
- SparkFun IR Communication Tutorial - Foundational physics of 38kHz modulation and pulse-distance encoding.