
What Defines a "Monitor" in the Arduino Ecosystem?
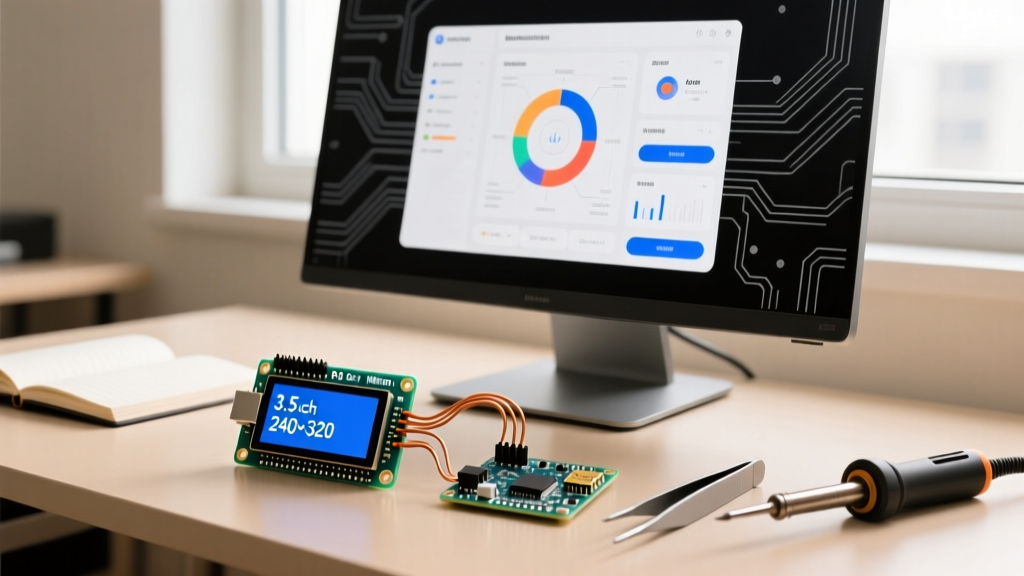
When makers search for a monitor for Arduino projects, they are typically referring to one of two things: a PC-based Serial Monitor used for debugging via the IDE, or a physical hardware display module (TFT, OLED, or HMI) that acts as a standalone visual interface. In 2026, the hardware display market has evolved dramatically, with high-resolution IPS panels and intelligent Human-Machine Interface (HMI) screens becoming the standard for DIY dashboards, weather stations, and robotics control panels.
This compatibility guide focuses on hardware display monitors. Selecting the right screen requires navigating a minefield of logic voltage mismatches, SPI/I2C protocol bottlenecks, and severe SRAM limitations inherent to classic microcontrollers. Below, we break down the exact specifications, pricing, and integration strategies for the most reliable display monitors available today.
2026 Display Trend Alert
While classic 16x2 character LCDs are still sold, the 2026 maker landscape is dominated by round GC9A01 displays for wearables, and high-brightness IPS TFTs for outdoor IoT nodes. Furthermore, the rise of the ESP32-S3 and Arduino Portenta series means MIPI-DSI and RGB parallel interfaces are now accessible to hobbyists, bypassing traditional SPI speed limits.
The Logic Level Bottleneck: 5V vs. 3.3V Compatibility
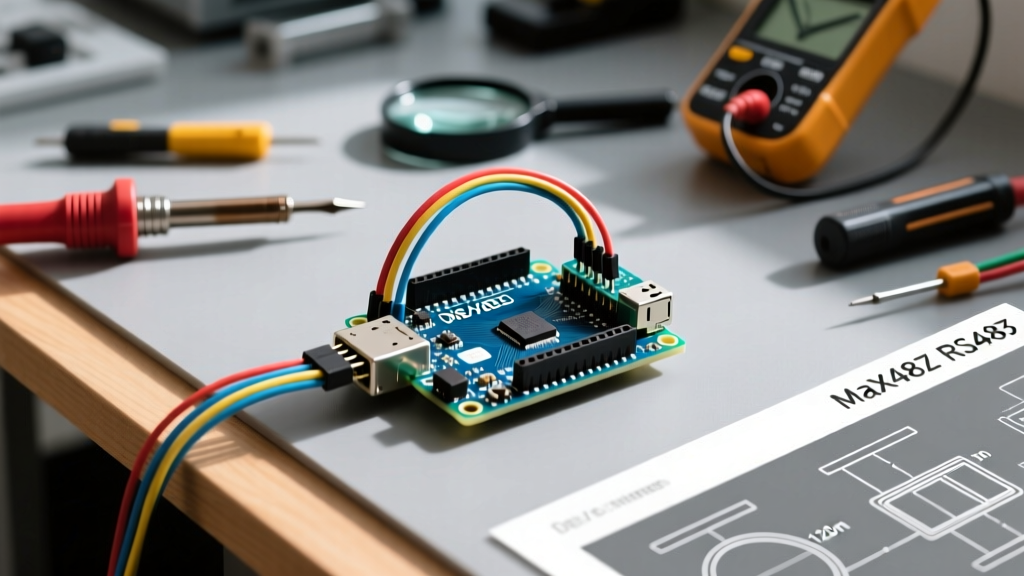
The most common point of failure when connecting a modern monitor to an Arduino is ignoring logic levels. Classic boards like the Arduino Uno R3 (ATmega328P) and Mega 2560 operate at 5V logic. However, nearly all high-resolution TFT and OLED monitors manufactured today utilize 3.3V logic on their SPI or I2C data lines.
Feeding 5V into the MISO/MOSI or SDA/SCL pins of a 3.3V display module will degrade the internal silicon over time, leading to ghosting, dead pixels, or catastrophic failure of the display controller IC.
| MCU Architecture | Native Logic Level | Compatible Displays (Direct) | Requires Level Shifter? |
|---|---|---|---|
| Arduino Uno R3 / Nano (AVR) | 5.0V | Legacy 5V HD44780 LCDs, specific 5V I2C OLEDs | Yes (for 3.3V TFTs) |
| Arduino Mega 2560 (AVR) | 5.0V | Legacy 5V Parallel TFT Shields | Yes (for 3.3V SPI TFTs) |
| ESP32 / ESP32-S3 | 3.3V | All modern SPI/I2C TFTs and OLEDs | No |
| Arduino Nano 33 IoT (SAMD21) | 3.3V | All modern SPI/I2C TFTs and OLEDs | No |
| Arduino Portenta H7 (STM32H7) | 3.3V | MIPI-DSI, RGB Parallel, SPI | No |
Top Hardware Monitors for Arduino in 2026
Based on current supply chain availability, library support, and community adoption, here are the top three categories of monitors for Arduino integration.
1. Intelligent HMI Monitors: Nextion NX Series
The Nextion NX3224T028 (2.8-inch, 320x240) and the larger NX8048P070 (7.0-inch IPS, 800x480) remain the gold standard for complex GUIs. Unlike raw panels, Nextion monitors possess their own onboard ARM processor and flash memory. You design the UI using their proprietary Windows editor, and the Arduino only sends simple UART serial commands (e.g., page 1 or txt1.txt="Hello").
- Price Range: $35 (2.8") to $140 (7.0" IPS)
- Interface: UART (TX/RX)
- Best For: Arduino Uno/Mega users who lack the SRAM to drive a framebuffer but need a touchscreen interface.
- Compatibility Note: The Nextion TX/RX pins are 3.3V tolerant but often accept 5V inputs. However, using a simple voltage divider on the Arduino TX line is highly recommended for long-term reliability.
2. Raw SPI TFT Panels: ILI9341 and ST7789
If you need to draw custom graphics, charts, or bitmaps directly from your code, raw TFT panels are the way to go. The 2.4-inch ILI9341 and the newer 1.69-inch ST7789 (240x280) are ubiquitous. In 2026, the community has largely standardized on the TFT_eSPI Library Repository for ESP32 and SAMD boards, which utilizes DMA (Direct Memory Access) for flicker-free, high-framerate rendering.
- Price Range: $12 to $22
- Interface: SPI (4-wire or 5-wire)
- Best For: ESP32-based oscilloscopes, real-time sensor graphing, and custom dashboards.
3. I2C OLED Monitors: SSD1306 and SH1106
For compact, low-power applications where color is unnecessary, the 0.96-inch and 1.3-inch I2C OLEDs are unmatched. They draw less than 15mA and offer deep blacks. The Adafruit GFX Library Guide provides the foundational geometry and font rendering tools needed to drive these screens efficiently.
- Price Range: $6 to $10
- Interface: I2C (SDA/SCL)
- Best For: Wearables, multimeter readouts, and simple status indicators on ATmega328P boards.
Memory Constraints: The Framebuffer Reality Check
A critical mistake beginners make when choosing a monitor for Arduino projects is ignoring SRAM limitations. To render smooth animations or full-screen images, modern graphics libraries use a "framebuffer"—a block of memory that holds the color data for every single pixel before pushing it to the screen.
Expert Warning: A standard 320x240 pixel TFT display in 16-bit color requires 153,600 bytes (150 KB) of RAM for a single framebuffer. The classic Arduino Uno (ATmega328P) only has 2 KB of SRAM. Attempting to use framebuffer-heavy libraries like LovyanGFX or Adafruit_GFX with full-screen bitmaps on an Uno will result in immediate compilation failures or runtime reboots. Always consult the Arduino Memory Guide before committing to a display architecture.
The 2026 Solution: If you must use an 8-bit AVR board, stick to command-based drawing (drawing lines and text directly to the display controller's internal RAM) or upgrade to an ESP32-S3, which features 512 KB of internal SRAM and up to 8 MB of external PSRAM, easily handling multiple 480x480 framebuffers.
Step-by-Step: Wiring a 3.3V SPI Monitor to a 5V Arduino Uno
If you are locked into using a 5V Arduino Uno with a modern 3.3V SPI TFT monitor, you must shift the logic levels for the MOSI, SCK, and CS pins. Do not use resistor dividers for high-speed SPI (above 10 MHz); the parasitic capacitance will round off the square waves, causing data corruption and screen tearing.
- Acquire a Dedicated Level Shifter: Purchase a BSS138 MOSFET-based bidirectional logic level converter (approx. $2.50) or a CD4050B hex buffer.
- Power the Shifter: Connect 5V to the
HVpin and 3.3V to theLVpin. Tie both GND pins to the common ground. - Route the SPI Lines: Connect Arduino Pin 11 (MOSI) to
HV1, andLV1to the TFT'sSDA/MOSIpin. Repeat for SCK (Pin 13) and CS (Pin 10). - Handle the MISO Line: If your TFT has an SD card slot or touch controller requiring MISO (Pin 12), remember that the 3.3V output from the TFT is usually high enough to trigger the 5V logic threshold of the ATmega328P, but using the level shifter for MISO as well guarantees safety.
- Power Delivery: The TFT backlight can draw up to 120mA. Never power the backlight directly from the Arduino Uno's 3.3V regulator (which is often rated for only 50mA). Use a dedicated external 3.3V LDO (like the AMS1117-3.3) powered from the Arduino's 5V pin.
Frequently Asked Questions (FAQ)
Can I use a standard PC HDMI Monitor directly with an Arduino?
No. Standard Arduino boards do not possess the processing power or hardware video encoders required to output HDMI signals. To use a PC or HDMI monitor as a dashboard, you must use the Arduino to send data via Serial or WiFi (MQTT/WebSockets) to a PC or Raspberry Pi running a visualization engine like Node-RED, Grafana, or Processing.
Why does my I2C OLED monitor show random noise or fail to initialize?
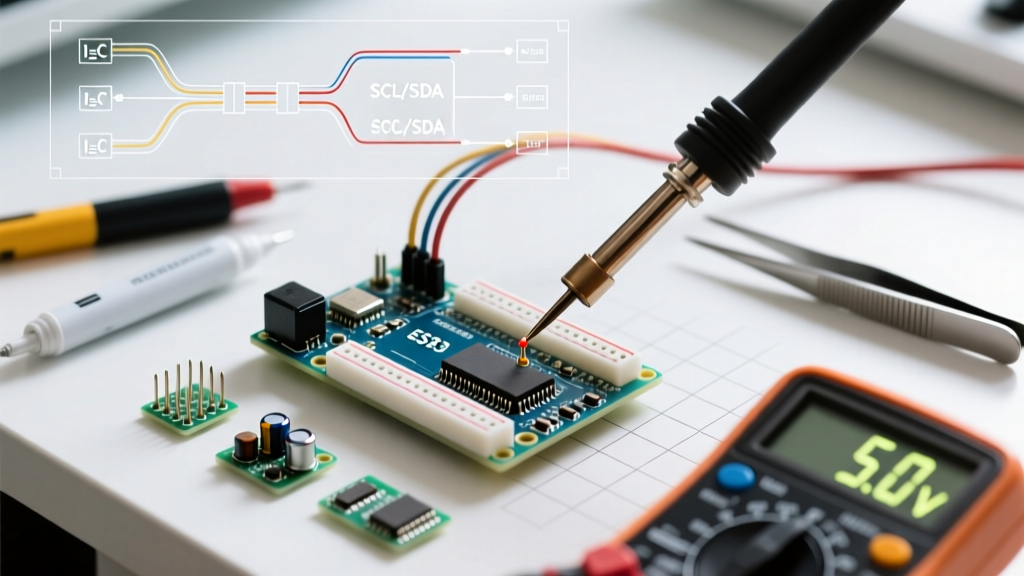
I2C buses require pull-up resistors (typically 4.7kΩ) on both the SDA and SCL lines. While many cheap SSD1306 modules include these on the PCB, daisy-chaining multiple monitors or using long wires (>30cm) degrades the signal. Add external 4.7kΩ pull-up resistors to the 3.3V or 5V rail (matching your logic level) to stabilize the bus capacitance.
What is the best library for driving TFT monitors on ESP32?
As of 2026, the TFT_eSPI library remains the undisputed champion for ESP32 and RP2040 architectures. It supports hardware SPI DMA, sprite rendering for flicker-free animations, and smooth font anti-aliasing, vastly outperforming older generic libraries in both speed and memory management.
Conclusion
Choosing the right monitor for Arduino projects requires balancing visual fidelity with the harsh realities of microcontroller architecture. For complex, touch-heavy interfaces on legacy 5V boards, intelligent HMI screens like the Nextion series offer a reliable bypass around memory constraints. For high-speed, custom graphics, migrating to a 3.3V ecosystem like the ESP32-S3 paired with an ST7789 IPS panel unlocks the true potential of modern embedded displays. Always respect logic levels, manage your SRAM wisely, and leverage DMA-capable libraries to ensure your 2026 builds are both robust and visually stunning.