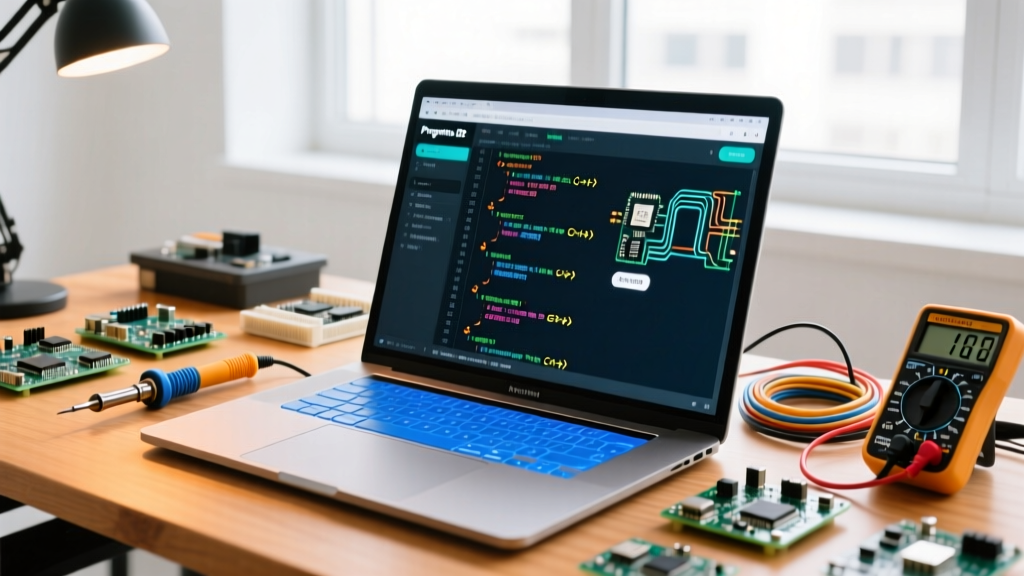

Why Transition to Programino IDE for Arduino?
For years, the standard Arduino IDE has been the gateway for millions of makers and engineers entering the embedded systems world. However, as projects scale from simple LED blink sketches to complex, multi-file C++ architectures involving RTOS and custom communication protocols, the limitations of the standard environment become apparent. While Arduino IDE 2.x introduced basic auto-completion, it still lacks the robust, professional-grade Intellisense, deep code navigation, and strict C/C++ standard compliance required for enterprise-level firmware development.
This is where Programino IDE for Arduino steps in. Programino is a powerful, Windows-based alternative frontend that leverages the underlying Arduino toolchain (AVR-GCC, ARM-GCC, and avrdude) while providing a true professional C/C++ development environment. In this comprehensive 2026 guide, we will walk through the exact steps to install, configure, and troubleshoot Programino, ensuring you can compile and upload to everything from a legacy ATmega328P Uno to a modern Renesas-based Uno R4 Minima.
System Requirements and Prerequisites
Before diving into the configuration, ensure your development machine meets the necessary criteria. Programino acts as a sophisticated frontend; it does not bundle the core compilers or hardware definitions natively. Instead, it hooks into your existing Arduino installation.
- Operating System: Windows 10 or Windows 11 (64-bit). Programino is natively compiled for Windows and relies on Windows API calls for its high-performance UI.
- Arduino IDE: You must have the official Arduino IDE installed (either the legacy 1.8.x branch or the modern 2.x branch). This provides the necessary hardware cores,
avrdudebinaries, and base libraries. - Disk Space: At least 500 MB of free space for Programino, plus the space required for your Arduino cores (which can exceed 2 GB if you have multiple ESP32 and ARM boards installed via the Board Manager).
- Licensing: Programino is free for non-commercial, educational, and hobbyist use. Commercial entities deploying firmware in production environments must acquire a commercial license from the developer.
Step-by-Step Installation and Toolchain Linking
The most common point of failure for new users is incorrectly linking the Arduino hardware directories. Follow these steps precisely to ensure Programino can locate your board definitions and compilers.
Step 1: Download and Install Programino
- Navigate to the official Programino website and download the latest Windows installer.
- Run the executable and follow the standard Windows installation prompts. Install it to the default directory (usually
C:\Program Files (x86)\Programino) to avoid permission issues during workspace compilation.
Step 2: Locate Your Arduino Hardware Paths
Programino needs to know where your board definitions live. Depending on your Arduino IDE version, these paths differ:
- Arduino IDE 1.8.x: Hardware is typically stored in
C:\Program Files (x86)\Arduino\hardware. - Arduino IDE 2.x / CLI: Board Manager cores are stored in the hidden AppData folder:
C:\Users\[YourUsername]\AppData\Local\Arduino15\packages.
Step 3: Configure the System Settings in Programino
- Launch Programino and navigate to System > Settings.
- Select the Arduino tab.
- In the Arduino Hardware Path field, browse and select the primary hardware folder identified in Step 2.
- In the Arduino Libraries Path field, point to your sketchbook libraries folder, typically located at
C:\Users\[YourUsername]\Documents\Arduino\libraries. - Click Apply and Scan Hardware. Programino will parse the
boards.txtandplatform.txtfiles to populate your board selection dropdown.
Feature Comparison: Standard Arduino IDE vs. Programino
To understand the architectural advantages of making the switch, review the technical comparison matrix below.
| Feature | Arduino IDE 2.x | Programino IDE |
|---|---|---|
| Code Completion | Basic (Clangd-based, often struggles with complex macros) | Advanced Intellisense with deep macro resolution and context-aware suggestions |
| C/C++ Standard Compliance | Relaxed (Auto-generates function prototypes) | Strict (Requires standard C++ practices, manual prototypes) |
| Multi-File Project Management | Tab-based, flattens directory structures | True hierarchical folder tree, supports complex Makefile-style architectures |
| Compile Speed | Moderate (Overhead from CLI wrapper) | Highly optimized, direct invocation of avr-gcc / arm-none-eabi-gcc |
| Serial Monitor | Integrated basic terminal | Advanced terminal with hex viewing, plotting, and macro-triggered logging |
Managing Libraries and Multi-File Projects
One of the most significant upgrades Programino offers is how it handles multi-file C++ projects. In the standard Arduino environment, all .ino files in a directory are concatenated into a single temporary C++ file before compilation. This makes version control and modular design a nightmare.
Transitioning to Standard C++ Architecture
When using Programino, it is highly recommended to treat your sketches as standard C++ projects. Instead of relying on .ino files, create explicit .cpp and .h (header) files.
Pro-Tip for 2026: When creating a new header file in Programino, always wrap your declarations in an include guard or use
#pragma once. Furthermore, ensure you#include <Arduino.h>at the top of every custom.cppfile. Unlike the Arduino IDE, Programino does not automatically inject Arduino core definitions into secondary source files.
Importing Third-Party Libraries
If you are pulling libraries directly from GitHub, do not simply download the ZIP and extract it blindly. Programino reads the library.properties file to determine architecture compatibility (e.g., architectures=avr,samd,rp2040). If a library lacks this manifest, Programino's strict parser may hide it from the auto-complete engine to prevent cross-compilation errors. Always ensure your libraries are placed in the root of the libraries directory, not nested in subfolders.
Advanced Troubleshooting and Edge Cases
Switching to a professional IDE exposes bad coding habits that the standard Arduino IDE previously masked. Below are the most common compilation and upload errors you will encounter in Programino, along with their precise solutions.
Edge Case 1: "Function Not Declared in This Scope"
The Cause: The standard Arduino IDE features a pre-processing step that scans your sketch and automatically generates function prototypes, placing them at the top of the file before compilation. Programino adheres strictly to the AVR Libc and standard GCC C++ rules. If you define a custom function below your loop() or setup() and call it above, the compiler will throw an error.
The Fix: You have two options. First, physically move all custom function definitions above the setup() function. Second, manually write your function prototypes at the top of your sketch, just as you would in a professional embedded C environment:
void myCustomMotorRoutine(int speed); // Manual prototype

void setup() {
    myCustomMotorRoutine(255);
}

void myCustomMotorRoutine(int speed) {
    // Implementation
}
Edge Case 2: Avrdude Timeout and Sync Errors
The Cause: You click "Upload" and receive avrdude: stk500_recv(): programmer is not responding. This usually happens when Programino is pointing to an outdated or mismatched version of avrdude.exe and its corresponding avrdude.conf file, particularly if you have remnants of Arduino 1.8.x on your machine alongside Arduino 2.x.
The Fix: Go to System > Settings > Tools in Programino. Manually verify the path to avrdude.exe. For modern boards using the CH340 or ATmega16U2 serial-to-USB bridges, ensure you are using the avrdude version bundled with the latest Arduino AVR Boards core (typically located in AppData\Local\Arduino15\packages\arduino\tools\avrdude\[version]\bin). Additionally, verify that your COM port is not being held hostage by the serial monitor or a background 3D printer slicing application like Cura or PrusaSlicer.
Edge Case 3: ARM Cortex-M Compilation Failures (Uno R4 / Nano 33)
The Cause: When compiling for 32-bit ARM boards like the Arduino Nano 33 BLE or the Uno R4 Minima, Programino must invoke the arm-none-eabi-gcc toolchain instead of avr-gcc. If the build fails with missing standard library headers (like math.h or string.h), it means the ARM toolchain path is misconfigured.
The Fix: In the board selection dropdown, ensure you have selected the exact board variant. Programino reads the platform.txt file provided by the Arduino Board Manager to construct the build flags. If the IDE fails to resolve the ARM GCC path, use the Custom Build Flags override in Programino to explicitly define the sysroot directory pointing to your installed ARM GCC package.
Final Thoughts on Professional MCU Development
Migrating to Programino IDE for Arduino is a rite of passage for embedded engineers moving past the beginner stage. By enforcing strict C/C++ standards, providing genuine multi-file project management, and offering lightning-fast compilation via direct toolchain invocation, Programino transforms the Arduino ecosystem from a prototyping toy into a viable platform for production firmware. Take the time to properly map your hardware directories, adjust your coding habits to respect standard C++ scoping rules, and you will drastically reduce your development cycle times on complex microcontroller projects.