
Why Arduino Resistors Compatibility Matters
When building circuits with microcontrollers, grabbing a random resistor from a bin is a common beginner mistake that leads to dim LEDs, I2C bus crashes, or permanently fried GPIO pins. True hardware compatibility goes far beyond simply completing a circuit. It requires matching the resistor's ohmic value, wattage rating, tolerance, and physical package to the specific logic levels and current limits of your microcontroller unit (MCU).
In this comprehensive compatibility guide, we break down the exact specifications for Arduino resistors across classic AVR boards (Uno R3, Nano, Mega) and modern 3.3V alternatives (ESP32, Arduino Nano 33 IoT). Whether you are calculating current-limiting values for high-power LEDs or sizing pull-up resistors for a noisy I2C bus, this guide provides the actionable data you need for reliable 2026 maker projects.
Core Compatibility: MCU Pin Current and Wattage Limits
Before selecting a resistor, you must understand the current sourcing and sinking limits of your specific MCU. Exceeding these limits causes thermal runaway inside the silicon die, leading to degraded logic thresholds or catastrophic failure.
| MCU Board | Core IC | Logic Level | Absolute Max Pin Current | Recommended Continuous |
|---|---|---|---|---|
| Arduino Uno R3 / Nano | ATmega328P | 5.0V | 40 mA | 20 mA |
| Arduino Mega 2560 | ATmega2560 | 5.0V | 40 mA | 20 mA |
| ESP32 DevKit V1 | ESP32-WROOM-32 | 3.3V | 40 mA | 20 mA |
| Arduino Nano 33 IoT | SAMD21 Cortex-M0+ | 3.3V | 7 mA (per pin) | 5 mA |
According to the Arduino official digital pins documentation, while the ATmega328P can technically handle 40mA on a single pin, the absolute maximum for the entire VCC/GND package is 200mA. If you are driving multiple LEDs, your resistor values must be scaled to ensure the aggregate current stays well below this threshold.
Calculating Arduino Resistors for LEDs
The most frequent use case for Arduino resistors is current limiting for LEDs. Using a resistor with too high a value results in a dim output; too low a value destroys the LED or the MCU pin. The compatibility formula relies on Ohm's Law: R = (Vcc - Vf) / I.
Standard LED Forward Voltage (Vf) and Resistor Matrix
Below is a compatibility matrix for standard 5mm through-hole LEDs operating at a safe 15mA continuous current, which provides excellent brightness while keeping the ATmega328P well within its 20mA recommended limit.
| LED Color | Typical Vf | Resistor for 5V (Uno/Mega) | Resistor for 3.3V (ESP32) | Min Wattage Required |
|---|---|---|---|---|
| Red | 2.0V | 220Ω | 82Ω (or 100Ω standard) | 1/8W (0.125W) |
| Yellow / Green | 2.1V | 220Ω | 82Ω (or 100Ω standard) | 1/8W (0.125W) |
| Blue / White | 3.2V | 120Ω | Not Recommended Direct Drive | 1/8W (0.125W) |
Expert Edge Case: Never drive a standard Blue or White LED (Vf ~3.2V) directly from a 3.3V ESP32 pin. The voltage headroom (3.3V - 3.2V = 0.1V) is too small for a current-limiting resistor to regulate effectively. Minor fluctuations in the 3.3V regulator will cause massive current spikes. Use a MOSFET driver or an LED driver IC instead.
Wattage and Physical Package Compatibility
For standard GPIO LED driving, power dissipation is minimal. Using the formula P = I²R, a 220Ω resistor at 15mA dissipates only 0.049W. Therefore, a standard 1/4W (0.25W) axial resistor is perfectly safe and physically compatible with standard solderless breadboards.
We recommend metal film resistors over carbon composition for MCU projects. Metal film resistors, such as the Vishay MRS25 series, offer 1% tolerance and significantly lower thermal noise, which is critical when feeding analog signals into the Arduino's ADC pins.
Pull-Up and Pull-Down Resistor Compatibility
Resistors are not just for limiting current; they are essential for defining logic states on floating pins. The compatibility of pull-up and pull-down resistors depends heavily on the communication protocol and bus capacitance.
I2C Bus Pull-Up Resistor Sizing
The I2C protocol uses open-drain outputs, meaning devices can only pull the line LOW; they rely on pull-up resistors to bring the line HIGH. The internal pull-up resistors on the ATmega328P are typically between 20kΩ and 50kΩ, which are far too weak for reliable I2C communication at standard speeds.
According to the Texas Instruments Application Report on I2C Pull-Up Resistor Sizing, the correct external resistor value depends on the bus capacitance and desired clock speed:
- 100 kHz (Standard Mode): Use 4.7kΩ resistors for buses with standard capacitance (under 200pF).
- 400 kHz (Fast Mode): Use 2.2kΩ resistors to ensure the RC rise time is fast enough to meet the protocol's timing specifications.
- Long Wire Runs: If your I2C wires exceed 30cm, parasitic capacitance increases. You may need to drop to 1kΩ pull-ups, but verify that the total sink current does not exceed the 3mA open-drain limit of your I2C peripherals.
Button and Switch Debouncing
For simple tactile switches, a 10kΩ pull-down or pull-up resistor is the industry standard. This value provides a strong enough logic definition to prevent electromagnetic interference (EMI) from triggering false reads, while drawing only 0.5mA (at 5V) when the button is pressed, preserving battery life in portable Arduino projects.
ESP32 Strapping Pins: A Critical Edge Case
When using an ESP32, physical resistor compatibility intersects with boot logic. Pins like GPIO0, GPIO2, GPIO5, GPIO12, and GPIO15 are 'strapping pins' sampled during boot. If you attach a sensor with a weak internal pull-down to GPIO12, the ESP32 may boot into the wrong flash voltage mode and crash. Always use explicit 10kΩ external pull-up or pull-down resistors on these pins to force the correct boot state, overriding any peripheral interference.
SMD vs. Through-Hole: Breadboard and PCB Fitment
Physical compatibility is often overlooked until assembly time. Here is how different resistor packages interact with maker hardware:
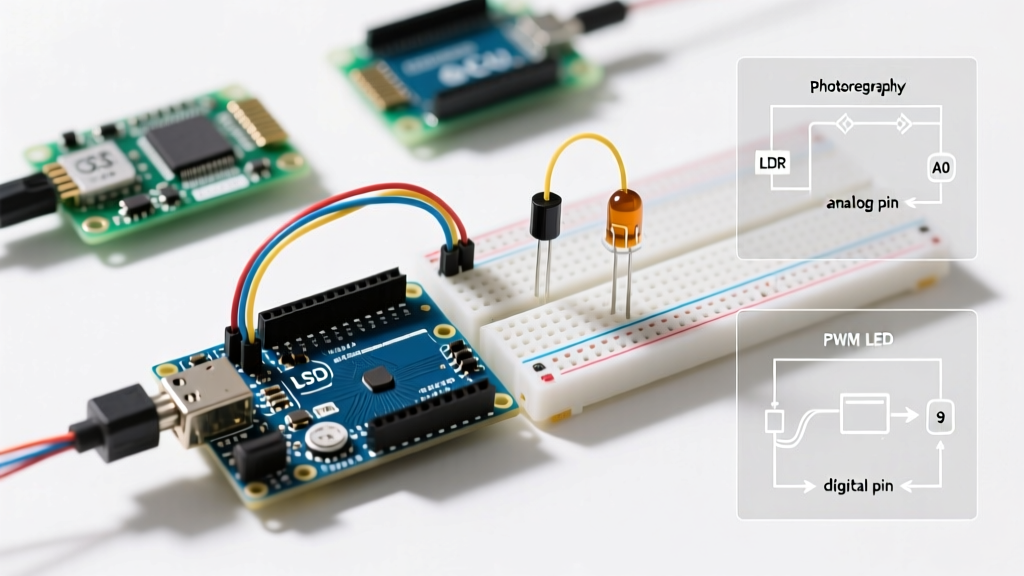
- 1/4W Axial (Through-Hole): The standard for breadboards. The wire leads are typically 0.6mm thick, fitting snugly into standard 0.1-inch breadboard terminals. However, they are bulky for dense perfboard designs.
- 1/8W Axial (Through-Hole): Shorter body length. Compatible with breadboards but the leads are sometimes thinner (0.4mm), which can result in loose connections in worn-out breadboards.
- 0805 SMD: Incompatible with solderless breadboards. Ideal for custom PCBs and tight enclosures. Requires a steady hand and a temperature-controlled soldering station (set to 320°C) for manual assembly.
- Resistor Networks (SIP/DIP): Packages like the Bourns 4609X series contain multiple resistors in a single footprint. Highly compatible with Arduino shields and prototyping shields where you need 4 to 8 identical pull-ups in a tight linear space.
Tolerance and ADC Compatibility
When using resistors in voltage dividers to step down analog signals (e.g., reading a 12V battery with a 5V Arduino Uno), resistor tolerance directly impacts measurement accuracy.
A standard carbon film resistor has a 5% tolerance. In a 10kΩ / 10kΩ voltage divider designed to halve a voltage, a 5% mismatch between the two resistors can introduce a 2.5% error in your final reading. On a 10-bit ADC (1024 steps), this equates to a 25-step error margin. For precision analog sensing, always use 1% or 0.1% tolerance metal film resistors to ensure your software calibration remains accurate across different temperature ranges.
Frequently Asked Questions (FAQ)
Can I use a single resistor for multiple parallel LEDs on an Arduino?
No. While electrically possible if the LEDs are perfectly matched, minor manufacturing differences in Forward Voltage (Vf) will cause the LED with the lowest Vf to hog the current, potentially burning out and cascading the failure to the rest. Always use one dedicated current-limiting resistor per LED.
Do I need a resistor for an Arduino I2C module with an integrated breakout board?
Most modern I2C breakout boards (like the Adafruit BME280 or SparkFun MPU-6050) include 4.7kΩ or 10kΩ surface-mount pull-up resistors on the PCB. If you are daisy-chaining more than three of these modules, the parallel resistance drops too low, overloading the MCU pins. In such cases, you must physically remove the SMD resistors from the secondary boards using a hot air rework station.
What happens if I short an Arduino pin to ground without a resistor?
If the pin is configured as an OUTPUT and driven HIGH, shorting it to ground creates a dead short across the internal MOSFETs. The pin will instantly attempt to source maximum current, overheating the silicon and permanently destroying that specific GPIO pin, and potentially the entire ATmega328P chip. Always use a multimeter to verify continuity before powering on a new breadboard circuit.