
The Enduring Appeal of the Nano Arduino Form Factor
Even as the maker landscape in 2026 shifts toward high-performance ARM Cortex-M4 and ESP32-S3 boards, the classic Nano Arduino footprint (18x30mm) remains an undisputed king for breadboard prototyping and compact embedded projects. Its dual-inline package (DIP) spacing fits perfectly into standard solderless breadboards, leaving one row of holes free on each side for jumper wires. However, whether you are using an official board or a third-party clone, getting the initial setup and code upload process right requires navigating a minefield of USB-UART chips, bootloader versions, and power delivery constraints.
In this comprehensive guide, we will walk through the exact steps to configure your IDE, install the correct drivers, and troubleshoot the most common hardware and software failure modes associated with the Nano Arduino ecosystem.
Hardware Anatomy: Official vs. Clone Boards
Before plugging in your board, it is critical to understand what silicon you are actually working with. The market is currently split between official boards and high-volume clones, each with distinct component choices that affect your setup process.
| Feature | Official Arduino Nano | Standard V3.0 Clone (2026 Market) |
|---|---|---|
| Microcontroller | ATmega328P (or 4808 on Nano Every) | ATmega328P / ATmega328PB |
| USB-UART Bridge | FTDI FT232RL (Legacy) / CH340 (Newer) | WCH CH340G or CH340N |
| Bootloader | Optiboot (512 bytes) | Optiboot or Legacy stk500v1 (2KB) |
| Average Price | $24.50 - $27.00 | $3.50 - $6.00 |
Pro Tip: The CH340N chip found on modern clones lacks an external crystal oscillator, relying on an internal RC oscillator. This makes it slightly cheaper to manufacture but occasionally causes baud-rate drift on extremely long serial data transfers. For 99% of standard maker projects, this drift is entirely negligible.
Step 1: IDE Configuration and Bootloader Selection
The most frequent stumbling block for beginners is the infamous avrdude: stk500_recv(): programmer is not responding error. This is rarely a hardware failure; it is almost always a bootloader mismatch in the Arduino IDE.
Selecting the Correct Processor
- Open the Arduino IDE (version 2.3 or newer is recommended for 2026 workflows).
- Navigate to Tools > Board > Arduino AVR Boards and select Arduino Nano.
- Go to Tools > Processor. You will see three options:
- ATmega328P: Select this for official boards and modern clones shipped with the Optiboot bootloader.
- ATmega328P (Old Bootloader): Select this if you are using an older clone (manufactured between 2016 and 2021) that still uses the legacy 2KB stk500v1 bootloader.
- ATmega168: Only select this if you have a very early, low-memory variant of the board.
If you select the standard ATmega328P option and the upload fails immediately with a timeout error, switch to the Old Bootloader option and try again. This resolves approximately 70% of all initial upload failures on clone boards.
Step 2: Conquering the CH340 Driver Dilemma
Official boards historically used the FTDI FT232RL chip, which has native driver support in most operating systems. Clones use the WCH CH340G or CH340N to keep costs under $5. While Windows 11 and macOS Sonoma have improved out-of-the-box support for the CH340, manual installation is often still required to prevent serial port conflicts.
Windows 11 Installation
- Download the official Windows driver package directly from the WCH IC official CH341SER download page.
- Run the
CH341SER.EXEinstaller with administrative privileges. - Click INSTALL. You should see a success message confirming the driver is bound to the USB VID/PID.
- Plug in your Nano Arduino board. Open Device Manager and verify it appears under Ports (COM & LPT) as
USB-SERIAL CH340 (COMx).
macOS Sonoma / Sequoia Setup
On Apple Silicon Macs, the CH340 driver requires specific kernel extension approvals. Download the macOS version from the same WCH portal. After installation, you must navigate to System Settings > Privacy & Security and explicitly allow the kernel extension from 'WCH' to load. Reboot your Mac, and the board will appear as /dev/cu.wchusbserial* in the IDE port menu.
Step 3: Power Delivery and Thermal Edge Cases
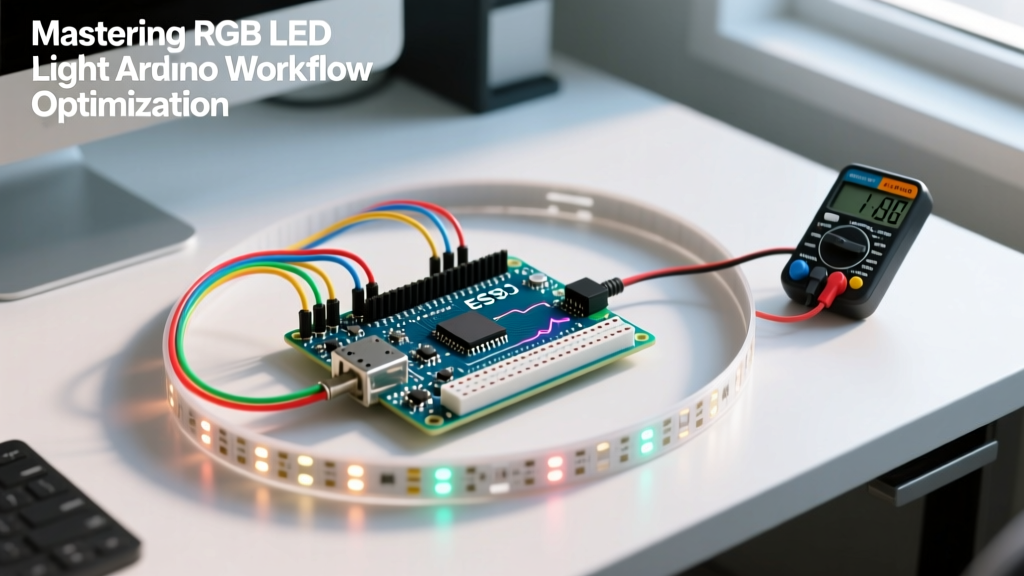
A critical, often overlooked aspect of the Nano Arduino design is its onboard voltage regulation. The board features an AMS1117-5.0 linear dropout (LDO) regulator to step down unregulated voltage from the Vin pin or the USB 5V line.
The Thermal Shutdown Trap
The AMS1117-5.0 in the SOT-223 package can handle a maximum current of 800mA, but its thermal performance is highly dependent on the voltage differential. If you supply 12V to the Vin pin and draw 100mA from the 5V pin to power a string of WS2812B LEDs, the LDO must dissipate the excess energy as heat.
Calculation: Power Dissipated = (Vin - Vout) × Current
(12V - 5V) × 0.1A = 0.7W (700mW).
Without a heatsink or active airflow, 700mW will push the SOT-223 junction temperature past 125°C, triggering the chip's internal thermal shutdown. Your project will randomly reboot or brown out under load.
Best Practice Power Routing
- USB Power: Safe for up to 500mA (limited by the USB polyfuse and cable quality).
- Vin Pin: Supply between 7V and 9V maximum. Do not use 12V unless your circuit draws less than 20mA from the 5V rail.
- 5V Pin (Direct): If your project requires high current (e.g., servos, LED matrices), bypass the onboard LDO entirely. Use an external 5V buck converter (like an LM2596 module) and wire it directly to the 5V and GND pins. Warning: Never connect an external 5V source to the 5V pin while simultaneously plugged into USB, as this can backfeed and damage your computer's USB hub.
Step 4: Advanced Troubleshooting and Bootloader Recovery
If you have verified the CH340 driver, selected the correct COM port, and matched the bootloader, but the IDE still throws a programmer is not responding or verification error, your board's bootloader may be corrupted. This frequently happens if a sketch accidentally overwrites the reserved bootloader flash section or if the reset circuit fails.
The Manual Reset Timing Trick
The Nano relies on the DTR (Data Terminal Ready) signal from the USB-UART chip to pulse the reset pin via a 100nF capacitor right before compilation finishes. If this capacitor is defective (common on $3 clones), the board won't enter the bootloader window.
The Fix: Press and hold the physical RESET button on the Nano. Click 'Upload' in the IDE. Watch the console output. The exact moment the console says Sketch uses X bytes... Global variables use Y bytes..., release the RESET button. This manually triggers the bootloader window in sync with the IDE's upload sequence.
Burning a Fresh Bootloader via ISP
If the manual reset trick fails, the bootloader is wiped. You can restore it using a second Arduino (like an Uno) as an In-System Programmer (ISP).
- Wire the Uno to the Nano using the standard SPI pins: Pin 11 to 11 (MOSI), Pin 12 to 12 (MISO), Pin 13 to 13 (SCK), and Pin 10 on the Uno to the RESET pin on the Nano.
- Upload the ArduinoISP sketch (found under File > Examples) to the Uno.
- Select your Nano Arduino as the target board in the IDE, and set the Programmer to Arduino as ISP.
- Click Tools > Burn Bootloader. The IDE will use the Uno to flash a fresh Optiboot bootloader onto the Nano's ATmega328P via the ICSP header pins.
For detailed wiring diagrams and SPI timing requirements, refer to the official Arduino Nano hardware documentation. Once the bootloader is burned, you can disconnect the ISP wires and return to standard USB uploads.
Summary
Mastering the Nano Arduino requires looking past the simplicity of its 30-pin layout. By understanding the nuances of the CH340 USB bridge, respecting the thermal limits of the AMS1117 voltage regulator, and knowing how to manually intervene in the bootloader sequence, you can transform a box of cheap clones into highly reliable nodes for your next IoT or robotics project.