
The Undying Legacy of RS-232 in Modern Maker Spaces
Despite the ubiquity of USB-C, Ethernet, and wireless protocols, RS-232 remains the zombie protocol of the industrial and maker worlds. In 2026, hobbyists and engineers are still frequently tasked with interfacing modern microcontrollers with legacy equipment. Whether you are extracting data from a 1990s CNC milling machine, communicating with ham radio TNCs, reading industrial weighing scales, or debugging older PLCs, mastering the connection between an Arduino and RS232 is a mandatory rite of passage.
The core challenge lies in the physical layer: Arduino microcontrollers operate on 5V or 3.3V TTL logic, while the RS-232 standard defines logic '1' (mark) as -3V to -15V and logic '0' (space) as +3V to +15V. Connecting these directly will instantly destroy your ATmega328P or ESP32. To bridge this gap, the community has developed a robust ecosystem of level-shifting modules, isolation techniques, and software workarounds. This roundup synthesizes the most reliable, community-tested hardware and troubleshooting strategies for your next legacy integration project.
Community-Tested Hardware: Transceiver Module Comparison
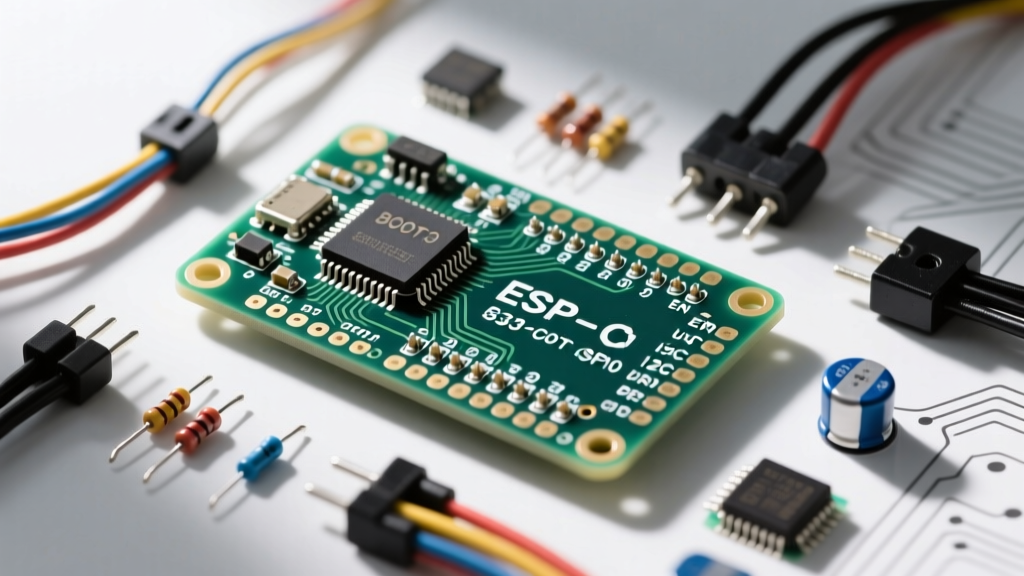
Not all RS-232 transceiver boards are created equal. Based on extensive forum teardowns and field reports from the EEVblog and Arduino communities, here is how the most common modules stack up for modern applications.
| Module Type | Core IC | Logic Voltage | Capacitor Requirements | Avg Price (2026) | Best Application |
|---|---|---|---|---|---|
| Standard Blue Breakout | MAX3232 | 3.3V - 5.0V | 0.1µF Ceramic (x5) | $1.50 - $3.00 | Benchtop debugging, 3.3V ESP32/Teensy integration |
| Vintage DIP Prototype | MAX232 | 5.0V Only | 1.0µF - 10µF Tantalum | $4.00 - $6.00 | 5V Arduino Uno/Mega legacy retro-computing |
| Industrial Isolated | ADuM1401 + MAX3232 | 3.3V - 5.0V | 0.1µF Ceramic + Iso DC-DC | $14.00 - $22.00 | CNC machines, PLCs, high-noise factory floors |
| USB-to-RS232 Debug | FTDI FT232RL + MAX3232 | 5.0V (USB Powered) | 0.1µF Ceramic | $12.00 - $18.00 | PC-to-Arduino RS232 monitoring without native serial ports |
Expert Note: According to the Texas Instruments MAX3232 datasheet, the MAX3232 is vastly superior for modern maker projects because it accommodates 3.3V logic (essential for ESP32 and ARM-based MCUs) and uses cheap, readily available 0.1µF ceramic capacitors. Avoid original MAX232 chips unless you are maintaining a strict 5V vintage build, as sourcing reliable, correctly-rated 1µF tantalum capacitors has become surprisingly difficult and expensive.
The "Magic Smoke" Prevention Guide: Wiring DB9 to TTL
The most common point of failure when working with Arduino and RS232 is incorrect wiring. RS-232 uses a DB9 connector, and the pinout depends on whether your legacy device is configured as DTE (Data Terminal Equipment, like a PC) or DCE (Data Circuit-terminating Equipment, like a modem or PLC).
Standard DCE Wiring (Connecting to PLCs, Scales, CNCs)
- Pin 2 (RXD on DB9) connects to the TX pin on your RS232 module.
- Pin 3 (TXD on DB9) connects to the RX pin on your RS232 module.
- Pin 5 (GND on DB9) connects to the GND pin on your RS232 module and the Arduino GND.
Standard DTE Wiring (Connecting to older PCs or Routers)
If you are connecting your Arduino to a device that acts as a PC (DTE), you must swap the TX and RX lines. This is typically done using a Null Modem cable or adapter, which internally crosses Pin 2 and Pin 3.
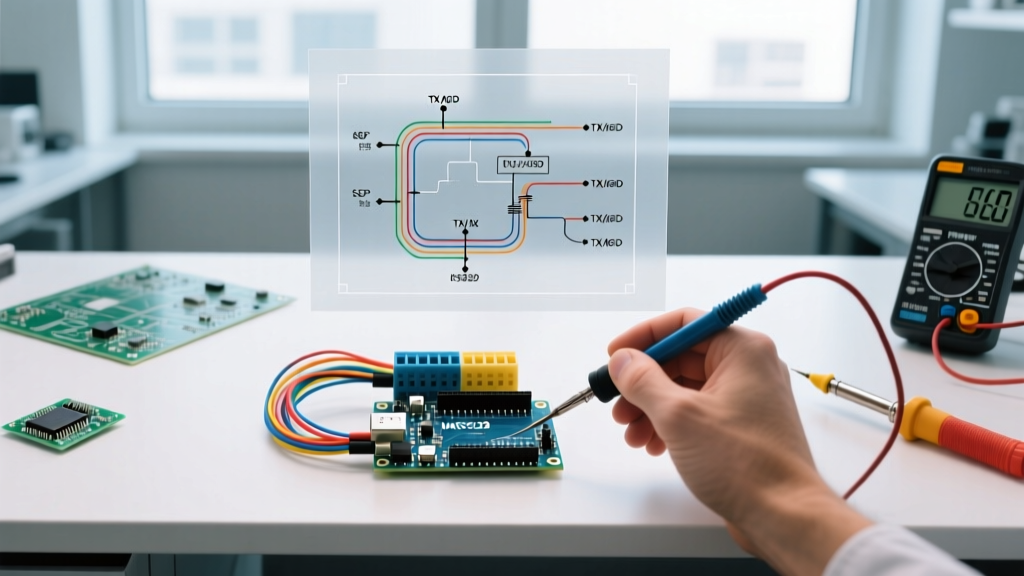
⚠️ Community Warning: Never rely on the silkscreen labels on cheap, unbranded RS-232 modules. A 2025 community teardown revealed that nearly 15% of generic MAX3232 boards imported from overseas marketplaces had reversed TX/RX silkscreen printing. Always verify continuity from the IC pins to the DB9 header with a multimeter before applying power to sensitive industrial equipment.
Top 3 Forum Troubleshooting Scenarios (And How to Fix Them)
We scoured the official Arduino forums and electronics subreddits to bring you the most common edge cases encountered when bridging TTL and RS-232.
Scenario 1: The Capacitor Charge-Pump Collapse
Symptom: The Arduino transmits data perfectly, but receives only gibberish or nothing at all. The module gets unusually warm.
The Root Cause: The RS-232 IC relies on an internal charge pump to generate the +10V and -10V rails from a single 3.3V/5V supply. This pump requires external capacitors. Many hobbyists mistakenly use 10µF electrolytic capacitors on a MAX3232 board (which requires 0.1µF ceramic), or vice versa. The high ESR (Equivalent Series Resistance) of the wrong capacitor type prevents the charge pump from oscillating at its 400kHz+ frequency, causing the negative voltage rail to collapse under the load of the RS-232 receiver.
The Fix: Check the IC datasheet. If using a MAX3232 or MAX232A, replace all external capacitors with high-quality 0.1µF (100nF) X7R ceramic capacitors placed as physically close to the IC pins as possible.
Scenario 2: Industrial Ground Loops Frying the USB Port
Symptom: You connect your laptop (via Arduino) to a 240V-powered CNC machine's RS-232 port. The Arduino's voltage regulator pops, and your laptop's USB controller permanently dies.
The Root Cause: A massive ground potential difference. The CNC machine's chassis ground might be sitting at a slightly different AC potential than your laptop's mains ground. When you connect the RS-232 ground wire (Pin 5), hundreds of milliamps rush through the Arduino's ground trace, through the USB cable, and into your laptop's motherboard.
The Fix: You must use galvanic isolation. Purchase or build an isolated RS-232 module. These modules use an isolated DC-DC converter (like the B0505S) to power the RS-232 side, and digital isolators (like the Analog Devices ADuM1401) to pass the TX/RX signals via magnetic coupling. This completely breaks the electrical ground path, protecting both your PC and the legacy machinery.
Scenario 3: SoftwareSerial Dropping Bytes at High Baud Rates
Symptom: Communication works flawlessly at 9600 baud, but when you increase the legacy device's speed to 115200 baud, the Arduino drops characters or outputs corrupted hex values.
The Root Cause: The `SoftwareSerial` library relies on pin-change interrupts and microsecond delay loops to bit-bang the serial protocol. At 115200 baud, a single bit lasts only 8.68 microseconds. Any other interrupt firing on the Arduino (like the millis() timer or I2C routines) will cause the microcontroller to miss the start bit or sample the data bits incorrectly.
The Fix: Abandon `SoftwareSerial` for high-speed RS-232. Use the hardware UART pins (Pins 0 and 1 on the Uno/Nano). If you need to debug via the Serial Monitor while simultaneously talking to the RS-232 device, upgrade to an Arduino Mega 2560 (which has four hardware UARTs) or an ESP32 (which allows hardware UART mapping to almost any GPIO pin).
Software Strategy: Handling Inverted Logic
In rare cases, makers attempt to bypass the MAX232 IC entirely by using a simple NPN transistor (like a 2N2222) to invert the 5V TTL signal to an open-collector pull-up. While this can sometimes trick an RS-232 receiver into reading a 0V signal as a 'Mark' (Logic 1), it completely fails to generate the required positive voltage for a 'Space' (Logic 0). Most modern RS-232 receivers will reject this as noise.
Always use a dedicated transceiver IC. When writing your Arduino sketch, remember that the hardware UART handles the inversion automatically. If you are using an ESP32 and mapping the UART pins via the GPIO matrix, ensure you do not accidentally enable the software-level inversion flags in the `HardwareSerial` configuration, or your data will be flipped bitwise.
Final Thoughts for 2026 Integrations
Bridging an Arduino and RS232 is a masterclass in understanding the physical layer of communications. By selecting the correct transceiver (MAX3232 for 90% of use cases), respecting the DTE/DCE null-modem crossover rules, and deploying galvanic isolation in industrial environments, you can reliably pull data from equipment that was manufactured before the Arduino even existed. Keep a multimeter handy, verify your DB9 pinouts, and never trust unverified silkscreen labels on cheap breakout boards.