
Selecting and Configuring Your Arduino Motor Control Board
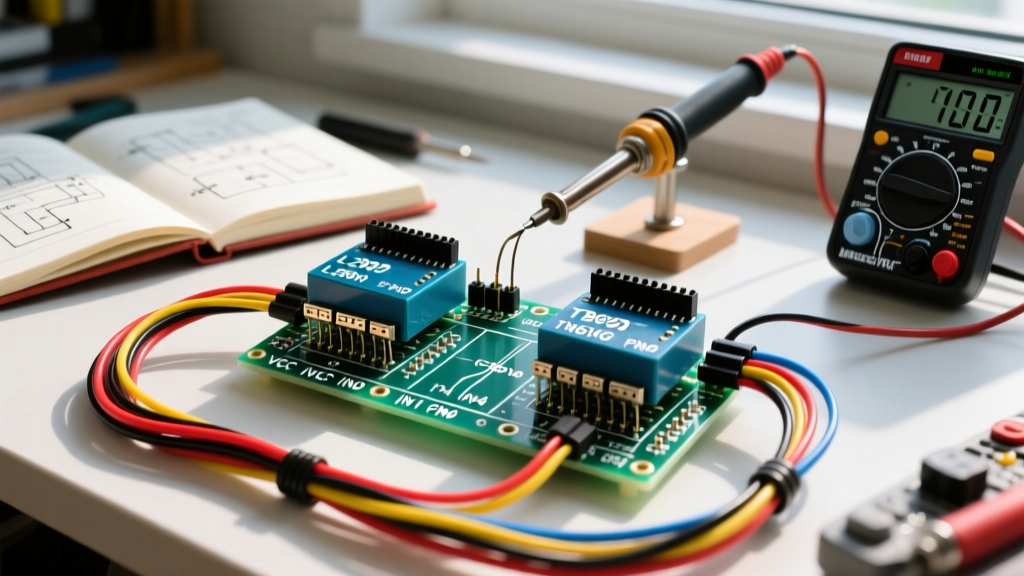
When designing robotics, CNC plotters, or automated conveyors, the microcontroller cannot drive inductive loads directly. You need a dedicated arduino motor control board to act as the muscle, translating low-current logic signals into high-current motor drive. However, simply wiring up a module is not enough; proper configuration of logic voltages, PWM frequencies, and dead-times is critical to prevent silicon failure. In this comprehensive configuration guide, we will deep-dive into the two most ubiquitous H-bridge architectures in the maker space: the classic BJT-based L298N and the modern MOSFET-based TB6612FNG.
As of 2026, while the L298N remains a staple in beginner kits due to its ruggedness and low $3 to $5 price point, the TB6612FNG has become the preferred choice for battery-operated robots, offering superior efficiency for roughly $4 to $8. Below, we break down exactly how to configure both boards, avoid common thermal traps, and write robust firmware.
Board Selection Matrix: BJT vs. MOSFET Architectures
Before configuring your hardware, you must understand the electrical limitations of your chosen driver. The voltage drop across the H-bridge dictates how much battery power is wasted as heat.
| Specification | L298N (BJT H-Bridge) | TB6612FNG (MOSFET) | BTS7960 (High-Power) |
|---|---|---|---|
| Max Continuous Current | 2.0A per channel | 1.2A per channel (3.2A peak) | 43A per channel |
| Motor Voltage (VM) | 5V to 35V | 2.5V to 13.5V | 5.5V to 27V |
| Logic Voltage (VCC) | 5V to 7V | 2.7V to 5.5V | 3.3V to 5V |
| Voltage Drop | ~2.0V at 1A | ~0.5V at 1A (Rds_on) | ~0.1V |
| PWM Frequency Limit | ~25 kHz | 100 kHz | ~25 kHz |
| Typical Cost (2026) | $3 - $5 | $4 - $8 | $12 - $18 |
Expert Insight: The L298N utilizes bipolar junction transistors (BJTs), which inherently drop about 2V across the Darlington pairs. If you power a 5V motor with a 7V battery through an L298N, the motor will only see 5V, while the board dissipates the remaining 2V as heat. The TB6612FNG uses MOSFETs, minimizing this loss. For battery-powered rovers, always choose the MOSFET driver. For 12V-24V industrial actuators, the L298N or BTS7960 is required.
Configuring the L298N Dual H-Bridge
The L298N module, manufactured by STMicroelectronics, is a dual full-bridge driver. Configuring it correctly requires careful attention to the onboard voltage regulator and jumper settings.
The 5V Enable Jumper: A Critical Failure Point
Most generic L298N boards feature an onboard 7805 linear voltage regulator and a physical jumper cap near the power terminals. This jumper dictates the logic power source:
- Motor Supply < 12V: Leave the jumper IN place. The board will draw power from the motor supply, step it down to 5V via the 7805, and output it on the 5V pin to power your Arduino.
- Motor Supply > 12V: You MUST REMOVE the jumper. If you apply 24V to the motor terminals with the jumper installed, the 7805 regulator will attempt to drop 19V, instantly overheating and entering thermal shutdown, or worse, failing short and sending 24V into your Arduino's 5V logic rail, destroying the microcontroller.
When the jumper is removed, you must supply 5V directly to the board's 5V logic pin from your Arduino's 5V output. Refer to the STMicroelectronics L298N Datasheet for the exact thermal dissipation curves and absolute maximum ratings.
Wiring and Pin Mapping
- Power: Connect 12V to the 12V terminal, and GND to the GND terminal. Crucial: The Arduino GND must also be tied to this GND terminal to establish a common logic reference.
- Logic Pins: IN1 and IN2 control Motor A direction. IN3 and IN4 control Motor B. ENA and ENB are the PWM enable pins.
- Outputs: OUT1 and OUT2 connect to Motor A. Do not worry about polarity; swapping the wires in software is easier than physically re-routing harnesses.
Configuring the TB6612FNG MOSFET Driver
The TB6612FNG is vastly superior for low-voltage, battery-operated applications. However, its pinout requires a more nuanced configuration than the L298N. The Pololu TB6612FNG Motor Driver Carrier provides an excellent reference for breakout board implementations.
VM vs. VCC Separation
Unlike the L298N, the TB6612FNG strictly separates motor power (VM) from logic power (VCC).
- VM (Motor Voltage): Connect your battery pack here (e.g., a 2S LiPo at 7.4V or a 3S LiPo at 11.1V). Note that the absolute maximum rating for VM is 15V. Exceeding this will punch through the MOSFET gates.
- VCC (Logic Voltage): Connect this to the Arduino's 5V or 3.3V pin, depending on your microcontroller's logic level (e.g., 3.3V for ESP32 or Arduino Due).
The STBY (Standby) Pin Edge Case
Many makers struggle with the TB6612FNG because their motors refuse to spin. This is almost always due to the STBY (Standby) pin. By default, if the STBY pin is left floating, internal pull-down resistors may hold it LOW, putting the H-bridge into a low-power sleep mode. Configuration Rule: Always tie the STBY pin directly to VCC (HIGH) to keep the driver active, or route it to a digital pin if you need software-controlled sleep modes to save battery.
Software Configuration: PWM Tuning and Dead-Time
Hardware wiring is only half the battle. The Arduino Motor Control Documentation highlights that software timing is critical for H-bridge longevity. When reversing a motor's direction, the H-bridge must briefly turn off all transistors to prevent 'shoot-through'—a state where high-side and low-side transistors conduct simultaneously, creating a dead short across the power supply.
Implementing Dead-Time in C++
When switching from FORWARD to REVERSE, insert a 10-microsecond dead-time delay. While the internal protection diodes and MOSFET switching speeds on the TB6612FNG offer some hardware-level tolerance, relying on software dead-time prevents voltage spikes that can reset your microcontroller.
void setMotorDirection(int direction) {
  if (direction == FORWARD) {
    digitalWrite(IN1, LOW);
    digitalWrite(IN2, LOW);
    delayMicroseconds(10); // Dead-time to prevent shoot-through
    digitalWrite(IN1, HIGH);
    digitalWrite(IN2, LOW);
  } else if (direction == REVERSE) {
    digitalWrite(IN1, LOW);
    digitalWrite(IN2, LOW);
    delayMicroseconds(10); // Dead-time
    digitalWrite(IN1, LOW);
    digitalWrite(IN2, HIGH);
  } else {
    digitalWrite(IN1, LOW);
    digitalWrite(IN2, LOW);
  }
}
PWM Frequency Optimization
The default Arduino `analogWrite()` function generates a PWM signal at approximately 490 Hz. For motor control, this frequency is often too low, resulting in an audible, high-pitched whine from the motor coils.
Configuration Fix: Use Timer1 registers to increase the PWM frequency to 20 kHz, which is above the threshold of human hearing. The TB6612FNG handles 20 kHz effortlessly due to its fast MOSFET switching times. The L298N can also handle 20 kHz, but you may notice a slight increase in switching losses and chip temperature.
Troubleshooting Common Configuration Errors
Even with perfect code, physical layer issues frequently plague motor control setups. Use this checklist to diagnose erratic behavior:
- The 'Brownout' Reset Loop: Symptom: Arduino restarts when the motor starts. Cause: Motor startup inrush current causes a voltage sag on the shared power rail. Fix: Isolate the motor power supply from the Arduino power supply, or add a large bulk capacitor (e.g., 1000µF, 25V) across the VM and GND terminals on the motor control board.
- Missing Common Ground: Symptom: Motor twitches randomly or ignores logic commands. Cause: The logic signals from the Arduino are not referenced to the motor driver's ground. Fix: Run a dedicated ground wire from the Arduino GND pin to the motor driver GND terminal.
- Inductive Kickback Damage: Symptom: Driver works for a week, then one channel permanently dies. Cause: While the L298N has internal flyback diodes, they are relatively slow. High-inductance motors can generate voltage spikes that exceed the 35V limit. Fix: Solder external Schottky diodes (like the 1N5819) in reverse parallel across the motor terminals.
By understanding the underlying silicon architecture—whether BJT or MOSFET—and respecting the electrical boundaries of VM, VCC, and PWM frequencies, you can configure an arduino motor control board that is both highly efficient and exceptionally reliable for years of continuous operation.