
The SRAM Wall: Why Basic Arrays Crash 8-Bit Microcontrollers
Every maker eventually hits the same invisible wall when scaling up an array Arduino project. You start with a simple sensor reading sketch on an Arduino Uno (ATmega328P), and everything works perfectly. But the moment you attempt to store a time-series dataset—say, an array of 1,000 integer readings for a moving average filter or an FFT analysis—the microcontroller silently resets, locks up, or outputs garbage data to the serial monitor.
This is not a bug in your code; it is a fundamental hardware limitation. The ATmega328P features exactly 2,048 bytes of SRAM. Because a standard int on an 8-bit AVR architecture consumes 2 bytes, an array declared as int sensorData[1000]; immediately consumes 2,000 bytes. This leaves only 48 bytes for the stack, heap, and core system variables, virtually guaranteeing a stack collision and a catastrophic crash.
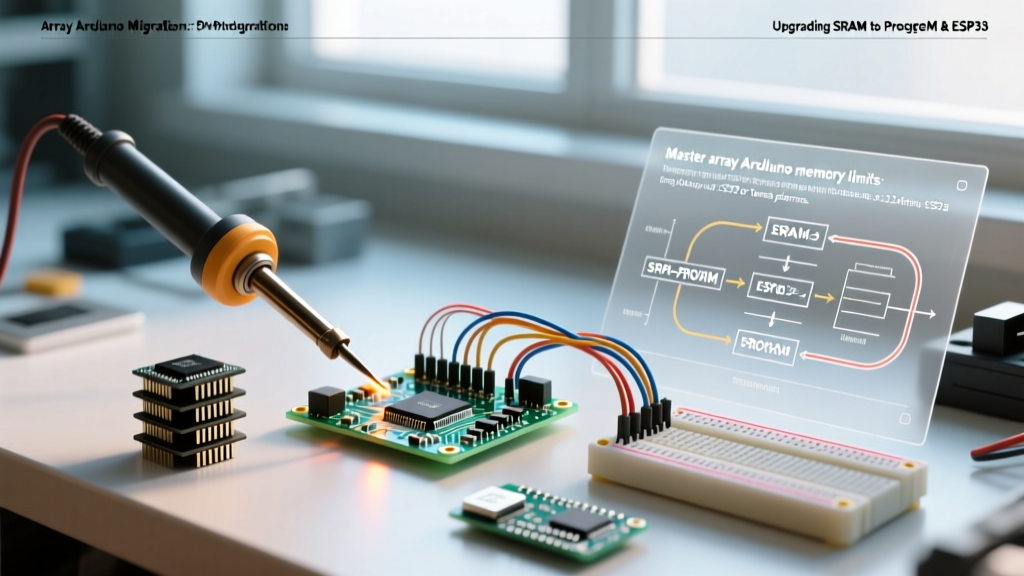
As we navigate the embedded landscape in 2026, relying on raw, unmanaged arrays in SRAM on legacy 8-bit boards is no longer viable for data-heavy applications. This migration guide details the exact software optimizations and hardware upgrades required to scale your array-based projects from fragile prototypes to robust, production-ready systems.
Phase 1: Software Migration — Escaping SRAM via PROGMEM
If your array consists of static, read-only data—such as lookup tables for thermistor linearization, pre-computed sine waves for DDS audio generation, or bitmap graphics for an OLED display—you must migrate this data out of SRAM and into Flash memory.
The ATmega328P has 32KB of Flash memory. By utilizing the PROGMEM keyword, you instruct the GCC compiler to store the array in program space rather than volatile SRAM.
Implementing PROGMEM for Read-Only Arrays
#include <avr/pgmspace.h>

// Standard array (Consumes 200 bytes of precious SRAM)
// int sineWave[100] = { ... };

// Upgraded array (Stored in Flash, 0 bytes SRAM used at runtime)
const int sineWave[100] PROGMEM = {
  0, 6, 12, 18, 25, 31, 37, 43, 49, 56,
  // ... remaining 90 values
};

void setup() {
  Serial.begin(115200);
  // INCORRECT: int val = sineWave[5]; (Will read garbage from SRAM)

  // CORRECT: Use pgm_read_word_near to fetch from Flash
  int val = pgm_read_word_near(&sineWave[5]);
  Serial.println(val);
}
Expert Migration Tip: When migrating multi-dimensional arrays to PROGMEM, you must read the data one byte or word at a time. For complex structs or 2D arrays, consider flattening the array into a 1D structure and calculating the index mathematically using (row * width) + col to simplify pointer arithmetic and reduce overhead.
Phase 2: Algorithmic Upgrades — Ring Buffers vs. Dynamic Allocation
When dealing with streaming data (e.g., continuous ADC sampling), you cannot use PROGMEM because the data is generated at runtime. Many developers attempt to solve this by using dynamic memory allocation (malloc() or new) or by shifting array elements down by one index every time a new reading arrives. Both approaches are fatal on 8-bit AVRs.
The Danger of Array Shifting and Heap Fragmentation
Shifting a 500-element array using a for loop requires thousands of CPU cycles per sample, destroying your sampling rate. Furthermore, using malloc() to resize arrays dynamically leads to heap fragmentation. On a 2KB SRAM chip, fragmented memory will quickly result in allocation failures, even if the total free memory technically appears sufficient.
The professional migration path is the Circular Buffer (Ring Buffer). A ring buffer uses a fixed-size array allocated once at compile time, paired with two pointers (head and tail). When the head reaches the end of the array, it wraps around to index 0. This requires zero memory shifting and zero dynamic allocation.
Memory Footprint Calculation Matrix
Before declaring your arrays, you must calculate the exact memory footprint based on your target architecture. Note that data type sizes change drastically when migrating from 8-bit AVR to 32-bit ARM/RISC-V boards.
- char / byte: 1 byte (Universal across AVR and ARM)
- int: 2 bytes on AVR (ATmega328P) | 4 bytes on ARM/RISC-V (ESP32, Teensy, Uno R4)
- long: 4 bytes (Universal)
- float: 4 bytes (Universal)
- double: 4 bytes on AVR (mapped to float) | 8 bytes on ARM/RISC-V (true 64-bit precision)
Migration Action: If you are porting code from an Uno to an ESP32, an array of 1,000 int variables will suddenly consume 4,000 bytes instead of 2,000 bytes. Always use explicitly sized types like int16_t or int32_t from <stdint.h> to guarantee predictable memory allocation across different hardware architectures.
Phase 3: Hardware Migration — Scaling to 32-Bit Architectures
Software optimizations like PROGMEM and ring buffers are essential, but they have ceilings. If your project requires storing tens of thousands of data points, running machine learning inference via TensorFlow Lite for Microcontrollers, or buffering high-speed I2S audio, you must migrate your array Arduino code to a 32-bit microcontroller with a broader memory bus and deeper SRAM pools.
2026 MCU Hardware Comparison for Array-Heavy Workloads
| MCU Model | Architecture | Internal SRAM | PSRAM Support | 2026 Street Price | Ideal Array Use Case |
|---|---|---|---|---|---|
| Arduino Uno R4 Minima | 32-bit ARM Cortex-M4 | 32 KB | No | $18.00 | Mid-size buffers, basic FFT, PID control arrays |
| ESP32-S3 DevKitC-1 | 32-bit RISC-V Dual-Core | 512 KB | Up to 8 MB (Octal) | $6.50 | Audio buffering, camera frame arrays, ML tensors |
| Teensy 4.1 | 32-bit ARM Cortex-M7 (600MHz) | 1 MB | Up to 8 MB (via bottom pads) | $28.50 | High-speed DSP, massive lookup tables, real-time OS queues |
| Arduino Nano 33 BLE Sense Rev2 | 32-bit ARM Cortex-M4 | 256 KB | No | $36.00 | On-device TinyML, sensor fusion arrays |
Migrating to the ESP32-S3 with PSRAM
The ESP32-S3 represents the highest price-to-performance ratio for array-heavy tasks in 2026. While it features 512KB of internal SRAM, its true power lies in its support for external Pseudo-Static RAM (PSRAM). By adding an 8MB PSRAM chip (often pre-soldered on DevKit boards for under $8), you can allocate massive arrays that would physically melt an 8-bit AVR.
To allocate an array in PSRAM on the ESP32 using the Arduino core, you must use specific heap allocation functions rather than standard global declarations:
// Allocate a 1-Megabyte byte array directly in external PSRAM
uint8_t* massiveDataArray = (uint8_t*)ps_malloc(1024 * 1024);

if(massiveDataArray == NULL) {
  Serial.println("PSRAM Allocation Failed!");
} else {
  Serial.println("1MB Array successfully allocated in PSRAM.");
  // Use the array normally via pointer arithmetic
  massiveDataArray[0] = 255;
}
For a comprehensive understanding of how the ESP32 manages its complex memory bus, refer to the official Espressif ESP32-S3 Memory Types Guide, which details the distinctions between internal DRAM, IRAM, and external SPI/PSRAM.
Edge Cases and Debugging Out-Of-Memory (OOM) Failures
When migrating large array codebases, silent failures are your biggest enemy. Unlike desktop environments that throw an 'Out of Memory' exception, embedded microcontrollers simply overwrite critical memory sectors. Here are the specific failure modes to watch for:
1. The Stack-Heap Collision
On the ATmega328P, the stack grows downward from the top of SRAM, while the heap (and global arrays) grows upward from the bottom. If a global array is too large, the stack will overwrite the array during function calls, corrupting your data without triggering a reset. Solution: Use the AvailableMemory() function during development to monitor the gap between the stack pointer and the heap end.
2. Watchdog Timer (WDT) Resets
Initializing a massive array in the setup() loop using a for loop can take longer than the hardware watchdog timer's timeout threshold (typically 8 seconds on AVRs). The MCU will assume it has locked up and reboot endlessly. Solution: Break large initialization routines into chunks, or rely on hardware DMA (Direct Memory Access) on 32-bit boards like the Teensy 4.1 to handle memory filling in the background. PJRC provides an excellent breakdown of this in their Teensy Memory and CPU Usage documentation.
3. Cache Misses in External PSRAM
When upgrading to the ESP32 or Teensy with PSRAM, remember that external RAM is accessed via SPI/QSPI buses, which are significantly slower than internal SRAM. Iterating through a massive 4MB array sequentially will cause severe cache thrashing. Solution: Structure your arrays as arrays of structs (AoS) or structs of arrays (SoA) to maximize cache-line hits, and process data in blocks that fit within the MCU's internal L1/L2 cache (usually 16KB to 64KB).
Final Migration Checklist
Before deploying your upgraded array Arduino project to the field, run through this verification checklist:
- Replace raw types: Swap
intandfloatforint16_t,uint32_t, etc., to ensure cross-platform memory consistency. - Audit constants: Move all read-only arrays, strings, and lookup tables to
PROGMEM(AVR) orconst(ARM/RISC-V). - Eliminate shifting: Replace linear array shifting with circular ring buffers for streaming data.
- Verify boundaries: Implement strict bounds-checking on all array indices, especially when parsing external serial or MQTT payloads.
- Stress-test SRAM: Use the Arduino Memory Guide utilities to log free RAM over a 24-hour soak test to check for slow memory leaks.
By treating memory not as an infinite sandbox but as a strictly managed resource, you transition from writing fragile sketches to engineering resilient, scalable embedded systems capable of handling the rigorous data demands of modern IoT and edge-computing applications.