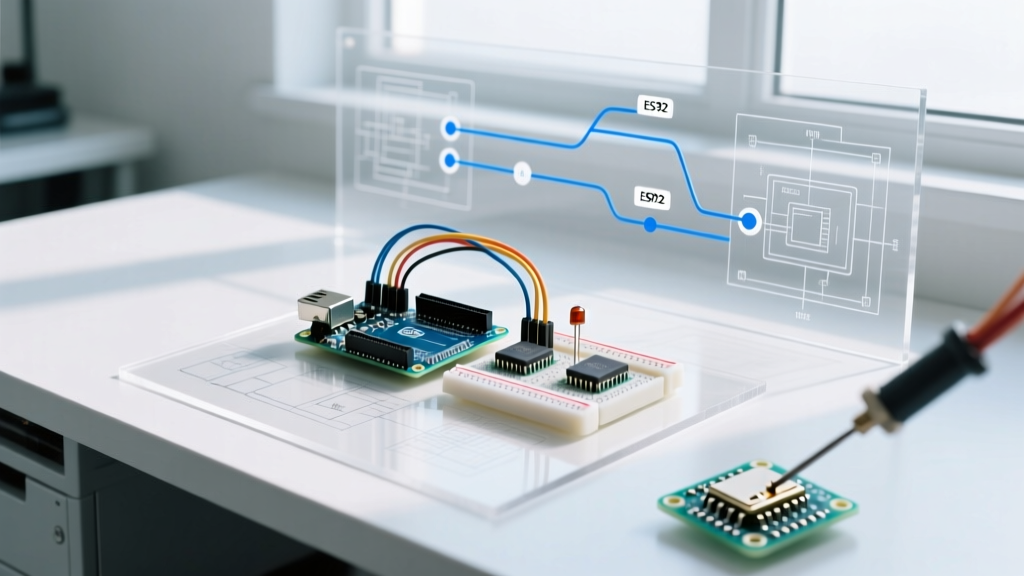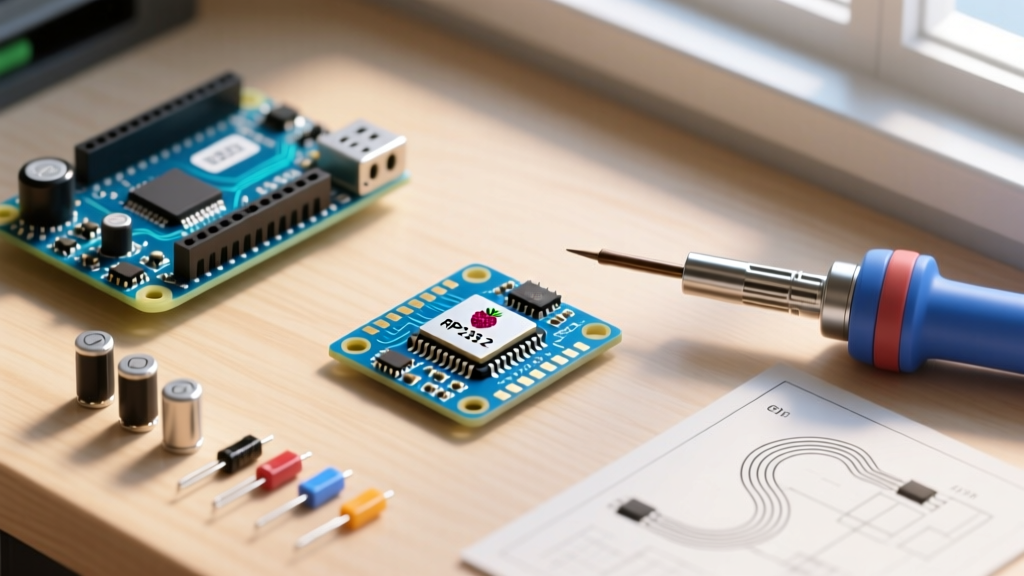

Defining the 'Arduino of Raspberry Pi'
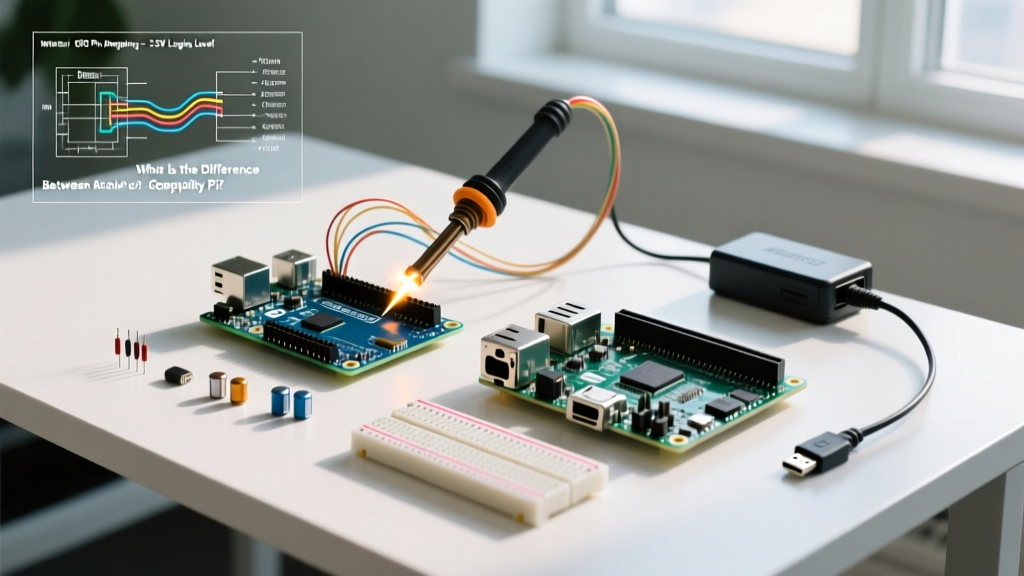
When embedded engineers, educators, and hobbyists search for the arduino of raspberry pi, they are typically looking for the microcontroller equivalent to the Raspberry Pi single-board computer ecosystem. While Raspberry Pi is famous for its Linux-powered SBCs (like the Pi 4 and Pi 5), their dedicated microcontroller line is the Raspberry Pi Pico series. As of 2026, the definitive answer to this query is the Raspberry Pi Pico 2, powered by the RP2350 chip.
Migrating from a classic ATmega328P-based Arduino Uno to the RP2350 ecosystem is one of the most cost-effective upgrades a maker can make. You gain a dual-core 150MHz processor, 520KB of SRAM, and advanced security features, all while retaining the familiar Arduino IDE workflow. However, this migration is not a simple drop-in replacement. It requires careful attention to logic voltage levels, pinout mapping, and core library differences.
Hardware Comparison Matrix: Classic Arduino vs. Pico 2
Before rewriting your sketches, it is crucial to understand the hardware deltas. The table below contrasts the legacy Arduino Uno R3, the modern Uno R4 Minima, and the Raspberry Pi Pico 2.
| Feature | Arduino Uno R3 | Arduino Uno R4 Minima | Raspberry Pi Pico 2 (RP2350) |
|---|---|---|---|
| Microcontroller | ATmega328P | Renesas RA4M1 | RP2350 (Dual-Core M33 / RISC-V) |
| Clock Speed | 16 MHz | 48 MHz | 150 MHz |
| SRAM | 2 KB | 32 KB | 520 KB |
| Flash Storage | 32 KB | 256 KB | 4 MB (External QSPI) |
| Logic Voltage | 5V | 5V | 3.3V |
| Typical Price (2026) | $27.50 | $22.00 | $5.00 |
For deep hardware specifications and architectural whitepapers, refer to the official Raspberry Pi Pico Documentation.
Phase 1: Hardware Migration and Logic Level Translation
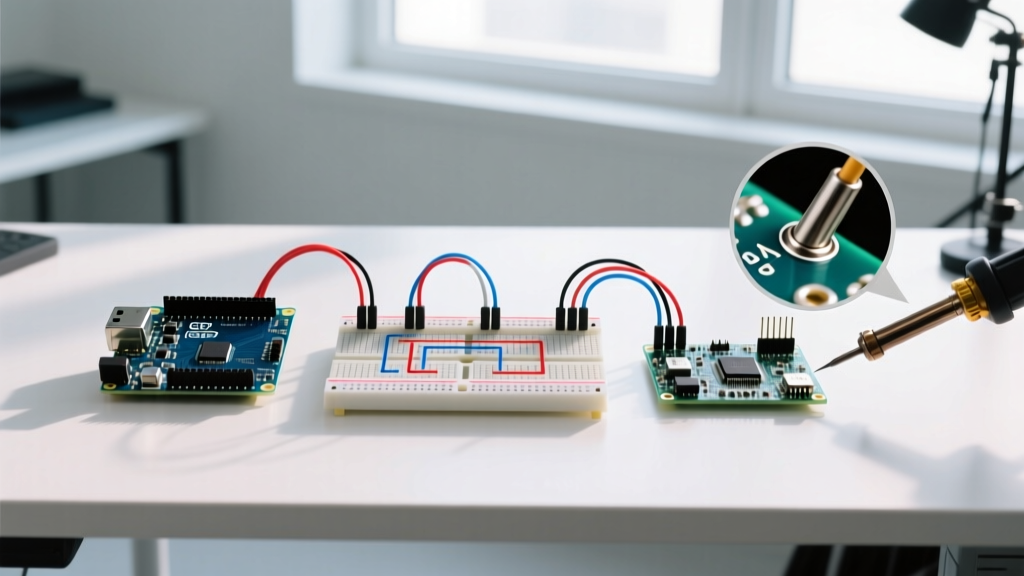
The most common point of failure when migrating to the 'arduino of raspberry pi' is ignoring the logic voltage shift. The Arduino Uno operates at 5V logic. The Pico 2 operates strictly at 3.3V. Feeding a 5V signal into a Pico GPIO pin will permanently damage the RP2350 silicon.
Handling 5V Sensors and Modules
If your existing project uses 5V modules (like the HC-SR04 ultrasonic sensor or standard 16x2 I2C LCDs), you must implement logic level shifting.
- Unidirectional Signals (e.g., Trigger pins, Relays): Use a simple voltage divider with a 1kΩ and 2kΩ resistor to step 5V down to ~3.3V. Cost: ~$0.10.
- Bidirectional Signals (e.g., I2C, SPI): Do not use resistor dividers for high-speed bidirectional buses. Use a dedicated level-shifting IC like the TXB0108 or build a dual-MOSFET circuit using BSS138 N-channel MOSFETs with 10kΩ pull-up resistors. A pre-built BSS138 breakout board costs roughly $1.50 and safely translates I2C buses between 5V and 3.3V domains.
Analog Input Considerations
The Arduino Uno features six 10-bit ADC channels referenced to 5V. The Pico 2 features three 12-bit ADC channels referenced to 3.3V. If you are reading a 5V analog sensor (like a standard potentiometer wired to 5V), you must step the voltage down to 3.3V before it reaches the Pico's ADC pin, or you risk clipping the reading and damaging the pin.
Phase 2: Arduino IDE 2.x Configuration
The Raspberry Pi Foundation does not maintain the primary Arduino core for their microcontrollers. Instead, the community relies on the phenomenal work of Earle Philhower. To program the Pico 2 using the Arduino IDE, you must install his core.
Step-by-Step Board Manager Setup
- Open Arduino IDE 2.x and navigate to File > Preferences.
- In the 'Additional Boards Manager URLs' field, paste the following URL:
https://github.com/earlephilhower/arduino-pico/releases/download/global/package_rp2040_index.json - Open the Boards Manager (Ctrl+Shift+B) and search for Raspberry Pi Pico/RP2040.
- Install the latest version of the Earle Philhower arduino-pico core. This core fully supports both the legacy RP2040 and the newer RP2350 chips.
- Select Raspberry Pi Pico 2 from the board dropdown menu.
Phase 3: Code Adaptation and API Differences
While the core Arduino API (digitalWrite, delay, Serial.print) remains identical, peripheral libraries require specific modifications to compile and run correctly on the RP2350.
1. Fixing Analog Read Resolutions
Legacy Arduino code expects analogRead() to return a value between 0 and 1023 (10-bit). The Pico 2 returns a 12-bit value (0 to 4095). If your code uses mapping functions based on 1023, your logic will break.
The Fix: Add analogReadResolution(10); inside your setup() function. This forces the RP2350 ADC driver to right-shift the 12-bit result, perfectly emulating the classic Arduino Uno behavior without requiring you to rewrite your math logic.
2. I2C Wire Library Pin Mapping
On an Arduino Uno, I2C pins are hardcoded to A4 (SDA) and A5 (SCL). The RP2350 features a highly flexible GPIO matrix, meaning I2C can be routed to almost any pin. Consequently, the Arduino core does not assume default pins.
The Fix: You must explicitly declare your I2C pins in the setup() block before calling Wire.begin().
Wire.setSDA(4);  // Assign GPIO 4 as SDA
Wire.setSCL(5);  // Assign GPIO 5 as SCL
Wire.begin();
3. PWM Frequency and Audio Output
The default PWM frequency on the Arduino Uno is roughly 490 Hz. The RP2350 defaults to a much higher frequency, and its PWM architecture is tied to specific hardware slices. If you are using analogWrite() to drive an audio amplifier or a specific motor controller that expects a lower frequency, you must configure the PWM wrap values manually using the pwm_set_wrap() functions provided by the Pico C/C++ SDK, which is accessible directly within the Arduino environment.
Expert Insight: Programmable I/O (PIO)
The true power of the 'arduino of raspberry pi' lies in the PIO state machines. Unlike hardware timers on the ATmega328P, PIO allows you to write tiny assembly-like programs that run independently of the main CPU cores. You can use PIO to generate precise WS2812B LED timing, implement custom VGA output, or create hardware UARTs on any GPIO pin, all without consuming CPU cycles or triggering interrupts.
Common Migration Failure Modes & Troubleshooting
Even with perfect code adaptation, hardware edge cases can stall your migration. Keep this troubleshooting matrix handy:
| Symptom | Root Cause | Solution |
|---|---|---|
I2C device not found / Wire hangs indefinitely |
Missing pull-up resistors on SDA/SCL lines. | Add 4.7kΩ pull-up resistors to the 3.3V rail. The Pico internal pull-ups are too weak (~50kΩ) for reliable I2C. |
| Board fails to enter bootloader mode for flashing | USB cable is charge-only, or BOOTSEL button timing is off. | Use a verified data-sync USB-C cable. Hold BOOTSEL while plugging in, then release. |
| Serial Monitor prints garbage characters | USB Serial vs. Hardware UART confusion. | Ensure you are using Serial (USB CDC) and not Serial1 (Hardware UART on GPIO 0/1) for debug printing. |
| Random reboots during high-current switching | Voltage droop on the 3.3V LDO rail. | The Pico's onboard 3.3V regulator is rated for ~300mA. Use an external buck converter for heavy loads like servos. |
Final Verdict: Is the Migration Worth It?
Migrating to the 'arduino of raspberry pi'—specifically the Raspberry Pi Pico 2—is highly recommended for almost all new projects in 2026. At just $5.00, it offers a staggering price-to-performance ratio that the $27.50 Arduino Uno R4 Minima struggles to beat. While the initial migration requires a few hours of rewriting I2C declarations, managing 3.3V logic levels, and adapting ADC resolutions, the payoff in processing power, memory, and advanced features like PIO is immense. By leveraging the Earle Philhower Arduino core, you retain the ease of the Arduino IDE while unlocking enterprise-grade microcontroller capabilities.