
The Evolution of MCU Audio: Why Migrate to Arduino Mozzi V2?
For years, the Arduino Mozzi library has been the gold standard for generating complex, low-latency audio synthesis on microcontrollers. Originally designed to squeeze pulse-width modulation (PWM) audio out of the ATmega328P, Mozzi opened the door for DIY synthesizers, granular delays, and algorithmic soundscapes on $5 boards. However, as the maker ecosystem has shifted toward 32-bit ARM and Xtensa architectures in 2026, the original V1 library has become a bottleneck.
Migrating to Arduino Mozzi V2 is no longer optional if you want to leverage modern hardware. V2 abandons the AVR-centric timer-hacking approach in favor of hardware-agnostic audio backends, native I2S support, and true 16-bit digital-to-analog conversion (DAC). This guide provides a comprehensive migration roadmap, covering API breaking changes, hardware upgrade matrices, and exact wiring schematics for external DACs.
API Breaking Changes: V1 vs V2 Code Migration
The most immediate hurdle when upgrading your existing sketches is the refactored API. Mozzi V2 introduces a more object-oriented approach and removes the need for blocking audio hooks in your main loop, relying instead on background DMA (Direct Memory Access) or hardware interrupts depending on the core.
| Feature | Mozzi V1 (Legacy) | Mozzi V2 (Current) |
|---|---|---|
| Initialization | startMozzi(CONTROL_RATE); |
Mozzi.start(CONTROL_RATE); |
| Main Loop Hook | audioHook(); required in loop() |
Removed. Handled by background tasks/ISRs. |
| Audio Output Config | Hardcoded to Pin 9 (AVR) | Configurable via mozzi_config.h or board defs |
| Sample Rate | Fixed at 16384 Hz (AVR) | Up to 44100+ Hz (ESP32/Teensy) |
Refactoring Your Setup and Loop
In V1, your loop() function was essentially a slave to the audio engine, requiring audioHook() to be called on every iteration to prevent buffer underruns. In V2, the audio engine runs asynchronously. Your loop() is now free to handle complex UI logic, MIDI parsing, or display updates without causing audio stuttering.
// V2 Migration Example
#include <Mozzi.h>

void setup() {
  // Initialize Mozzi with a control rate of 64Hz
  Mozzi.start(64);
}

void loop() {
  // No audioHook() needed!
  // Use this space for non-blocking sensor reads or MIDI handling.
}
Hardware Upgrade Matrix: Moving Beyond the ATmega328P
If you are still running Arduino Mozzi on an Uno R3 or Nano, you are limited to 8-bit resolution and a 16.3kHz sample rate, which introduces significant PWM carrier noise and aliasing. Upgrading your microcontroller is the single most effective way to improve your synth's audio fidelity. Below is a 2026 hardware comparison for Mozzi deployments.
| Microcontroller | Architecture | Audio Output Method | Max Sample Rate | Avg Cost (2026) |
|---|---|---|---|---|
| Arduino Uno R3 | 8-bit AVR | PWM (Pin 9) | 16,384 Hz | $25.00 |
| Arduino Uno R4 WiFi | 32-bit ARM Cortex-M4 | 12-bit True DAC | 32,000 Hz | $27.50 |
| ESP32-S3 DevKit | 32-bit Dual-Core Xtensa | I2S (External DAC) | 44,100 Hz | $9.00 |
| Teensy 4.0 | 32-bit ARM Cortex-M7 | 16-bit True DAC | 44,100+ Hz | $23.00 |
For complex polyphonic synths or granular processing, the Teensy 4.0 remains the undisputed champion due to its 600MHz clock speed and native 16-bit DAC. However, for budget-conscious makers building connected IoT instruments, the ESP32-S3 paired with an external I2S DAC offers the best price-to-performance ratio. According to the Mozzi GitHub Repository, V2 has vastly improved ESP32 I2S stability, making it a production-ready choice.
Step-by-Step: Wiring an I2S DAC for ESP32 Mozzi
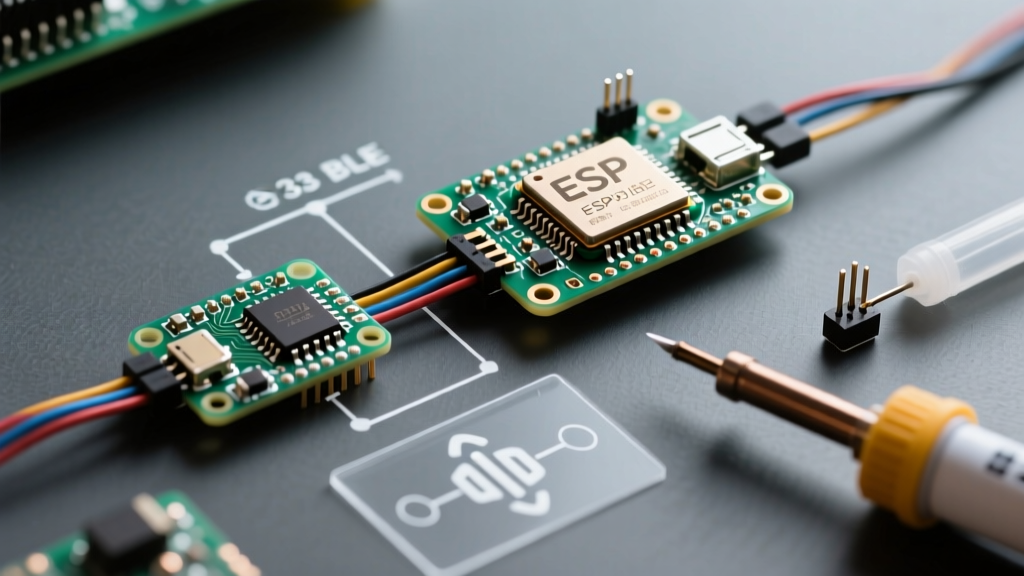
The ESP32 does not have a built-in DAC capable of high-fidelity audio. To use Arduino Mozzi V2 on an ESP32, you must route the digital audio stream via I2S to an external DAC module. The PCM5102A (approx. $4.50) or the MAX98357A (approx. $3.00, includes an amplifier) are the standard choices.
PCM5102A Pinout and Wiring
When wiring the PCM5102A to an ESP32-S3, you must define the I2S pins in your Mozzi configuration. Avoid using default strapping pins (like GPIO 0, 3, or 12) to prevent boot failures.
- VCC: Connect to 5V (or 3.3V depending on module regulator)
- GND: Connect to ESP32 GND
- BCK (Bit Clock): Connect to GPIO 26
- LCK (Word Select / LRCLK): Connect to GPIO 25
- DIN (Serial Data): Connect to GPIO 22
- SCK (System Clock): Tie to GND (PCM5102A has an internal PLL)
Expert Tip: The PCM5102A module often has solder jumpers on the back. Ensure the FLT (Filter) jumper is set to Normal, and the FMT (Format) jumper is set to I2S (usually tied to GND). If left floating, the DAC may output severe digital noise or no audio at all.
Configuring Mozzi for ESP32 I2S
To tell Mozzi V2 to use these specific pins, create or modify the mozzi_config.h file in your sketch directory before including the main Mozzi header:
#ifndef MOZZI_CONFIG_H
#define MOZZI_CONFIG_H

#define MOZZI_AUDIO_MODE MOZZI_I2S
#define MOZZI_I2S_BCK_PIN 26
#define MOZZI_I2S_WS_PIN 25
#define MOZZI_I2S_DATA_PIN 22
#define MOZZI_AUDIO_BITS 16
#define MOZZI_AUDIO_RATE 44100

#endif
Troubleshooting Common Migration Failures
Upgrading hardware and library versions inevitably introduces edge cases. Here are the most frequent failure modes encountered during Arduino Mozzi migrations and their exact solutions.
1. I2S Buffer Underruns and Audio Popping (ESP32)
Symptom: Audio plays but features rhythmic clicking, popping, or sudden dropouts, especially when reading analog sensors or polling WiFi.
Cause: The ESP32's FreeRTOS is starving the I2S DMA buffer because the control rate or sensor polling is blocking the core.
Fix: In Mozzi V2, increase the I2S DMA buffer count. Add #define MOZZI_I2S_DMA_BUF_COUNT 4 to your config. Additionally, ensure you are reading sensors inside updateControl() rather than the main loop(), as Mozzi schedules this function precisely at your defined control rate (e.g., 64Hz or 128Hz), preventing CPU starvation.
2. Timer Conflicts on Legacy AVR Boards
Symptom: You migrated your code to V2 on an Uno, but your servos or PWM LEDs stopped working.
Cause: Mozzi aggressively hijacks Timer 1 to generate its 16kHz PWM audio carrier and interrupt service routines. The standard Arduino Servo.h library also relies on Timer 1.
Fix: Never use Servo.h alongside Mozzi on AVR. Instead, install the ServoTimer2 library via the IDE Library Manager, which shifts servo control to Timer 2, leaving Timer 1 exclusively for audio generation.
3. Aliasing and High-Frequency Whine
Symptom: A persistent 16kHz or 32kHz high-pitched whine in the audio output.
Cause: This is the PWM carrier frequency bleeding into the audio path, common when using raw PWM output without a low-pass filter.
Fix: If you are forced to use PWM output on an AVR or RP2040, you must build a hardware RC low-pass filter. A simple 1st-order filter using a 1kΩ resistor and a 10nF ceramic capacitor (cutoff frequency ~15.9kHz) will attenuate the carrier wave. For professional results, bypass PWM entirely and migrate to the I2S DAC setup detailed above.
Final Thoughts on Synth Architecture
Migrating to Arduino Mozzi V2 is a mandatory step for any serious MCU audio project in 2026. By decoupling the audio engine from the main execution loop and embracing 32-bit I2S architectures, you unlock studio-grade sample rates and polyphony that were impossible on legacy 8-bit chips. For further reading on advanced audio routing and effects chains, consult the PJRC Teensy Audio Library Documentation, which pairs exceptionally well with Mozzi for hybrid synthesis architectures. Always refer to the Official Mozzi Documentation for the latest board-specific quirks and patch examples.