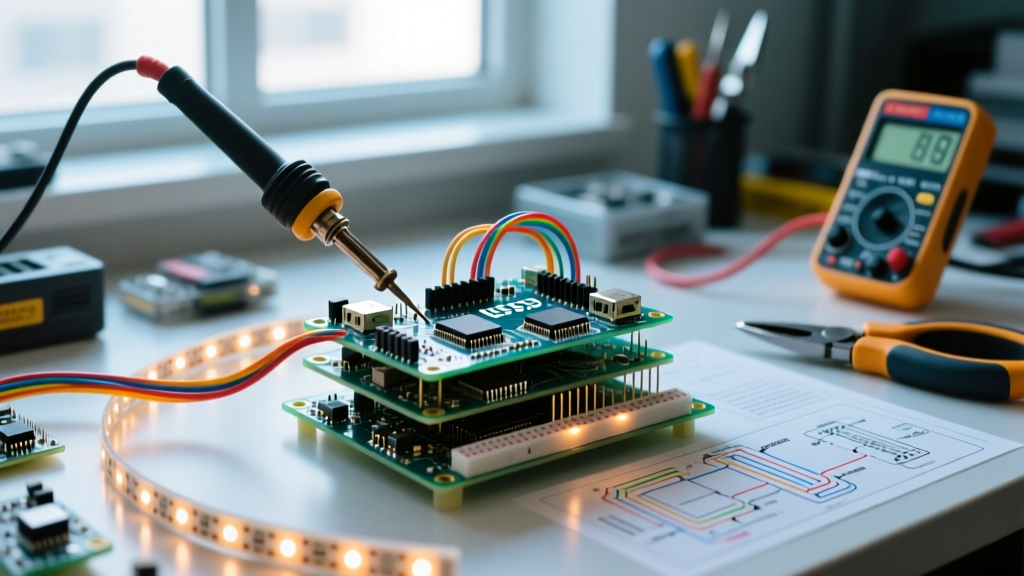

The landscape of addressable lighting has evolved dramatically. What started as simple blink sketches on an ATmega328P has transformed into complex spatial computing, high-refresh-rate persistence of vision (POV) displays, and synchronized ambient lighting. If you are diving into an LED Arduino project in 2026, relying on outdated tutorials from a decade ago will lead to frustrating hardware bottlenecks and memory crashes.
This community resource roundup curates the most reliable hardware stacks, battle-tested libraries, and advanced troubleshooting frameworks recommended by the maker community today. Whether you are wiring a 5-meter strip for a desk setup or building a 10,000-pixel interactive matrix, this guide provides the actionable specifics you need to succeed.
The 2026 Hardware Stack: What the Community is Actually Using
Choosing the right addressable LED protocol is the most critical decision in your build. While the WS2812B remains the budget king, high-end community projects have largely migrated to dual-wire protocols to eliminate flicker and timing issues. Below is a comparison of the three dominant ICs used in modern LED Arduino builds.
| LED IC Model | Protocol & Refresh | 2026 Avg. Price (5m Roll, 60LED/m) | Best Community Use Case |
|---|---|---|---|
| WS2812B (BTF3005) | 1-Wire (800 kHz) | $12 - $16 | Budget cosplay, basic room accents, low-density matrices. |
| APA102 (DotStar) | 2-Wire SPI (20 MHz) | $35 - $45 | High-speed POV wands, camera-synced lighting, long data runs. |
| SK9822 | 2-Wire SPI (30 MHz) | $28 - $38 | Smooth low-brightness dimming (solves APA102 color-shift issues). |
Expert Insight: If your project requires smooth, low-level dimming (below 10% brightness), avoid the APA102. The community heavily favors the SK9822 for these scenarios. The SK9822 features a 5-bit global current control register that prevents the aggressive PWM color-shifting and banding artifacts notorious in the APA102's low-grayscale ranges.
Essential Community Libraries for LED Arduino Control
The software ecosystem for addressable LEDs is mature, but picking the wrong library for your specific microcontroller can result in severe performance penalties. Here are the undisputed heavyweights in 2026.
1. FastLED (v3.9.x)
FastLED remains the gold standard for custom C++ Arduino sketches. Its mathematical color manipulation tools (like CHSV to CRGB conversions and noise functions) are unparalleled. However, the community constantly warns about SRAM limitations. An Arduino Uno or Nano only has 2KB of SRAM. Since each CRGB object consumes 3 bytes, the absolute maximum array size is roughly 666 LEDs before you trigger a stack collision and crash the MCU. For larger arrays, the community mandates upgrading to an ESP32-S3 or Teensy 4.1, which offer 512KB+ of SRAM.
2. WLED (For ESP32 Ecosystems)
While technically an independent firmware, WLED is heavily integrated into the LED Arduino community. Instead of writing custom timing loops, makers flash WLED onto an ESP32 and use its robust JSON API to control the LEDs via Home Assistant or custom Python scripts. WLED natively supports over 100 LED types and handles complex tasks like gamma correction and multi-pin output natively.
Top 3 Community-Built LED Arduino Projects to Replicate
Looking for inspiration? These three projects represent the pinnacle of community-shared knowledge, complete with open-source BOMs (Bill of Materials) and wiring diagrams.
- The Interactive Capacitive Coffee Table: Using an Arduino Mega and a MPR121 capacitive touch board, this project embeds a 144 LED/m WS2812B matrix under epoxy resin. The community innovation here is using the
FastLEDpalette interpolation to create fluid, water-like ripple effects exactly where a user places their mug. - Ultrawide Monitor Ambient Bias Lighting: Moving away from standard 16:9 screen capture, makers are using ESP32-S3 dev boards running WLED combined with a PC-side Python script (like Hyperion.ng) to map 21:9 and 32:9 ultrawide monitors. The SK9822 strip is preferred here for its high CRI (Color Rendering Index) and smooth dark-scene transitions.
- High-Frequency Persistence of Vision (POV) Wand: Swinging a wand to draw mid-air images requires extreme refresh rates. The community utilizes the APA102 strip driven by a Teensy 4.0 via hardware SPI, pushing data at 24 MHz. This eliminates the motion-blur tearing seen when attempting POV with 1-wire WS2812B strips.
Troubleshooting Edge Cases: Beyond the Basic 'It Won't Light Up'
When building a complex LED Arduino circuit, failure modes are rarely as simple as a disconnected wire. Here are the advanced troubleshooting steps for the most common community-reported edge cases.
Signal Degradation and 'First Pixel' Erratic Behavior
The Symptom: The first LED in the chain flickers, shows the wrong color, or causes the rest of the strip to glitch randomly, especially when using 3.3V microcontrollers like the ESP32 or Arduino Nano 33 IoT.
The Technical Fix: WS2812B LEDs require a logic high threshold (Vih) of at least 0.7 x VDD (which is 3.5V on a 5V strip). A 3.3V MCU is outputting a signal that is technically out of spec, leading to signal ringing and data corruption.
Solution: Wire a 74AHCT125 logic level shifter between your MCU data pin and the LED strip. Additionally, always solder a 220Ω to 470Ω series resistor as close to the first LED's DIN pad as possible to dampen high-frequency signal reflections.
Current Starvation and White Flashes
The Symptom: When the strip turns solid white or bright yellow, the colors shift to pink/red at the far end, or the microcontroller resets entirely.
The Technical Fix: A standard 5050 RGB LED draws roughly 60mA at full white. A 5-meter roll of 60LED/m pulls 18 Amps. The thin copper traces on standard LED strips (usually 2oz or 3oz copper) cannot carry this current without severe voltage drop. Furthermore, pulling 18A through a breadboard or thin jumper wires will melt them.
Solution: Implement power injection every 50 to 100 LEDs. Run 18AWG or 16AWG silicone wire directly from a high-amperage 5V power supply (like a Mean Well LRS-300-5) to both ends of the strip, and splice into the middle. Never inject more than 5A-8A into a single point on the strip's PCB traces to prevent thermal damage.
The 'Ground Loop' Reset Issue
The Symptom: The Arduino freezes or resets the moment the LED strip attempts to draw high current.
The Technical Fix: High transient current draws cause the ground potential to bounce. If the Arduino and the LED strip do not share a robust, common ground, the MCU's voltage regulator will brown out.
Solution: Ensure a thick ground wire connects the negative terminal of the LED power supply directly to the GND pin on the Arduino. Additionally, place a 1000µF electrolytic capacitor (rated for at least 10V) across the 5V and GND power rails near the start of the LED strip to act as a transient current buffer.
Authoritative Resources & Forums
To continue your education and find open-source schematics, the community relies on a few core hubs. Bookmark these authoritative resources for your 2026 builds:
- FastLED Official GitHub Repository: The primary source for the library, including advanced examples on parallel output and DMA-driven timing for ESP32 architectures.
- Adafruit NeoPixel Überguide: Despite being branded for NeoPixels, this guide contains the most comprehensive, electrically accurate breakdown of WS2812B power injection math, wiring diagrams, and level-shifting logic available on the web.
- The WLED Discord & GitHub: The most active real-time community for troubleshooting ESP-based LED Arduino setups, custom usermods, and audio-reactive firmware configurations.
By leveraging the right dual-wire ICs, respecting logic-level thresholds, and utilizing modern libraries like FastLED and WLED, your LED Arduino projects will transition from fragile prototypes to robust, installation-grade displays. Always prioritize power injection and signal integrity over adding more pixels, and your builds will run flawlessly for years to come.