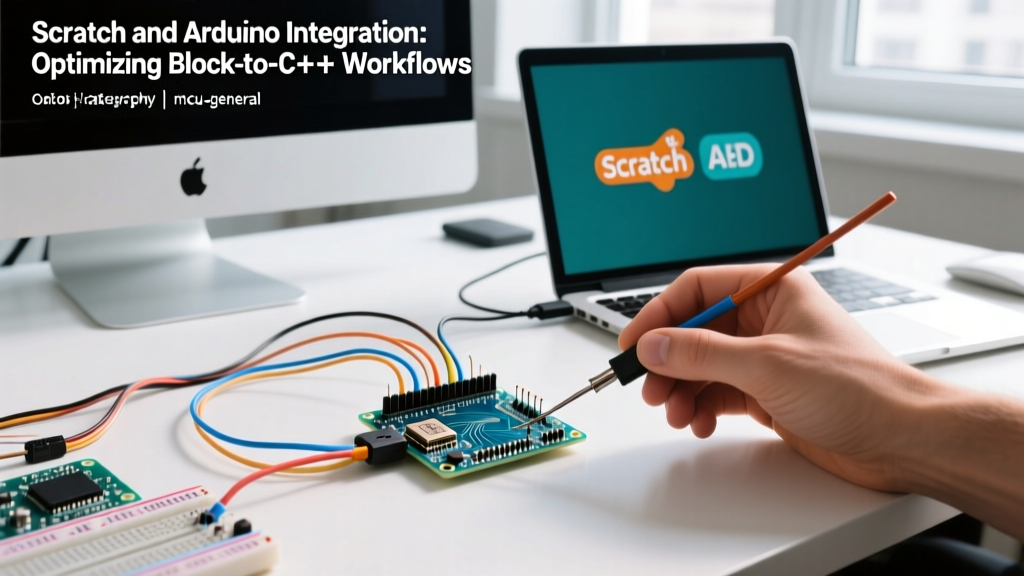

The Hidden Latency in Scratch and Arduino Integration
Visual programming environments have revolutionized how makers and educators approach microcontroller logic. However, when bridging the gap between a block-based canvas and physical hardware, developers frequently hit a wall: serial communication latency and buffer overflows. In 2026, with high-speed boards like the Arduino Uno R4 Minima ($27.50) and the dual-core Nano ESP32 ($18.00) dominating the market, the processing bottleneck is rarely the MCU itself. Instead, the bottleneck lies in the bridge software and the serial polling architecture.
Optimizing your scratch and arduino workflow requires moving beyond default plug-and-play configurations. By understanding packet framing, USB-serial converter latency, and block-to-C++ export strategies, you can transform a laggy educational toy into a robust rapid-prototyping environment.
Bridge Software Comparison: Choosing the Right Architecture
Not all bridge platforms handle serial data identically. The choice of software dictates your maximum baud rate, polling overhead, and ability to transition to native C++. Below is a comparison of the three dominant ecosystems for linking Scratch and Arduino.
| Platform | Bridge Method | Default Baud Rate | C++ Export Capability | Best Use Case |
|---|---|---|---|---|
| mBlock 5 (Makeblock) | Native Serial / BLE | 115200 | Excellent (Arduino IDE compatible) | Rapid prototyping & production transition |
| Snap4Arduino | Custom Firmata | 57600 | None (Snap-only) | Advanced logic & computer science education |
| Scratch 3.0 + Scratch Link | Web Bluetooth / HID | N/A (BLE/HID) | None | Wireless classroom deployments |
For workflow optimization focused on eventual hardware deployment, mBlock 5 remains the superior choice. It allows you to prototype in blocks and seamlessly export clean, compilable C++ code, bypassing the "Scratch ceiling" that traps many intermediate makers.
Optimizing the Serial Pipeline: Beyond StandardFirmata
The most common failure mode in scratch and arduino integrations is serial buffer overflow. StandardFirmata, the default protocol used by many bridges, relies heavily on SYSEX (System Exclusive) messages. A single analog sensor read using StandardFirmata requires a 4-byte payload. If you are polling six analog pins at 50Hz, you are pushing 1,200 bytes per second. When combined with the 1-2ms latency inherent in USB-serial converter chips (like the ATmega16U2 or CH340), the Scratch engine—which typically polls at 30fps (33ms intervals)—fails to clear the buffer fast enough, resulting in laggy actuators and stale sensor data.
The Custom 3-Byte Protocol Solution
To optimize your workflow, bypass StandardFirmata and write a custom, lightweight serial parser on the Arduino side. By stripping away SYSEX overhead, you can reduce payload sizes and eliminate lag.
Implement a strict 3-byte framing protocol:
- Byte 1 (Header):
0xFF(Synchronization marker) - Byte 2 (Command/Pin):
0x01to0x0E(Identifies the sensor or actuator) - Byte 3 (Value):
0x00to0xFF(Scaled 8-bit data)
This reduces the payload per sensor from 4 bytes to 3 bytes, and more importantly, allows the Scratch extension to use a simple state-machine to read incoming bytes without waiting for complex termination characters.
Workflow Transition: From Visual Blocks to Native C++
The ultimate goal of an optimized scratch and arduino workflow is to use visual blocks strictly for logic validation, not for final deployment. Block-based code is inherently blocking; it struggles with concurrent multitasking. Once your logic is validated in Scratch, follow this transition framework:
Step 1: Export and Audit
Use the "Upload Mode" in mBlock to generate the underlying C++ code. Open this code in the official Arduino IDE. You will immediately notice that the auto-generated code relies heavily on delay() functions to handle timing between block executions.
Step 2: Implement Non-Blocking Timers
Replace all auto-generated delay() calls with millis() based state machines. Visual programming environments mask the fact that a 500ms delay halts the entire MCU. In native C++, you must decouple sensor polling from actuator state changes.
Step 3: Optimize Interrupts
Scratch cannot handle hardware interrupts. If your prototype includes rotary encoders or high-speed flow sensors, the block environment will miss pulses. Identify these specific hardware inputs during the Scratch phase, and manually attach attachInterrupt() routines in the exported C++ code.
"The bridge between visual programming and embedded C isn't just about translating syntax; it's about shifting from a sequential, top-down execution model to an event-driven, real-time operating model." — Embedded Systems Design Patterns, 2025 Edition.
Hardware & USB Topology for Multi-Board Deployments
When scaling a scratch and arduino workflow for a maker-space or classroom (e.g., 20+ workstations), USB topology becomes a critical point of failure. Standard PC motherboards limit the number of active COM ports and struggle with the power draw of multiple connected MCUs.
- Powered Hubs are Mandatory: Do not use passive USB hubs. An Arduino Uno R4 drawing 150mA alongside a connected sensor shield will easily brownout a passive hub. Use a powered hub with dedicated per-port current limiting, such as the Anker 10-Port 60W hub ($35.99).
- COM Port Registry Bloat: Windows assigns a new COM port every time an Arduino is plugged into a different USB physical address. Over a semester, this can exhaust the 256 COM port limit, causing Scratch Link to fail silently. Use the Windows Registry Editor (
HKEY_LOCAL_MACHINE\SYSTEM\CurrentControlSet\Control\usbflags) to enableIgnoreHWSerNumfor the ATmega16U2 VID/PID, forcing Windows to reuse COM ports. - Cable Quality: At 115200 baud, capacitance in cheap, unshielded USB-A to USB-B cables longer than 1.5 meters will cause CRC errors and dropped packets. Stick to heavily shielded cables under 1 meter for reliable serial bridging.
Frequently Asked Questions
Can I use Scratch and Arduino wirelessly without Bluetooth?
Yes, but it requires an intermediary. You can use an ESP8266 or ESP32 connected to the Arduino via UART to send sensor data over MQTT or WebSockets to a local Node.js server, which then pushes the data to a custom Scratch 3.0 extension via HTTP polling. This adds roughly 40-60ms of network latency, making it unsuitable for real-time motor control, but perfectly viable for environmental sensor logging.
Why does my Scratch sprite lag when I move a potentiometer?
This is almost always a serial buffer overflow. The Arduino is sending analog read data (which updates thousands of times a second) faster than Scratch's 30fps render loop can process it. Implement a throttle on the Arduino side: only send the serial packet if the potentiometer value changes by more than +/- 2, or limit the transmission rate to 20Hz using a millis() timer.
Conclusion
Integrating Scratch and Arduino is a powerful methodology for rapid prototyping and education, provided you respect the physical limitations of serial communication. By moving away from bloated SYSEX protocols, optimizing your USB topology, and treating block-based code as a stepping stone rather than a final destination, you can drastically reduce latency and build robust, responsive hardware projects. For deeper dives into microcontroller communication protocols, refer to the official Firmata documentation and the Arduino Language Reference to refine your custom C++ parsers.