
The "Hello World" of Hardware: Turning on an LED
If you are learning how to turn LED on Arduino boards, you are participating in a long-standing maker tradition. Blinking an LED is the hardware equivalent of printing "Hello World" to a screen. However, as we navigate the electronics landscape in 2026, the transition from the classic ATmega328P-based Uno R3 to the modern Renesas RA4M1-based Arduino Uno R4 Minima has introduced critical hardware changes that most outdated tutorials completely ignore.
This comprehensive guide will walk you through the exact wiring, C++ coding, and—most importantly—the updated current-limiting mathematics required to safely illuminate an LED using the latest Arduino hardware without risking permanent GPIO damage.
Hardware Bill of Materials (BOM)
Before we write a single line of code, gather the following components. Prices reflect average 2026 retail costs from major distributors like Adafruit, SparkFun, and Digi-Key.
- Microcontroller: Arduino Uno R4 Minima (Approx. $20.00) or Uno R4 WiFi (Approx. $27.50)
- LEDs: Standard 5mm Through-Hole Diffused LEDs, assorted colors (Approx. $5.99 for a 100-pack)
- Resistors: 1/4W Carbon Film Resistors, specifically 330Ω, 390Ω, and 470Ω values (Approx. $8.00 for an assortment kit)
- Prototyping: Half-size solderless breadboard and premium flexible jumper wires (Approx. $12.00)
The Uno R4 Current Limit Trap: Why Old Tutorials Fail
Here is where genuine expertise separates from generic copy-paste tutorials. For over a decade, makers were taught to use a 220Ω resistor when connecting a standard red LED to an Arduino. Let us look at the math for the classic Uno R3 (5V logic, 2.0V LED forward voltage):
Ohm's Law: I = (V_source - V_forward) / Resistance
I = (5.0V - 2.0V) / 220Ω = 13.6mA
On the classic Uno R3 (ATmega328P), the recommended maximum DC current per I/O pin is 20mA. So, 13.6mA was perfectly safe.
The Renesas RA4M1 Difference
The Arduino Uno R4 utilizes the Renesas RA4M1 ARM Cortex-M4 microcontroller. According to the official Arduino R4 cheat sheet, the absolute maximum current per I/O pin is only 8mA. If you use the legacy 220Ω resistor on an R4, you will push 13.6mA through a pin rated for 8mA. While the board might not instantly catch fire, this overcurrent condition will cause electromigration, gradually degrading the silicon pad and leading to premature pin failure.
Calculating the Correct Resistor for 2026 Hardware
To safely turn an LED on with the Arduino Uno R4, we must target a current of 6mA to 7mA to stay comfortably under the 8mA ceiling. Below is the updated calculation matrix for standard 5mm LEDs.
| LED Color | Typical Forward Voltage (Vf) | Target Current | Calculated Resistance | Safe E12 Standard Resistor |
|---|---|---|---|---|
| Red | 2.0V | 6.5mA | 461Ω | 470Ω |
| Yellow | 2.1V | 6.5mA | 446Ω | 470Ω |
| Green | 2.2V | 6.5mA | 430Ω | 430Ω or 470Ω |
| Blue | 3.2V | 6.5mA | 276Ω | 270Ω or 330Ω |
| White | 3.3V | 6.5mA | 261Ω | 270Ω or 330Ω |
Pro-Tip: If you want a universal "safe bet" resistor for any color LED on the Uno R4, keep a bulk supply of 470Ω resistors on your workbench. It will safely limit current across all colors while maintaining visible brightness.
Step-by-Step Wiring Guide
Follow these physical connection steps to build your circuit. Always wire circuits with the Arduino disconnected from USB power to prevent accidental short circuits.
- Identify LED Polarity: Look closely at the 5mm LED. The longer leg is the Anode (Positive). The shorter leg, situated next to the flat edge on the plastic lens, is the Cathode (Negative).
- Insert the LED: Plug the Anode into row 10, column A on your breadboard. Plug the Cathode into row 11, column A.
- Add the Current Limiter: Insert one leg of your 470Ω resistor into row 10, column B (sharing the same terminal strip as the Anode). Insert the other leg into an empty row, such as row 15, column B.
- Wire to the Microcontroller: Use a male-to-male jumper wire to connect row 15 (the free end of the resistor) to Digital Pin 8 on the Arduino Uno R4.
- Complete the Ground Circuit: Use another jumper wire to connect row 11 (the LED Cathode) to any GND pin on the Arduino's power header.
Writing the Sketch: Digital Output
Now we write the C++ code to manipulate the GPIO pin. We will use the standard digitalWrite() function to supply 5V (HIGH) to Pin 8.
// Define the pin connected to the LED
const int LED_PIN = 8;

void setup() {
  // Initialize the digital pin as an output.
  pinMode(LED_PIN, OUTPUT);
}

void loop() {
  digitalWrite(LED_PIN, HIGH);  // Turn the LED on (5V)
  delay(1000);                  // Wait for 1000 milliseconds (1 second)
  digitalWrite(LED_PIN, LOW);   // Turn the LED off (0V)
  delay(1000);                  // Wait for another second
}
Upload this sketch via the Arduino IDE 2.x. Your LED should now blink at a steady 1Hz frequency.
Advanced: Fading the LED with PWM
Digital pins only output 0V or 5V. To fade an LED, we use Pulse Width Modulation (PWM), which rapidly toggles the pin on and off to simulate analog voltage. On the Uno R4, pins 3, 5, 6, 9, 10, and 11 support hardware PWM. Move your jumper wire from Pin 8 to Pin 9 and upload this fading sketch:
const int PWM_LED_PIN = 9;

void setup() {
  pinMode(PWM_LED_PIN, OUTPUT);
}

void loop() {
  // Fade in from 0 to 255
  for (int fadeValue = 0; fadeValue <= 255; fadeValue += 5) {
    analogWrite(PWM_LED_PIN, fadeValue);
    delay(30); // 30ms per step for a smooth transition
  }
  // Fade out from 255 to 0
  for (int fadeValue = 255; fadeValue >= 0; fadeValue -= 5) {
    analogWrite(PWM_LED_PIN, fadeValue);
    delay(30);
  }
}
Troubleshooting Common Failure Modes
Even a simple LED circuit can fail. Use this diagnostic matrix to identify edge cases when your LED refuses to turn on.
| Symptom | Probable Cause | Diagnostic Action & Solution |
|---|---|---|
| LED is completely dark | Reverse polarity | Swap the Anode and Cathode legs. LEDs are diodes and only pass current in one direction. |
| LED is extremely dim | Resistor value too high or bad ground | Verify resistor color bands. Check that the GND jumper is firmly seated in the breadboard strip. |
| LED flickers randomly | Floating pin or loose breadboard contact | Move the circuit to a different breadboard rail. Worn-out breadboard contacts cause intermittent resistance. |
| Arduino resets when LED turns on | Short circuit or drawing power from 3.3V rail incorrectly | Ensure you are using the 5V logic pins and that the resistor is correctly bridging the circuit to prevent a direct VCC-to-GND short. |
Frequently Asked Questions (FAQ)
Can I connect an LED directly to an Arduino pin without a resistor?
No. Never connect an LED directly to a 5V GPIO pin. Without a current-limiting resistor, the LED will attempt to draw infinite current (limited only by the internal resistance of the silicon), which will instantly exceed the 8mA limit of the Uno R4, likely destroying the microcontroller's output driver permanently.
How do I test an LED without an Arduino?
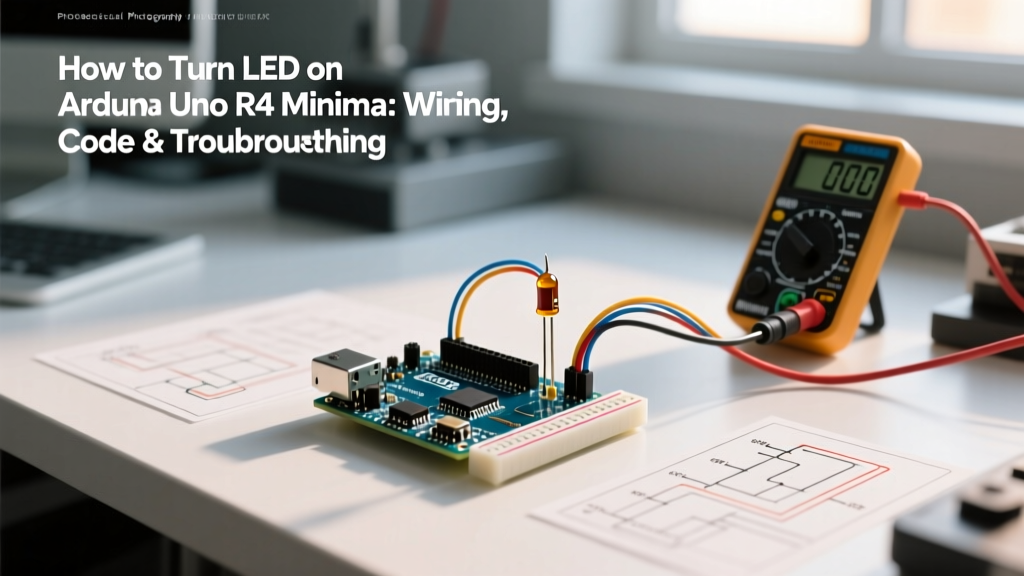
Use a digital multimeter set to the Diode Test mode (usually indicated by a diode symbol). Touch the red probe to the Anode and the black probe to the Cathode. A healthy LED will illuminate faintly and the meter will display its forward voltage drop (e.g., 1.8V to 3.3V). If the meter reads "OL" (Open Loop), reverse the probes. If it reads "OL" both ways, the LED is blown.
What if I need to turn on a high-power 1W or 3W LED?
Standard GPIO pins cannot drive high-power illumination LEDs. You must use an N-channel MOSFET (like the IRLZ44N) or a dedicated constant-current LED driver module. The Arduino pin will simply trigger the gate of the MOSFET, allowing a separate, higher-current power supply to drive the LED safely.
Final Thoughts
Learning how to properly turn an LED on with an Arduino is about more than just making a light blink; it is your first practical exercise in reading datasheets, applying Ohm's Law, and respecting the electrical limits of modern microcontrollers. By adapting your resistor calculations for the Uno R4's 8mA pin limit, you ensure your hardware survives to tackle more complex projects like I2C sensors, motor drivers, and wireless telemetry.