
Arduino Mini vs Nano: Decoding the ATmega328P Sibling Rivalry
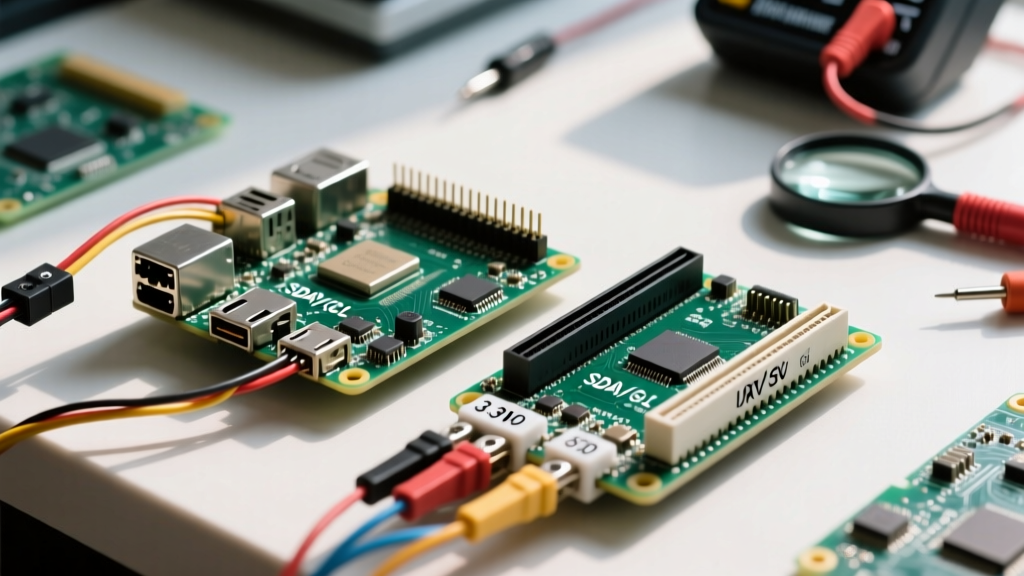
When designing compact microcontroller projects or migrating from a breadboard prototype to a custom PCB, makers frequently face a critical crossroads: choosing between the Arduino Nano and the Arduino Mini. While both boards are historically built around the exact same microcontroller—the venerable Microchip ATmega328P-AU (TQFP-32 package)—their physical footprints, power architectures, and programming interfaces are vastly different. In 2026, with the maker market saturated by highly optimized third-party clones, understanding the exact hardware deltas between these two form factors is essential for avoiding bricked boards, shield incompatibilities, and power delivery failures.
This compatibility guide dissects the Arduino Mini vs Nano debate, providing actionable engineering insights, pinout matrices, and real-world troubleshooting frameworks to ensure your next embedded project succeeds on the first hardware spin.
Core Hardware & Compatibility Matrix
Before diving into schematic-level differences, it is crucial to establish the baseline specifications. The table below contrasts the genuine Arduino Nano V3 with the Arduino Mini V5 (the final official iteration before the Mini line was largely superseded by the Pro Mini and Nano in the official lineup, though clones remain ubiquitous).
| Feature | Arduino Nano (V3) | Arduino Mini (V5) |
|---|---|---|
| Microcontroller | ATmega328P (16 MHz) | ATmega328P (16 MHz) |
| Dimensions (L x W) | 45 mm x 18 mm | 30 mm x 18 mm |
| Onboard USB-to-Serial | Yes (FT232RL or CH340G on clones) | No (Requires external FTDI adapter) |
| Auto-Reset Circuit | Hardware DTR-to-Reset (0.1µF Cap) | Hardware DTR-to-Reset (0.1µF Cap on V5) |
| Onboard 5V Regulator | Yes (AMS1117-5.0 or LM1117) | Yes (MC33269 or similar, RAW pin input) |
| Breadboard Spacing | 0.6" (Leaves 1 hole row free) | 0.6" (Standard headers) or custom pitch |
| Average Clone Price (2026) | $2.50 - $4.50 USD | $2.00 - $3.50 USD |
Physical Footprint & Shield Integration
The most immediate difference between the two boards is physical real estate. The Nano's 45mm length accommodates the USB Mini-B (or Micro-USB/Type-C on modern clones) connector and the USB-to-Serial bridge IC. The Mini chops off 15mm, eliminating the USB circuitry entirely.
The Breadboard Dilemma
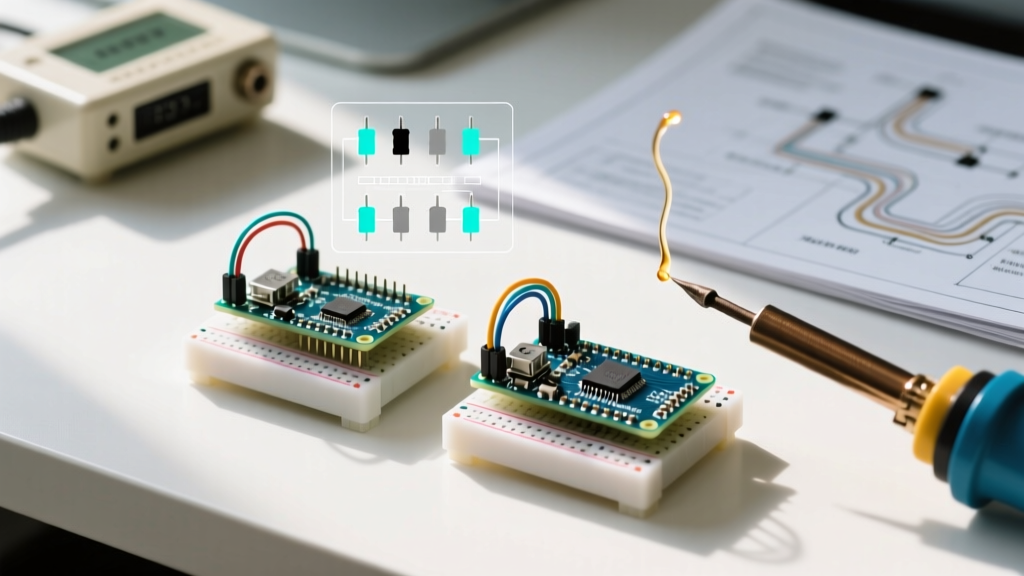
Both boards utilize a standard 0.6-inch (15.24mm) header spacing. When plugged into a standard 830-tie-point solderless breadboard, both the Nano and the Mini (if populated with standard male headers) straddle the center trench perfectly, leaving exactly one row of tie-points available on either side for jumper wires. However, the Mini's shorter length means it covers fewer power rail nodes, which can be an advantage in tight prototyping scenarios where you need maximum breadboard space for external sensors and discrete components.
Shield Compatibility & Migration
If your project relies on standard Arduino shields (e.g., motor drivers, GPS modules, or CAN-bus transceivers), the Nano is the undisputed winner for direct compatibility. Nano shields stack directly onto the board's male headers. The Mini, lacking the extended footprint and often shipped without pre-soldered stacking headers, requires custom wiring.
Migration Strategy: If you are prototyping with a Nano shield but intend to deploy a Mini to save space, use a 'Nano Shield to Mini' breakout adapter. These inexpensive PCBs ($3-$5) map the standard 2.54mm shield footprint down to the Mini's condensed header layout via short jumper traces, preserving signal integrity for high-speed buses like SPI and I2C.
Programming Interfaces: USB vs. FTDI
The absence of an onboard USB-to-Serial converter on the Mini fundamentally changes the programming workflow. While the Nano simply requires a standard USB cable, the Mini demands an external FTDI adapter (such as the FT232RL breakout board or a dedicated FTDI programming cable).
Wiring the FTDI Adapter to the Mini
A common failure mode for beginners is miswiring the FTDI header. The standard 6-pin FTDI pinout (based on the FTDI TTL-232R datasheet) must be cross-referenced carefully with the Mini's edge header:
- GND to GND (Crucial for common ground reference)
- CTS to Not Connected (Leave floating unless using hardware flow control)
- 5V / VCC to VCC (Ensure your FTDI adapter is set to 5V if using a 5V Mini, or 3.3V for a 3.3V variant)
- TXD to RX (Cross-wiring is mandatory here)
- RXD to TX (Cross-wiring is mandatory here)
- DTR to GRN / DTR (Triggers the auto-reset circuit)
Pro-Tip: The Auto-Reset Capacitor Trick
If you are using a raw FTDI cable that lacks a DTR line (only offering RTS), or if you are designing a custom PCB based on the Mini footprint, you must implement the auto-reset circuit manually. The Optiboot bootloader (standard on modern ATmega328P boards) only listens for serial data for a 250ms to 300ms window after a hardware reset. Wire a 100nF (0.1µF) ceramic capacitor in series between the FTDI's DTR/RTS line and the ATmega328P's RESET pin. This creates a brief negative voltage spike that pulls the reset pin low, perfectly timing the bootloader entry without requiring manual button presses.
Power Delivery & Voltage Tolerances
Power architecture is where the Arduino Mini vs Nano comparison reveals critical design constraints, especially for battery-operated or high-current deployments.
The Nano's Robust Regulator
The Nano features an onboard linear voltage regulator (typically the AMS1117-5.0 on modern clones, or the TI LM1117 on older genuine boards). You can safely feed 7V to 12V into the VIN pin, and the regulator will step it down to a stable 5V for the MCU and peripheral headers. However, linear regulators dissipate excess voltage as heat; drawing more than 300mA from the Nano's 5V pin when powered via VIN will trigger thermal shutdown.
The Mini's RAW Pin Constraints
The Arduino Mini V5 also includes a regulator (often the MC33269), but its smaller PCB footprint severely limits the copper pour area available for heat dissipation. If you are pushing the Mini's RAW pin with 9V and drawing 200mA+ for external sensors, the board will overheat much faster than the Nano.
Actionable Advice: For low-power, battery-operated deployments using a Mini, bypass the onboard regulator entirely. Feed a regulated 3.3V or 5V directly into the VCC pin (depending on your board's clock speed and voltage variant). This eliminates the quiescent current draw of the linear regulator, extending coin-cell or LiPo battery life by up to 40% in deep-sleep applications.
Real-World Failure Modes & Troubleshooting
When migrating code or hardware between these two boards, engineers frequently encounter specific edge cases. Here is how to diagnose the most common issues documented across the official Arduino hardware documentation and community forums.
1. 'avrdude: stk500_recv(): programmer is not responding'
The Culprit: This is the hallmark of a failed auto-reset sequence on the Mini. Because the Mini lacks a physical reset button (unlike the Nano), if the DTR line on your FTDI adapter is broken or disconnected, the IDE opens the serial port, but the MCU never resets. The bootloader window expires before the upload begins.
The Fix: Verify the 0.1µF capacitor on your custom PCB, or manually wire a momentary pushbutton between the RESET pin and GND. Press and release the button exactly when the IDE status bar switches from 'Compiling' to 'Uploading'.
2. Clone Driver Conflicts (CH340 vs FT232RL)
The Culprit: In 2026, 95% of Nano clones utilize the WCH CH340G or CH341A USB-to-Serial chip to cut costs, whereas high-quality FTDI programming cables used for the Mini rely on genuine FTDI FT232RL chips. Mixing these environments on a single Windows or macOS workstation can lead to COM port enumeration conflicts or baud-rate mismatch errors.
The Fix: Always install the latest signed CH340 drivers directly from WCH's repository for your Nano clones, and use the official FTDI CDM drivers for your Mini programming cables. Do not rely on Windows Update to auto-fetch these specific legacy bridge drivers.
3. Analog Pin A6 and A7 Routing
The Culprit: The ATmega328P in TQFP-32 packaging has 8 analog inputs (A0-A7). The Nano breaks out A6 and A7 strictly as analog input pins (they lack internal digital pull-up resistors and cannot be used as digital I/O). Some poorly designed Mini clones mislabel these pins or route them to digital header positions, causing digitalRead() to fail silently.
The Fix: Always use analogRead() for A6 and A7 on both boards, and verify the clone's schematic to ensure they are tied directly to ADC6 and ADC7 on the TQFP package without series resistors that would skew voltage divider readings.
Summary: Which Should You Choose?
The choice between the Arduino Mini and Nano ultimately hinges on your deployment phase. Use the Arduino Nano for rapid breadboard prototyping, educational environments, and projects requiring direct shield stacking and hassle-free USB programming. Transition to the Arduino Mini (or its schematic equivalents) when designing custom PCBs, integrating into tight 3D-printed enclosures, or building permanent installations where onboard USB circuitry represents unnecessary BOM cost and parasitic power draw. By mastering the FTDI programming workflow and understanding the thermal limits of the Mini's regulator, you can seamlessly migrate your ATmega328P designs from the workbench to the field.