
The Plateau: Outgrowing Your First Arduino Board Kit
Every maker’s journey typically begins with a classic starter package. The standard arduino board kit built around the Uno R3 and its ATmega328P microcontroller is a rite of passage. It teaches you the fundamentals of digital I/O, analog reading, and basic serial communication. However, as we navigate the hardware landscape of 2026, the limitations of 8-bit AVR architecture become apparent when projects scale beyond blinking LEDs and simple sensor logging.
Upgrading your ecosystem is not just about chasing higher clock speeds; it is about unlocking native wireless connectivity, hardware-accelerated floating-point math, and sufficient SRAM to handle modern communication protocols like MQTT and TLS. This migration guide will help you identify the exact moment you need to upgrade, select the right successor board, and navigate the hardware and software pitfalls of moving from 5V AVR to 3.3V ARM and ESP32 architectures.
Signs You Have Outgrown the ATmega328P
Before purchasing new hardware, diagnose your current project bottlenecks. You are ready to migrate if you encounter any of the following hard limits:
- SRAM Exhaustion: The ATmega328P has only 2 KB of SRAM. If you are using strings, large arrays, or buffering serial data, you will experience unpredictable reboots due to stack/heap collisions.
- Lack of Hardware FPU: Performing complex PID control loops or Kalman filtering on an 8-bit chip requires slow software-based floating-point emulation.
- Interrupt Starvation: Managing multiple high-speed encoders or software-based PWM channels while simultaneously polling I2C sensors leads to missed interrupts and timing jitter.
- Connectivity Bottlenecks: Bolting an ESP8266 or ESP32 to an Uno via UART or SPI creates a dual-MCU bottleneck, wasting the primary MCU's cycles just parsing AT commands.
The 2026 Migration Matrix: Choosing Your Next Board
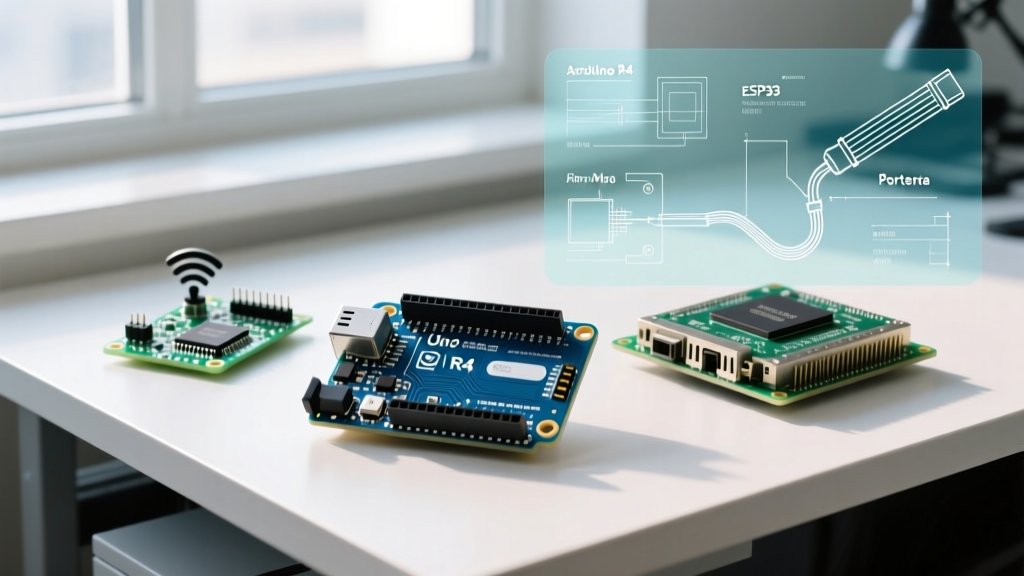
The modern Arduino ecosystem has fractured into specialized tiers. Below is a comparison of the primary upgrade paths available in 2026, replacing the traditional starter kit mainboard.
| Feature | Classic Uno R3 | Uno R4 WiFi | Nano ESP32 | Portenta H7 |
|---|---|---|---|---|
| Core Architecture | AVR (8-bit) | ARM Cortex-M4 + ESP32-S3 | ESP32-S3 Dual-Core | STM32H747 Dual-Core |
| Clock Speed | 16 MHz | 48 MHz / 240 MHz | 240 MHz | 480 MHz / 240 MHz |
| SRAM | 2 KB | 32 KB + 512 KB | 512 KB | 1 MB + 512 KB |
| Flash Memory | 32 KB | 256 KB + 8 MB | 8 MB | 2 MB + 16 MB |
| Logic Level | 5V | 5V (Tolerant) / 3.3V | 3.3V | 3.3V |
| Approx. Price (2026) | $16.00 | $27.50 | $21.00 | $110.00 |
| Best Use Case | Basic education | IoT with 5V shield compatibility | Compact, high-speed IoT | Machine vision, industrial DSP |
Software Migration: Porting Sketches from AVR to ARM
The most jarring part of upgrading your arduino board kit is realizing that low-level code does not always translate directly. The Arduino IDE abstracts standard functions like digitalWrite() and analogRead(), but direct register manipulation will break.
Eliminating Direct Register Calls
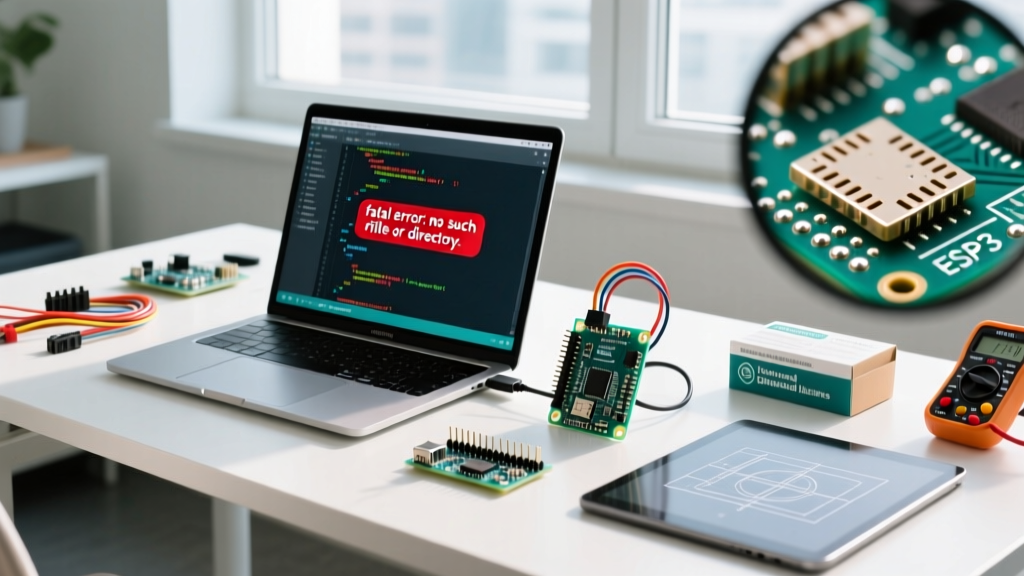
If your legacy code uses AVR-specific headers like <avr/io.h> or <avr/interrupt.h>, or manipulates ports directly (e.g., PORTB |= (1 << PB5);), it will fail to compile on an ARM-based Uno R4 or ESP32. You must refactor these to use the hardware-agnostic Arduino API or the specific Hardware Abstraction Layer (HAL) provided by the board manufacturer.
For timing-critical applications where digitalWrite() is too slow on the new boards, utilize the digitalWriteFast libraries adapted for the Renesas RA4M1 core, or use direct ESP32 GPIO matrix mapping via the ESP-IDF framework if you migrate to the Nano ESP32.
Handling Timers and Interrupts
The classic TimerOne or TimerThree libraries are hardcoded for AVR timers. When migrating to the Uno R4 WiFi, you must switch to the Arduino Renesas FSP (Flexible Software Package) timer abstractions. According to the official Arduino Uno R4 WiFi documentation, the RA4M1 utilizes a completely different General PWM Timer (GPT) architecture, requiring you to re-map your interrupt service routines (ISRs) using the new FSP timer APIs.
Hardware Upgrades: Navigating the 5V to 3.3V Divide
The physical migration of your breadboard circuits presents a significant electrical hazard. Most legacy starter kits operate at 5V logic. Modern high-performance boards, particularly the Nano ESP32 and Portenta H7, operate strictly at 3.3V.
The Logic Level Shifting Imperative
Connecting a 5V output from a legacy sensor (like the HC-SR04 ultrasonic module or standard 16x2 I2C LCD) directly to a 3.3V GPIO pin will permanently destroy the ESP32 or STM32 silicon. You must implement bi-directional logic level shifters.
Expert Tip: Avoid cheap resistor-divider networks for high-speed I2C or SPI lines; they degrade signal rise times and cause data corruption. Invest in BSS138 MOSFET-based bi-directional level shifters (typically $1.50 per 4-channel module). They actively pull the line to the target voltage without the RC delay inherent in passive dividers. For a deep dive on voltage thresholds, refer to the SparkFun Logic Levels tutorial.
I2C Pull-Up Resistor Recalculation
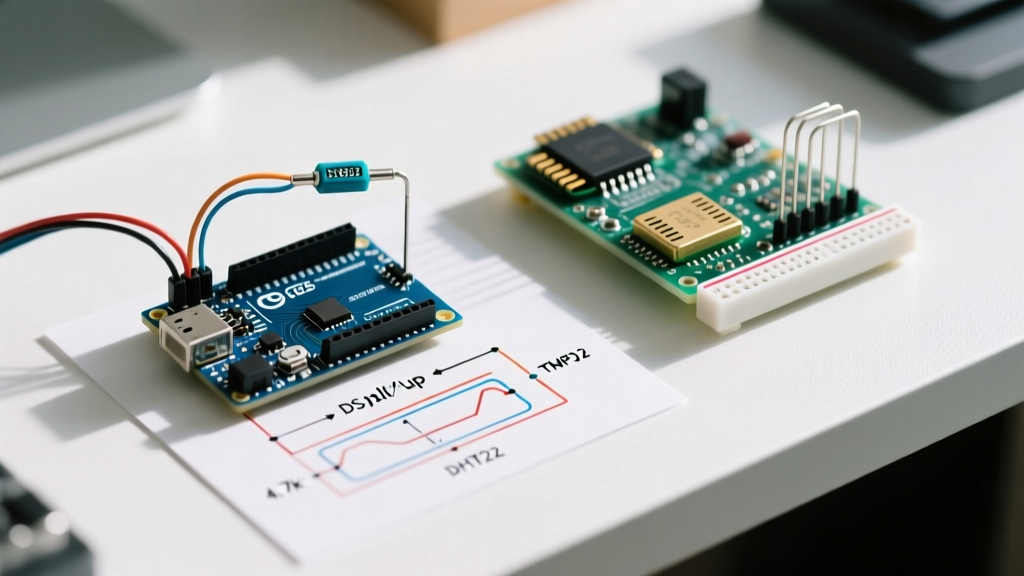
When migrating I2C devices to a 3.3V bus, the pull-up resistor values must be recalculated. The lower voltage means less current flows through the same resistor, resulting in slower rise times on the SDA/SCL lines. If your 5V kit used 10kΩ pull-ups, you must drop to 4.7kΩ for 100kHz standard mode, and 2.2kΩ for 400kHz fast mode to maintain signal integrity on the 3.3V bus.
Power Supply Architecture: Moving Beyond USB
Starter kits usually rely on the linear voltage regulator onboard the Arduino (like the NCP1117) to drop 9V barrel-jack input down to 5V. This is highly inefficient and limits current draw to roughly 500mA before thermal shutdown.
When upgrading to power-hungry ecosystems (especially the Portenta H7 or ESP32 boards transmitting over WiFi), you must redesign your power delivery:
- Ditch the Linear Regulator: Use a switching buck converter like the LM2596 or the more efficient, compact MP1584EN to step down 12V or 24V industrial supplies directly to 5V or 3.3V.
- Separate Logic and Actuator Power: Never run motors or high-current relays from the board's 5V/3.3V pins. Route actuator power directly from the buck converter and use optocouplers (like the PC817) to isolate the microcontroller's ground plane from inductive kickback.
- Add Bulk Capacitance: Place a 470µF electrolytic capacitor and a 0.1µF ceramic decoupling capacitor at the power entry point of your custom PCB to handle the sudden current spikes drawn by the ESP32-S3 during RF transmission bursts.
Common Migration Pitfalls and Edge Cases
Even experienced engineers stumble when migrating legacy code to modern architectures. Watch out for these specific edge cases:
- ADC Resolution Differences: The classic Uno uses a 10-bit ADC (0-1023). The Uno R4 and Nano ESP32 feature 12-bit or 14-bit ADCs. If your code relies on hardcoded thresholds (e.g.,
if (sensorVal > 800)), your logic will break. Always use themap()function or dynamically read the ADC resolution usinganalogReadResolution(). - WiFi Stack Blocking: On the Nano ESP32, if you use the standard
WiFi.begin()in the main loop without proper state management, the RF calibration can block theloop()function for up to 2 seconds, causing watchdog timer (WDT) resets. Always implement non-blocking WiFi connection state machines. - USB-C Power Negotiations: Modern boards use USB-C. If you plug a high-end Portenta H7 into a cheap, non-compliant USB-C wall charger that lacks the proper 5.1kΩ configuration resistors on the connector, the board will not negotiate power and will appear dead. Always test with a known-good PD-compliant hub or standard USB-A to USB-C cable.
Conclusion: Planning Your Next Build
Migrating away from your original arduino board kit is a major milestone in your development as a hardware engineer. By moving to ARM Cortex or ESP32 architectures, you transition from simple prototyping to building robust, connected, and computationally heavy devices. Respect the 3.3V logic boundaries, refactor your low-level timer code, and upgrade your power delivery networks. With these adjustments, your 2026 projects will be faster, more reliable, and ready for production deployment.