
The 2026 Arduino Beginner Ecosystem: Where to Start?
Stepping into the world of microcontrollers is thrilling, but the sheer volume of boards, shields, and sensors can overwhelm any arduino beginner. While the classic ATmega328P-based Uno R3 remains a staple in educational kits, the 2026 landscape is increasingly dominated by 32-bit ARM and dual-core Wi-Fi architectures like the Renesas RA4M1 and ESP32-S3. Understanding hardware compatibility—specifically logic levels, pinouts, power delivery, and IDE configurations—is the difference between a successful blink test and a fried sensor.
This compatibility guide cuts through the noise, providing exact specifications, real-world failure modes, and actionable frameworks to ensure your components talk to each other without electrical or software conflicts.
Core Board Compatibility Matrix
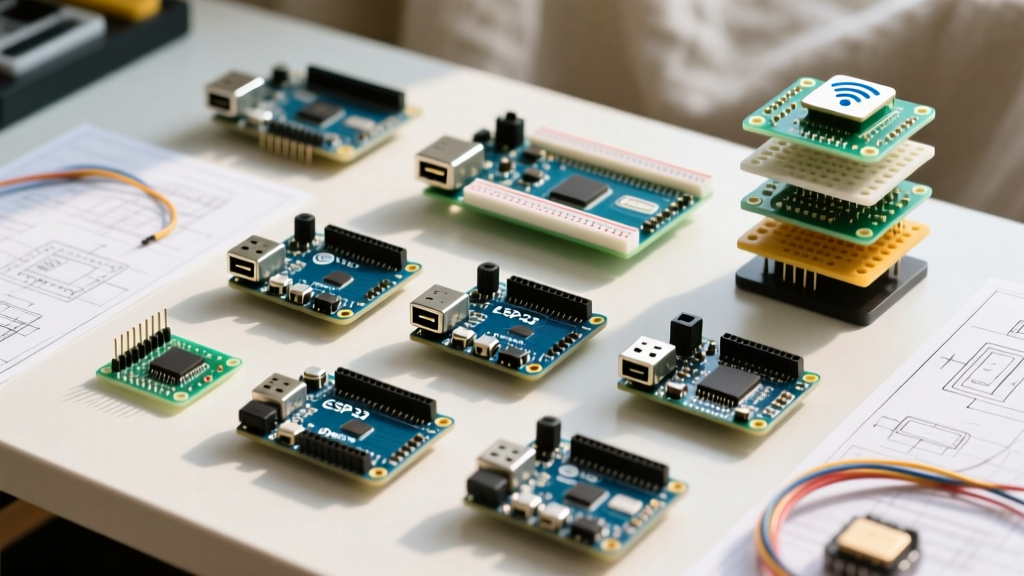
Choosing your first board dictates your entire component ecosystem. Below is a compatibility and specification matrix comparing the most relevant official boards available today.
| Board Model | Architecture | Logic Level | Price (USD) | Standard Shield Compat. |
|---|---|---|---|---|
| Uno R4 Minima | Renesas RA4M1 (ARM Cortex-M4) | 5V | $20.00 | 100% (Native) |
| Uno R4 WiFi | RA4M1 + ESP32-S3 | 5V | $27.50 | 100% (Native) |
| Nano ESP32 | ESP32-S3 (Dual-core) | 3.3V | $21.00 | Requires Level Shifting |
| Uno R3 (Classic) | ATmega328P (8-bit AVR) | 5V | $25.00 | 100% (Native) |
Note: Third-party clones (often $4–$8) typically mimic the Uno R3 or Nano form factors but substitute the primary MCU or USB-to-Serial converter, leading to IDE driver hurdles covered later in this guide.
The 5V vs. 3.3V Logic Level Trap
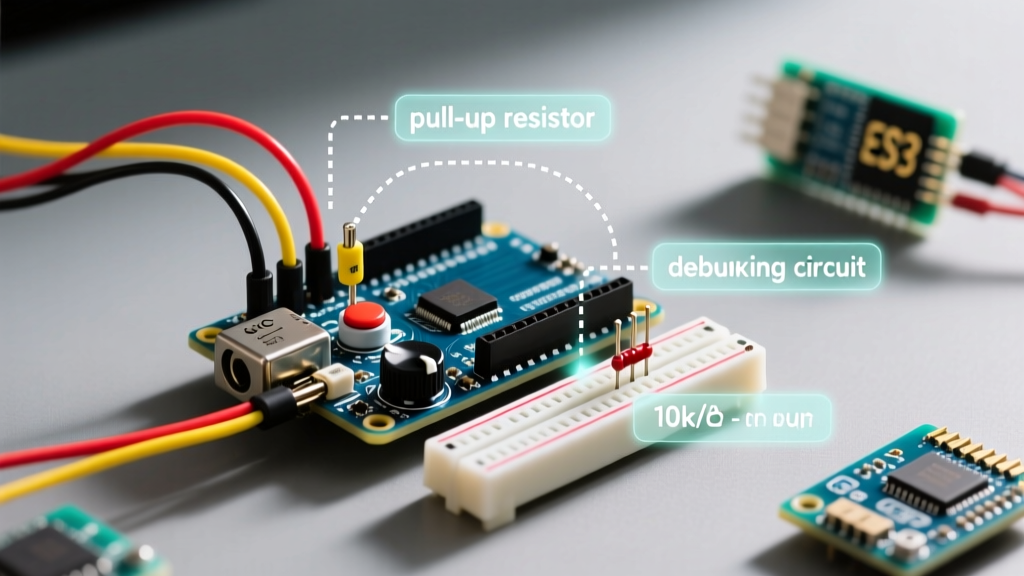
The most common hardware failure for an arduino beginner is ignoring logic voltage thresholds. The classic Uno R3 and newer Uno R4 boards operate at 5V logic. If you connect a 3.3V I2C sensor (like the BME280 or MPU6050) directly to a 5V board's SDA/SCL pins, you risk permanently damaging the sensor's internal pull-up resistors or the MCU's GPIO pins.
Expert Rule of Thumb: Never assume a breakout board is 5V tolerant just because it has a voltage regulator. A regulator steps down power (VCC), but it does not step down logic signals (SDA, SCL, TX, RX).
How to Bridge the Gap Safely
- Bi-Directional Logic Level Shifters: Use a dedicated IC like the TI TXS0108E or NXP PCA9306. The Adafruit 4-channel I2C-safe bi-directional logic level converter (approx. $2.95) is an industry standard for safely bridging 5V Arduinos to 3.3V sensors.
- Native 3.3V Boards: If your project relies heavily on modern 3.3V sensors, bypass the Uno entirely and use the Nano ESP32 or an Adafruit Feather RP2040.
Shield Pinout Conflicts and SPI Remapping
While the physical footprint of a standard 'Uno Shield' will mechanically plug into an Uno R4, electrical compatibility requires deeper inspection.
SPI and I2C Pin Remapping
Standard shields hardcode SPI pins to D11 (MOSI), D12 (MISO), and D13 (SCK). On the classic ATmega328P, these map directly to the hardware SPI peripheral. However, on the Nano ESP32, native SPI pins are routed differently. If you plug an Ethernet Shield into a Nano ESP32, it will fail unless you use software SPI or explicitly remap the hardware SPI bus in your sketch using SPI.begin(sck, miso, mosi, ss).
For the arduino beginner, sticking to I2C (which uses dedicated, standardized SDA/SCL pins on the R4 and R3) or using the modern SparkFun Qwiic / Adafruit Stemma QT connector ecosystem eliminates pinout guesswork entirely.
Mechanical Compatibility: The Breadboard Dilemma
A frequently overlooked aspect of compatibility is physical fitment on standard solderless breadboards. The classic Arduino Nano was perfectly spaced to plug into a standard 830-point breadboard, leaving three holes of clearance on either side for jumper wires. The newer Nano ESP32, however, is slightly wider due to its USB-C port and castellated edge pads. When plugged into a standard breadboard, it leaves only one row of holes exposed on one side, making it incredibly difficult to insert standard 2.54mm jumper wires without bending pins or shorting adjacent traces. Always verify your Nano variant's width if your project relies heavily on breadboard prototyping.
Power Delivery: USB Limits and Thermal Throttling
Power compatibility has shifted dramatically between the R3 and R4 generations. The classic Uno R3 uses a linear voltage regulator. If you power it via the barrel jack with 9V and attempt to draw 500mA from the 5V pin to run a servo, the regulator will dissipate over 2W of heat, triggering thermal shutdown or melting the plastic housing.
Conversely, the Uno R4 Minima utilizes a switching buck converter (RAA214250). This allows it to safely supply up to 1.5A on the 5V pin when powered via the barrel jack (up to 12V), or up to 1A when powered via USB-C. This makes the R4 vastly more compatible with modern, power-hungry peripherals like WS2812B LED strips and MG996R metal-gear servos without requiring an external power supply.
IDE and OS Compatibility: Troubleshooting Upload Failures
Software compatibility is just as critical as hardware. The Arduino IDE 2.x handles most official boards seamlessly via the Boards Manager. However, third-party clones introduce driver friction.
The CH340 / CH341 Driver Hurdle
Budget Nano and Uno clones replace the expensive FTDI or ATmega16U2 USB-to-Serial chips with the WCH CH340G. While Windows 11 usually fetches this driver automatically, macOS Sonoma and Sequoia often block it due to kernel extension security policies.
- Identify the Chip: Look at the USB IC near the port. If it says 'CH340', you need a manual driver.
- Download the Official Driver: Fetch the latest signed drivers directly from the SparkFun CH340 Installation Guide, which hosts verified, safe mirrors of the WCH drivers.
- macOS Security Bypass: Go to System Settings > Privacy & Security and explicitly 'Allow' the WCH driver if macOS blocks the initial installation.
- Verify Port Selection: In IDE 2.x, the port will appear as
/dev/cu.wchusbserial...rather than the standard/dev/cu.usbmodem....
The 'Charge-Only' USB-C Cable Trap
The Uno R4 Minima and Nano ESP32 utilize USB-C. A frequent failure mode is the 'Port Grayed Out' error. This is almost always caused by using a cheap USB-C cable designed exclusively for charging. These cables lack the D+ and D- data lines required for serial communication. Actionable fix: Maintain a dedicated, tested 'data-capable' USB-C cable in your toolkit, verified by successfully transferring a file to a smartphone.
Frequently Asked Questions
Can I use 5V sensors with the Nano ESP32?
No, not directly. The Nano ESP32 operates strictly at 3.3V logic. Connecting a 5V digital output from a sensor (like a standard HC-SR04 ultrasonic sensor) to a Nano ESP32 GPIO pin will exceed the absolute maximum ratings and destroy the ESP32-S3 silicon. Use a voltage divider (e.g., 2kΩ and 3.3kΩ resistors) to step the 5V signal down to a safe 3.3V.
Is the Uno R4 backward compatible with all R3 code?
Mostly, yes. The Arduino team built an AVR emulation layer into the R4 core. However, code that directly manipulates hardware registers (e.g., PORTB |= (1 << 5);) will fail to compile on the ARM-based R4. Always use digitalWrite() or the official Arduino API to ensure cross-architecture compatibility.